Agents in the AM
This how-to illustrates the ease of creating agentic workflows in DataRobot using the Agentic Starter application template. After you complete it, try some additional how-tos, listed at the end.
In this walkthrough, you will:
- Open a codespace and create a local environment.
- Create and test an agent.
- Deploy the agent to DataRobot.
1. Log in and navigate to Workbench
-
Log in to DataRobot; you will land on the home page.

-
Navigate to Workbench and create a new Use Case.
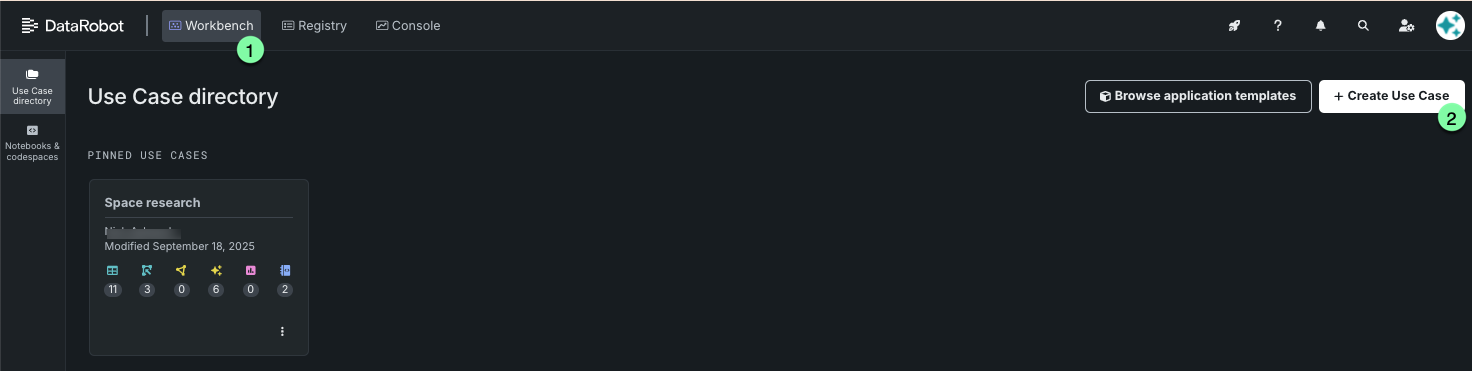
-
Name it “Agents in the AM”.

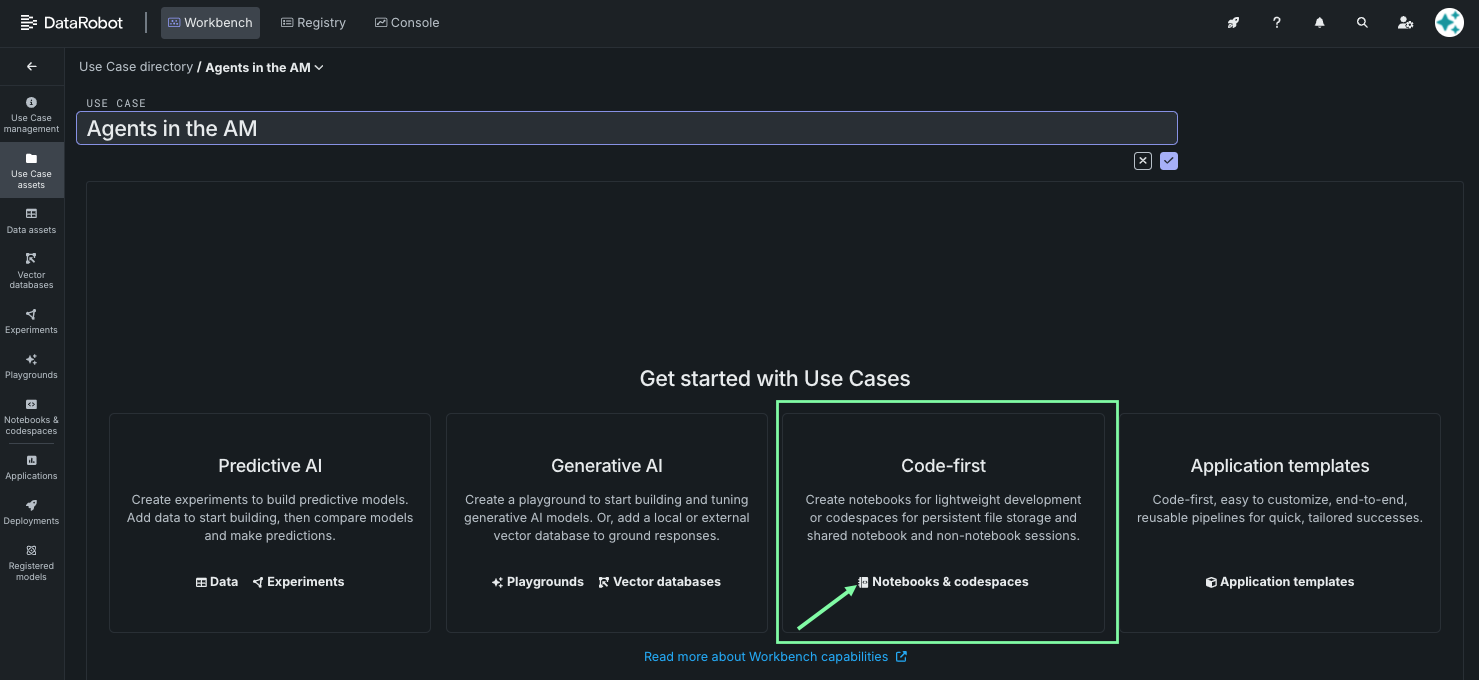
2. Create a codespace
-
From the Use Case getting started page, navigate to codespaces by clicking Notebooks & codespaces:
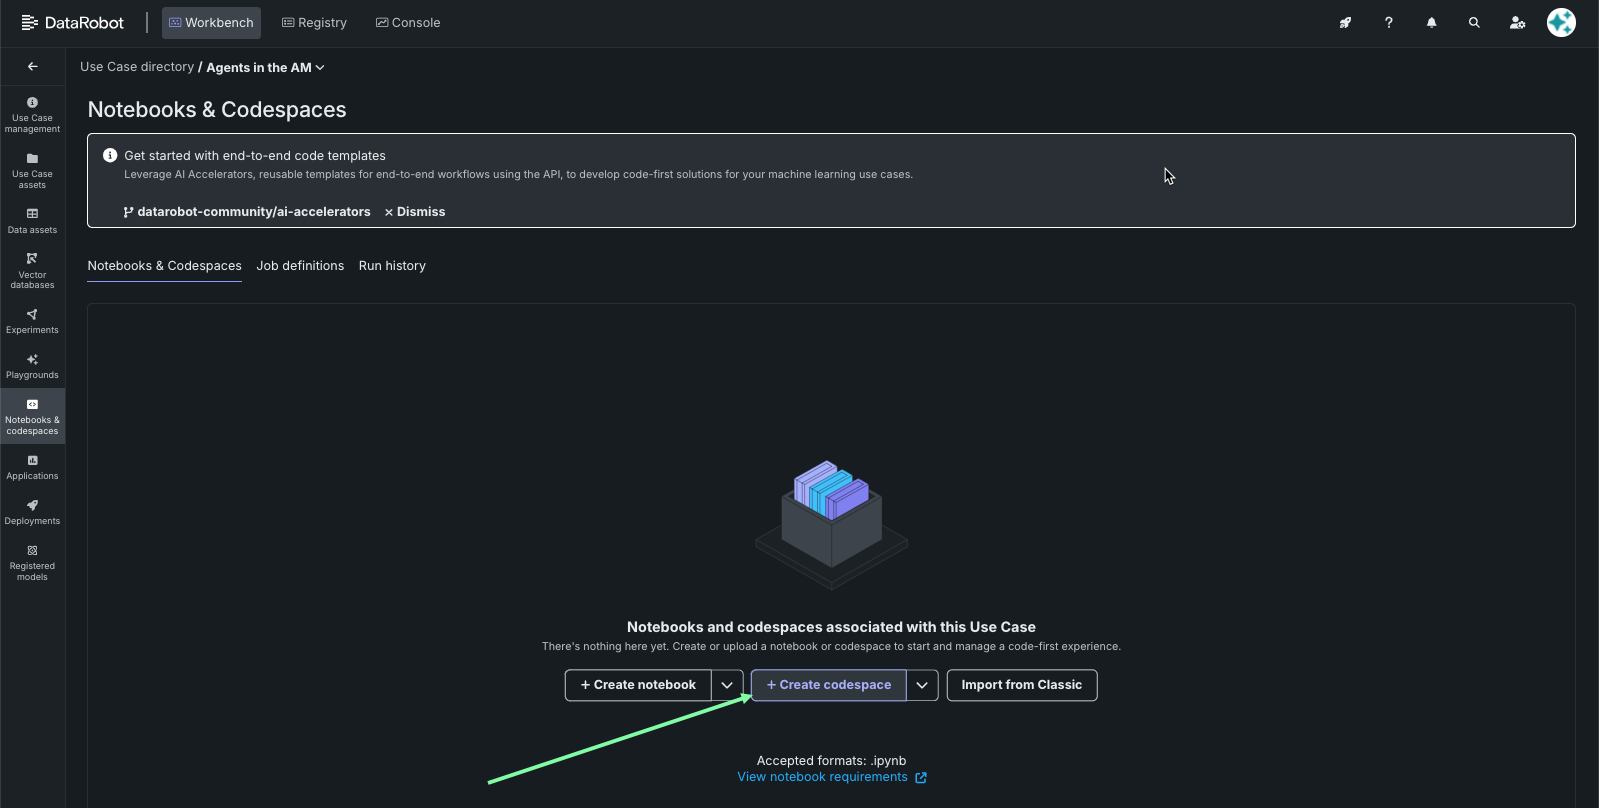
-
Click Create codespace to create a new codespace.
3. Enable port forwarding
Since you are developing within a DataRobot codespace, you need to expose the development ports. This is configured in the Exposed Ports section of your Session Environment tile.
-
Click the Session Environment tile.
-
In the Exposed Ports section, click + Add port.
-
Enter
5173and click the checkmark icon to save.
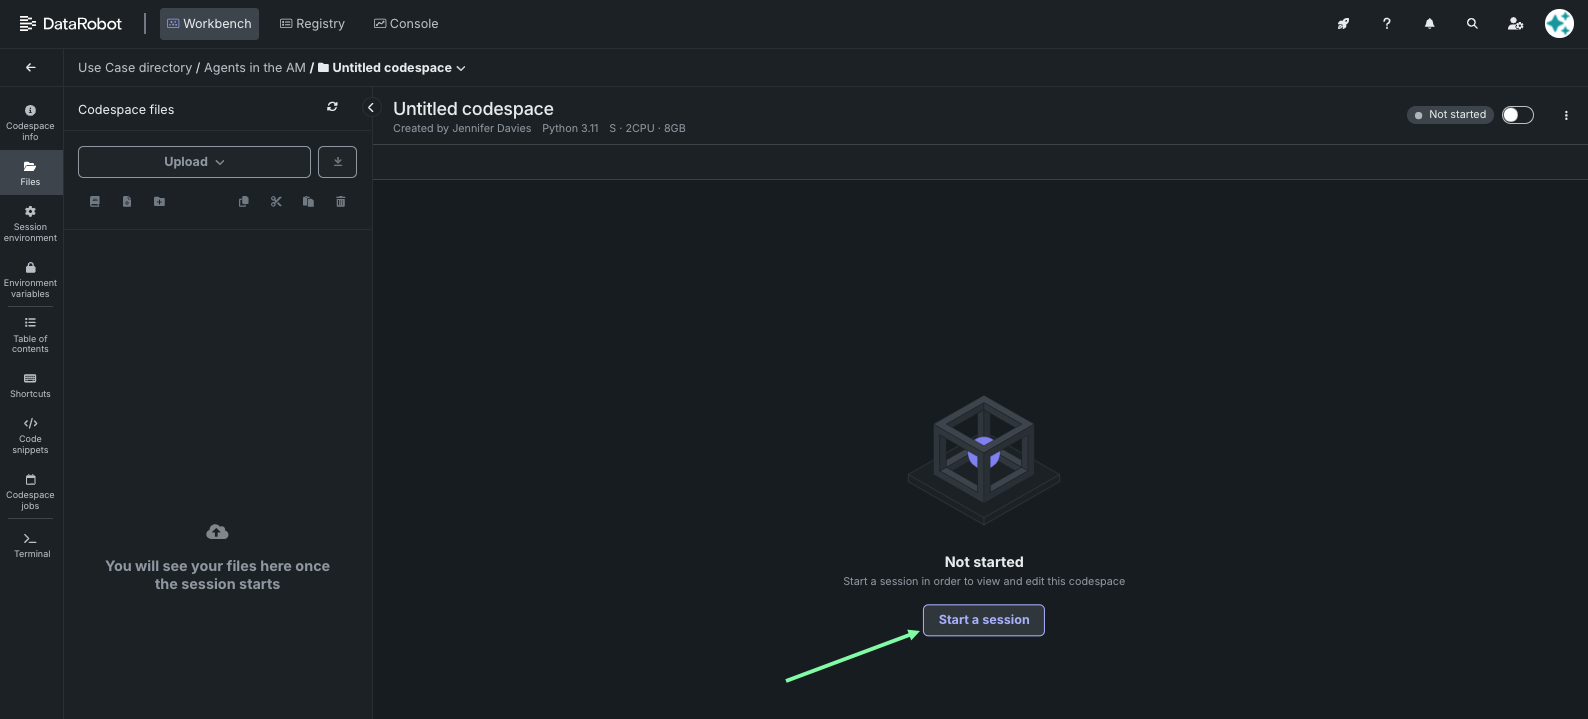
4. Run dr start
- Click Start a session to start a new session.
-
Once the session has started, click the Terminal tile.
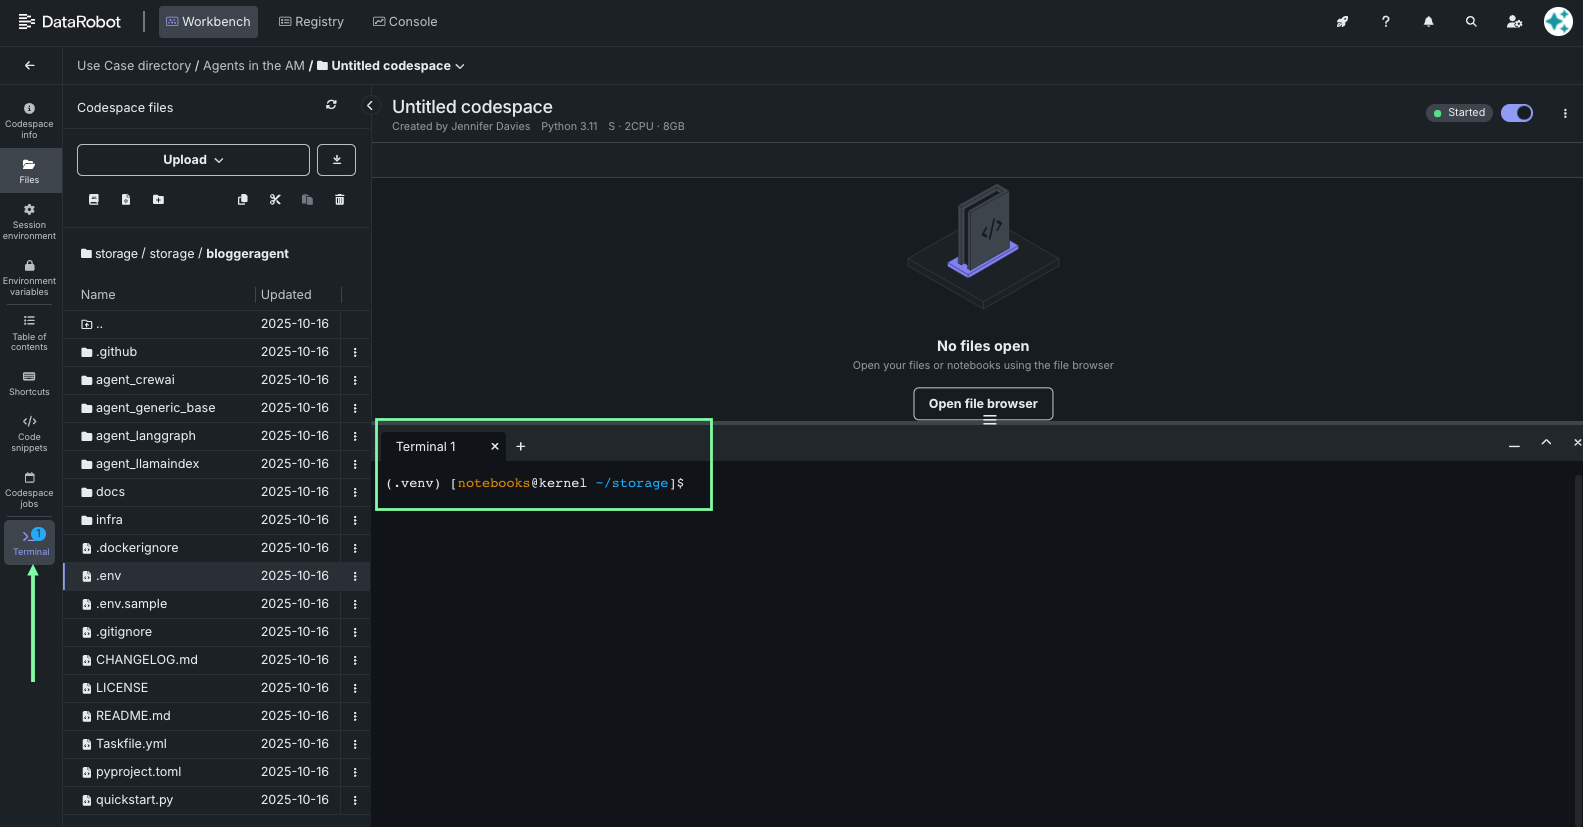
-
In the terminal, type
dr startand press Enter.dr start -
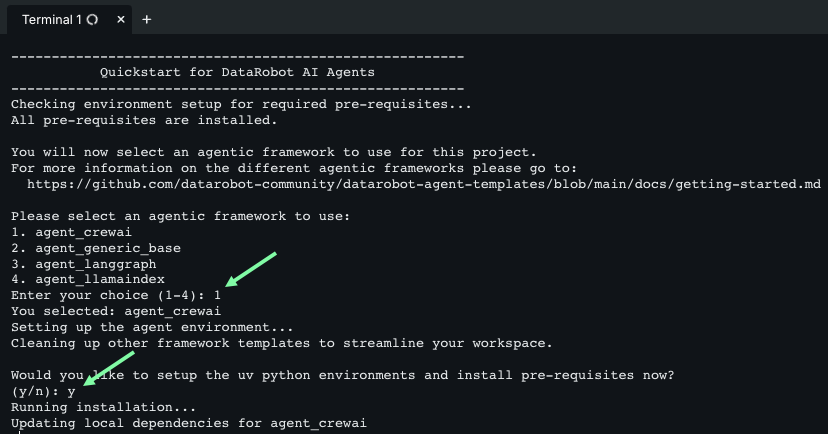
Select Agentic Starter and press Enter.

Understanding the
dr startcommandIf you are not already inside a clone of the template, the
dr startwizard walks through template selection and clone process, then configures the application and creates a.envfile. For the full step-by-step wizard, see Prepare your local development environment in the template README. -
For the next several steps, press Enter when prompted to accept the default values configured by the template. This includes the destination directory name, session secret, OAuth provider, Pulumi passphrase, Use Case ID, LLM configuration, and MCP configuration.
-
Press Enter to finish the wizard.
-
Specify whether you wish to use the NeMo Agent Toolkit by selecting
yorN. If you do not, specify which agent framework you wish to use by selecting from the list of available frameworks and press Enter.Using the NeMo Agent Toolkit
The NeMo Agent Toolkit is a low-code YAML-based framework for building agentic workflows. It provides a structured foundation that supports multi-agent workflows, state management, and complex agent orchestration patterns.
-
When prompted to choose a stack, press Enter to create a new stack.
Please choose a stack, or create a new one: [Use arrows to move, type to filter] > <create a new stack> -
Enter a stack name and press Enter.
AITAM_<LASTNAME>
When your terminal returns to the prompt, you are ready to run the application.
5. Run the application
-
Navigate to the template directory:
cd datarobot-agent-application -
Start the application frontend, backend, agent, and MCP server:
dr run dev -
When the services are ready, open the Agentic Starter interface by clicking the link alongside the port in the Exposed Ports section.
-
In the new tab, send a test message to the agent.
Tip
Initial output generation can take a few minutes, so while it is "thinking," learn about syftr, DataRobot's open-source framework for searching agentic workflow configurations to determine the optimal structure, components, and parameters for your data and use case.
- When you've finished testing, return to the terminal and press
Ctrl+Cto stop the application.
You have successfully created an agent! If you like, you can now proceed to deploy the agent to DataRobot.
6. Deploy the agent
- Ensure you are logged in to Pulumi by running
pulumi login --localor log into your Pulumi Cloud account. - Deploy to DataRobot by running
dr run deploy.
Updating during deploy
If you are prompted to perform an update during deployment, select yes to accept and perform the update.
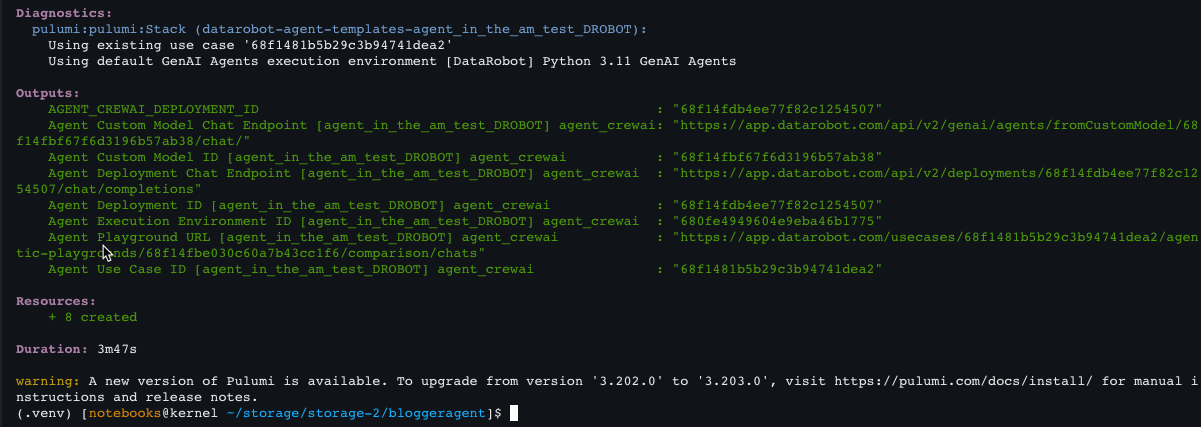
Deployment takes several minutes. When it completes, the command prints outputs such as deployment IDs, chat endpoints, and the Agent Playground URL. See Deploy your agent in the template README for details.
That's it!
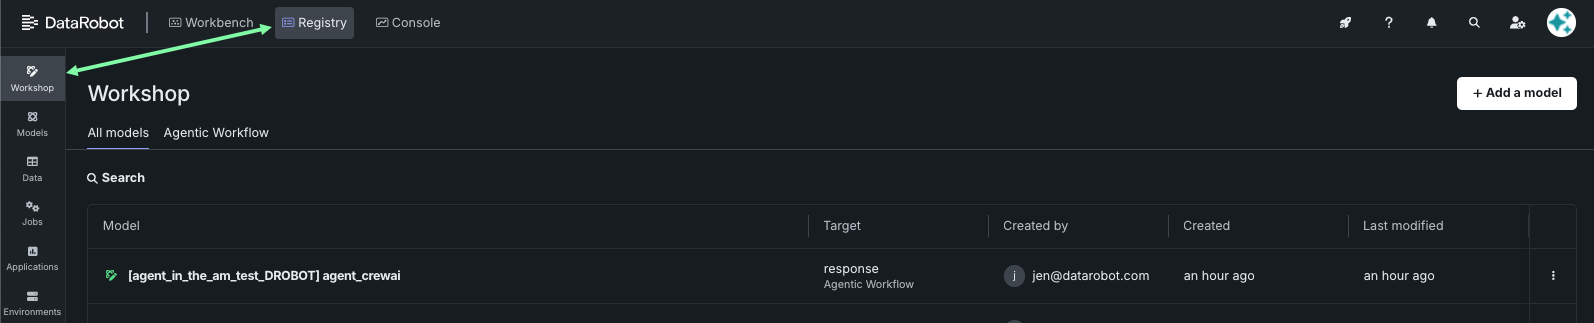
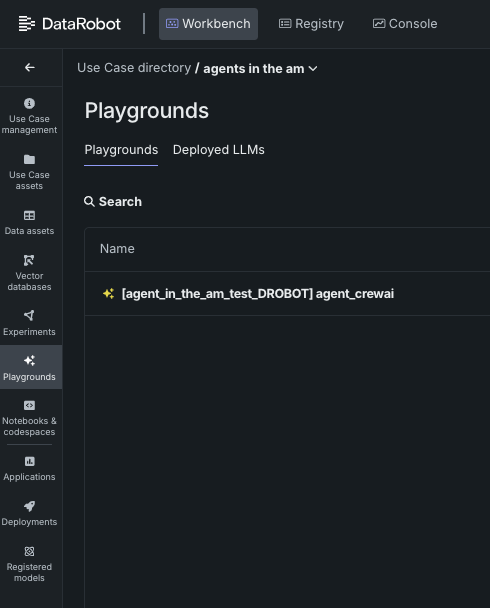
Congratulations—you now have a working agent. Feel free to leave the platform; the codespace will terminate by itself. Find your agent at any time in the Workbench Playgrounds tile.
Try this next
Continue with other agentic walkthroughs on the How-tos page, such as Talk to my Data Agent or GenAI basic.