Playground overview
A playground, another type of Use Case asset, is the space for creating and interacting with LLM blueprints. LLM blueprints represent the full context for what is needed to generate a response from an LLM, captured in the LLM blueprint settings. Within the playground you compare LLM blueprint responses to determine which blueprint to use in production for solving a business problem.
You can use playgrounds with or without a vector database. Multiple playgrounds can exist in one Use Case and multiple LLM blueprints can live within a single playground.
The suggested, simplified workflow for working with playgrounds is as follows:
- Add a playground.
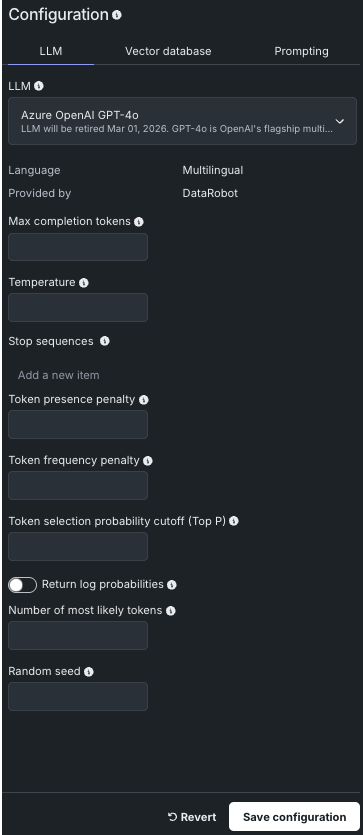
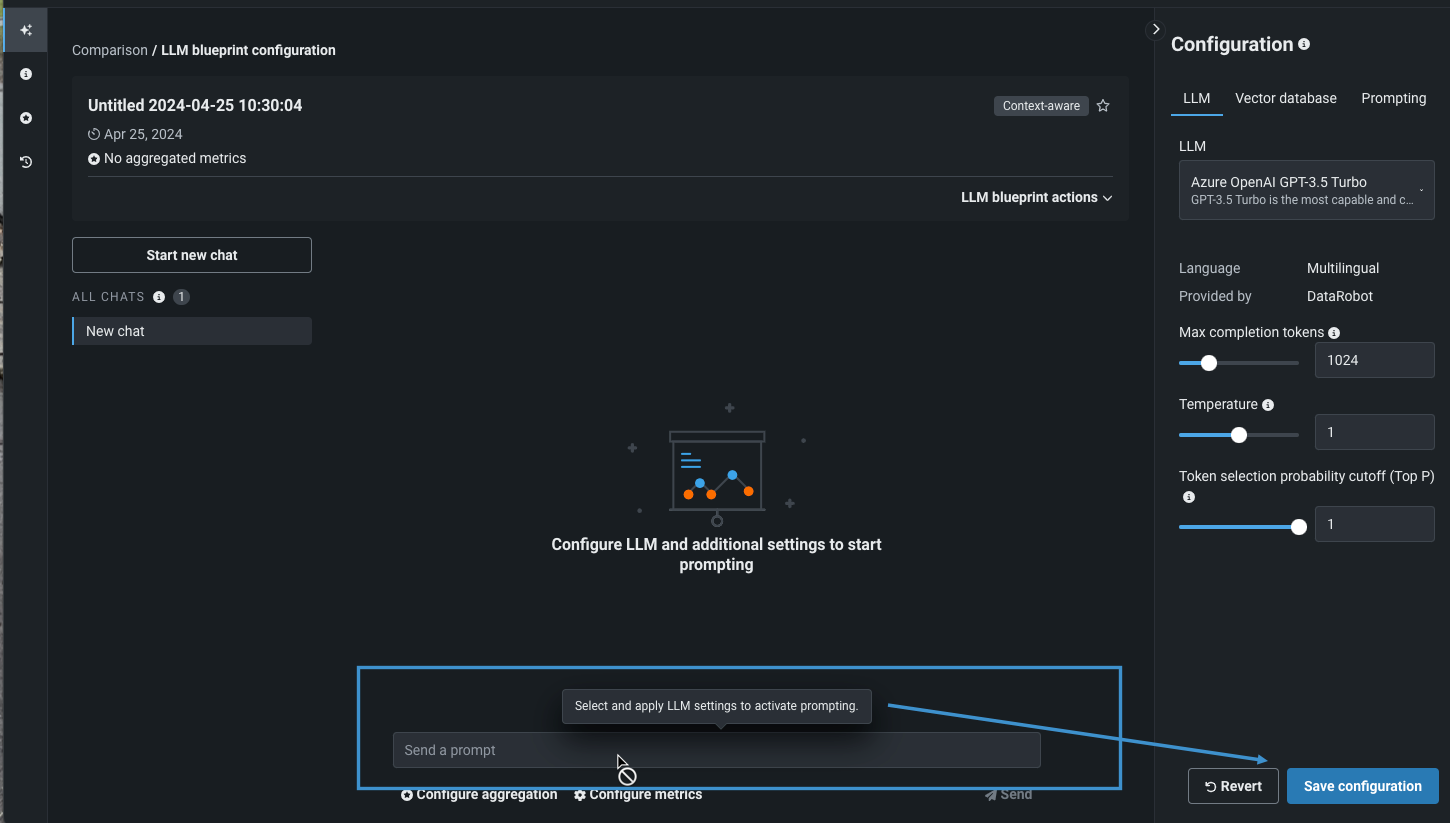
- Set the LLM blueprint configuration, including the base LLM, prompting settings, and optionally, an associated vector database.
- Chat to test and tune the LLM blueprint; view the tracing.
- Build additional LLM blueprints.
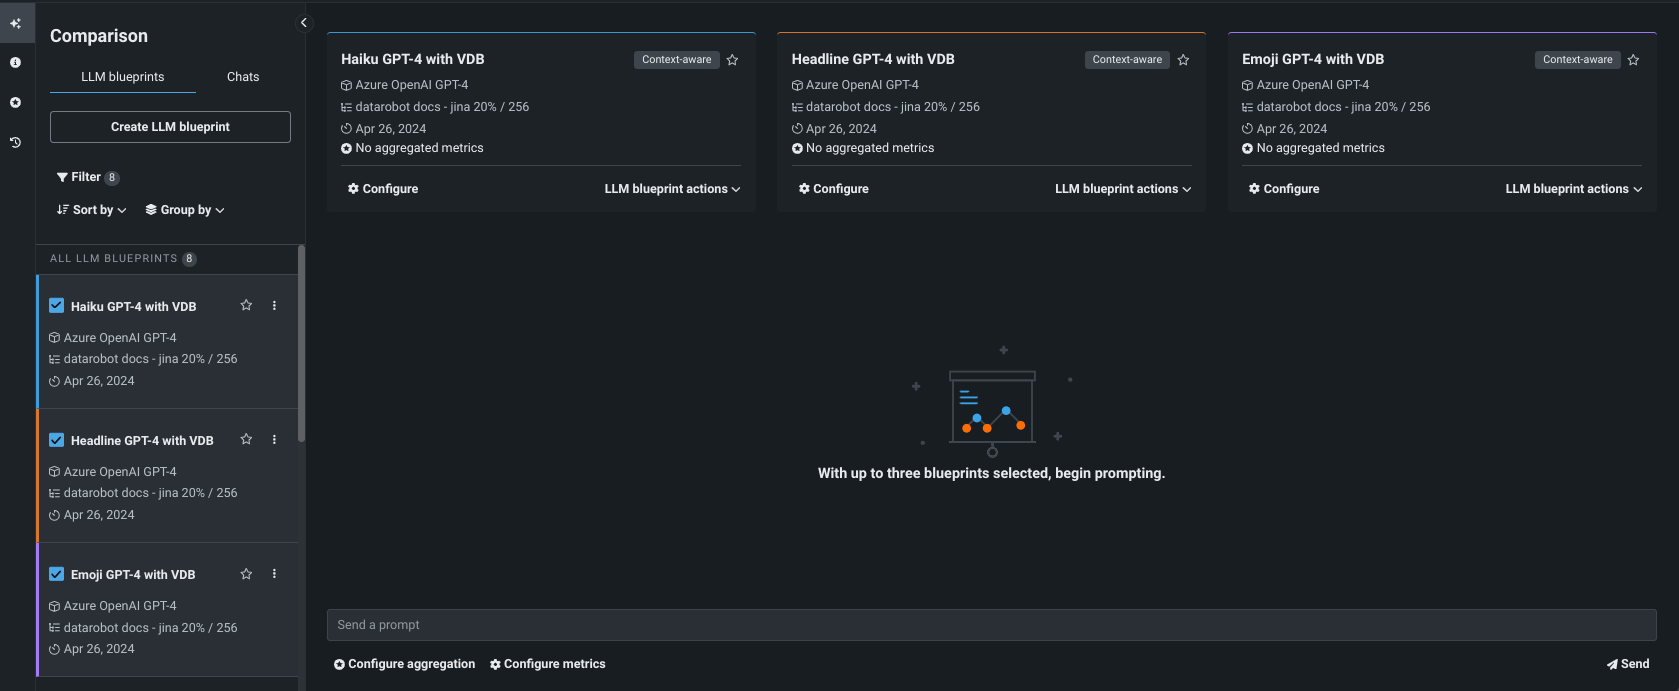
- Compare LLM blueprints side-by-side.
- Add datasets and metrics to the LLM blueprint to help evaluate responses.
Add a playground
From the Playgrounds tab, the following options are available, depending on how many playgrounds already exist:
-
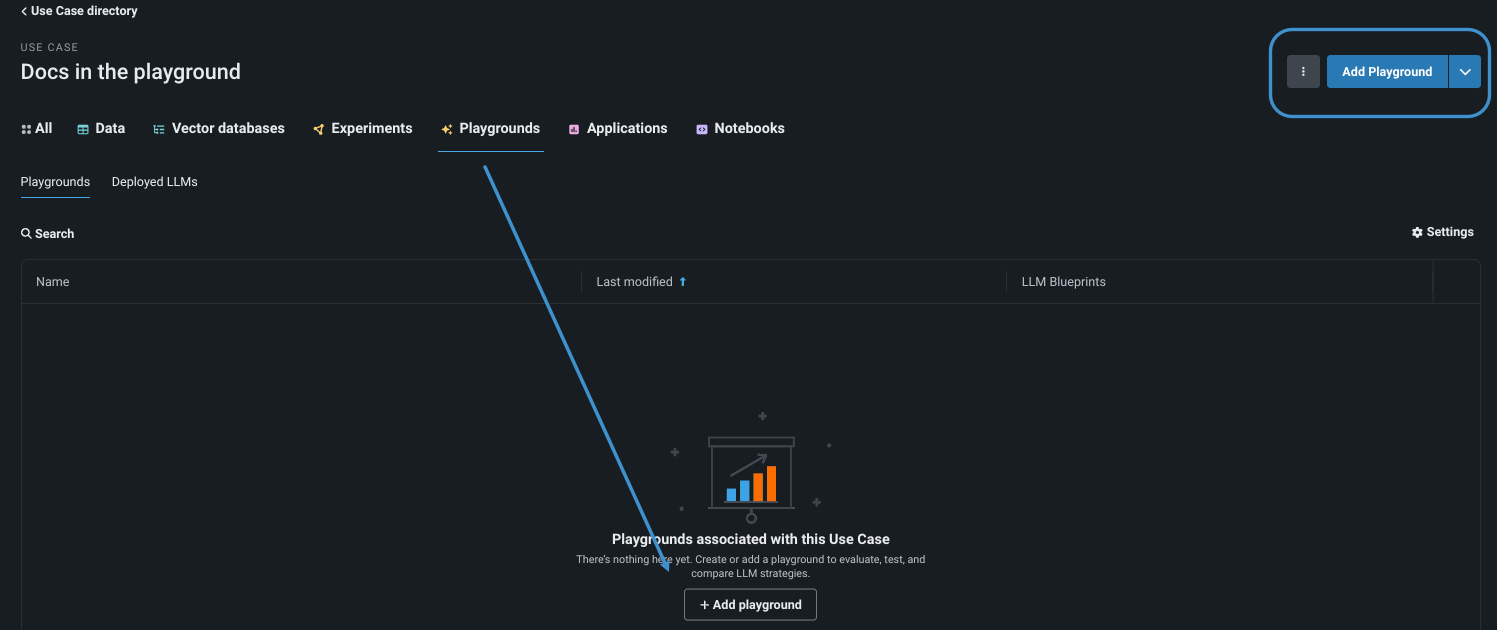
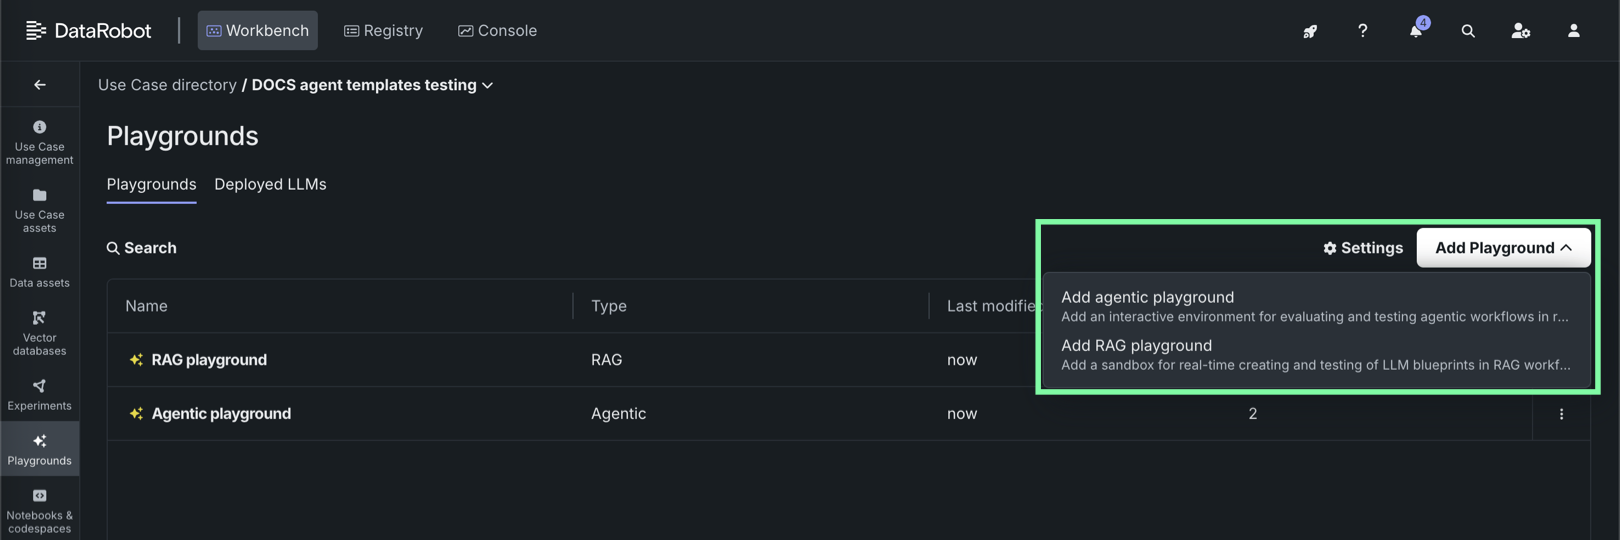
If you haven't added a playground yet, click the Add Playground dropdown in the center of the page, then click Add RAG playground. This button is only available for the first playground added to a Use Case; use the Add Playground dropdown for subsequent playgrounds.
-
If you've already added one or more playgrounds (RAG or agentic), click the Add Playground dropdown in the upper-right corner of the page, then click Add RAG playground.
Playground naming
The playground is named, by default, Playground <timestamp>. You can change the name from the Use Case directory by choosing Edit playground info in the Actions menu .
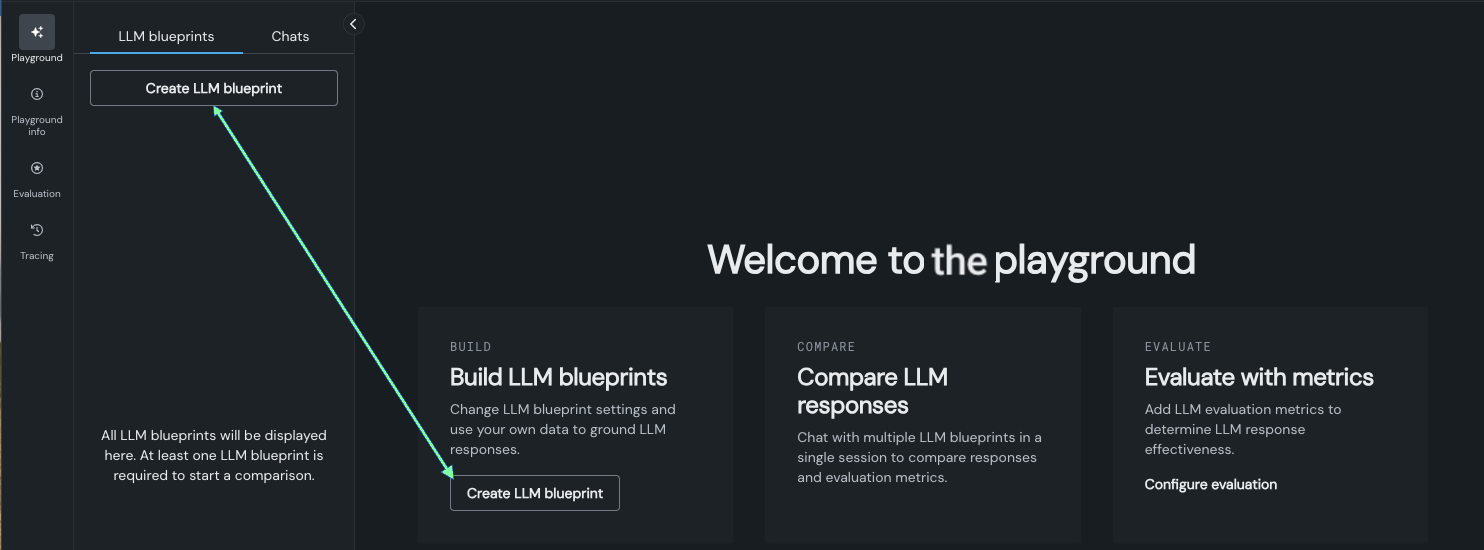
When you create a playground, the playground opens with two options for creating and configuring an LLM blueprint. From the playground you have access to all the controls for creating LLM blueprints, interacting with and fine-tuning them, and saving them for comparison and potential future deployment.
Elements of a playground
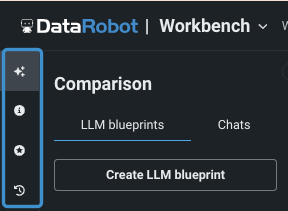
A playground has basic navigation controls to take you to specific components:
And three major work areas:
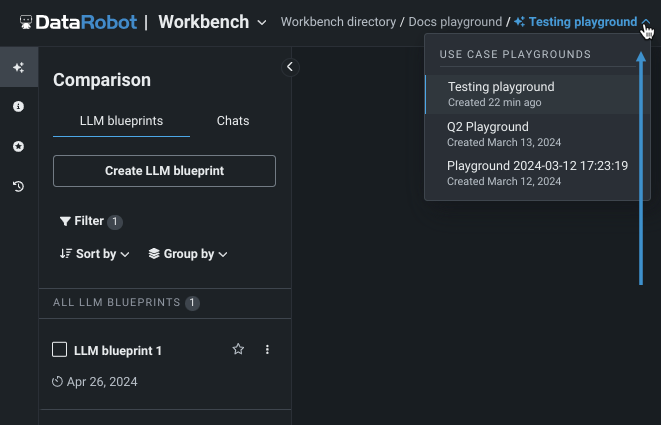
Once playgrounds are created, you can switch between them using the breadcrumbs dropdown:
Navigate the playground
On the far left, click the icons to access navigation components:
| Component | Description | |
|---|---|---|
 |
Playground | Configure LLM blueprints, compare LLM blueprints, and chat. |
| Playground information | Display playground summary information. | |
| LLM evaluation* | Configure evaluation and moderation guardrails for LLM blueprints in a playground. | |
| Tracing* | Display an exportable log that traces all components used in LLM response generation. |
* Available only if LLM assessment is enabled.
Playground information
The Playground information area provides access to the assets associated with the playground—vector databases, deployed LLMs, and deployed embedding models. It also provides basic playground metadata. Use the tabs, described in the table below, to view additional information.
| Tab | Description |
|---|---|
| Vector databases | Lists each unique vector database used in the playground and a variety of configuration metadata. Entries that are grayed out are custom vector databases—not built in DataRobot—and so DataRobot is unable to report configuration specifics. Click an entry to view expanded metadata and listings of related assets, including associated LLM blueprints, deployments, custom models, and registered models. Versioning information is also displayed. |
| Deployed LLMs | Lists each deployed LLM that is part of at least one LLM blueprint configuration in the playground. For each entry, metadata reports creation information, deployment name, and the prompt and response column names that were defined when assigning a deployed LLM to the blueprint. |
| Deployed embedding models | Lists each deployed embedding model that is part of at least one LLM blueprint configuration in the playground. For each entry, metadata reports creation information, deployment name, and the prompt and response column names that were defined. |
Note
Regardless of how many LLM blueprint configurations a vector database, deployed LLM, or deployed embedding model is used in, the listing displays a single entry.
Playground information page tools
Click on a playground name or description to make changes. When you add a description, it displays under the playground name at the top of the Playground information page. Click the Actions menu , located to the right of the playground name, to open a menu and delete the playground. Alternatively, you can delete a playground from the Use Case asset listing.
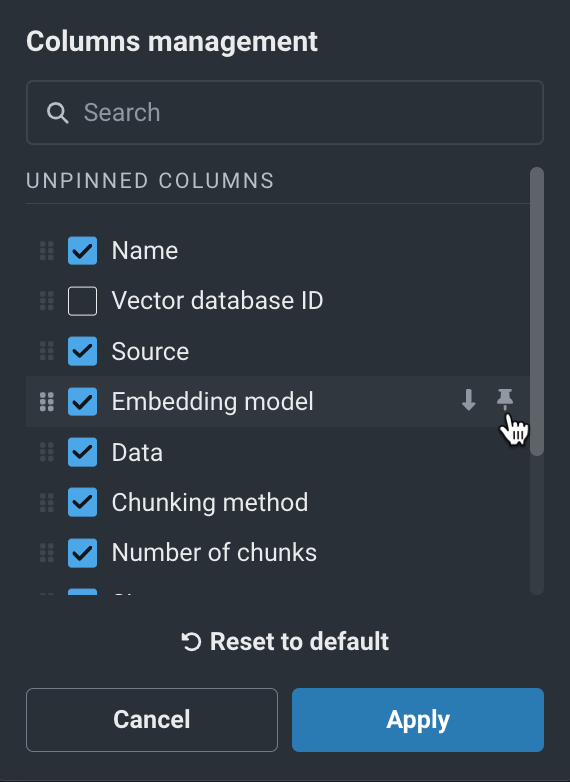
Click Settings to expose options that control the display.
