Get started with GenAI
Premium
DataRobot's GenAI capabilities are a premium feature; contact your DataRobot representative for enablement information. Try this functionality for yourself in a limited capacity in the DataRobot trial experience.
Generative AI (GenAI) in Workbench lets you experiment with LLMs, vector databases, and embeddings, then govern and operate the result in production. Use hosted models or bring your own libraries, LLMs, vector databases, and third-party tools. You can work from the UI or the API.
GenAI produces output from a single inference call: prompt in, completion out. The model's output is non-deterministic, meaning the same prompt can produce different (though similarly valid) results across runs, because the model is sampling from a distribution rather than following fixed rules.
However, success depends on more than the model. Grounding data (when you use a vector database), prompting strategy, evaluation, monitoring, and governance all affect whether a workflow is ready for production.
The same path used for predictive models applies to GenAI: experiment in a playground, register in Registry, and monitor in Console.
How to start?
- For a hands-on walkthrough, try the GenAI basic how-to.
- See the full GenAI and agentic documentation for bringing your own data and LLMs, working in code, and using NVIDIA NIM.
- Review sample use cases that help illustrate a variety of common business applications.
GenAI workflow
A typical generative workflow includes:
- Creating and versioning vector databases (optional).
- Creating LLM blueprints.
- Chatting with and comparing LLM blueprints.
- Applying evaluation metrics and compliance tests.
- Preparing an LLM blueprint for deployment.
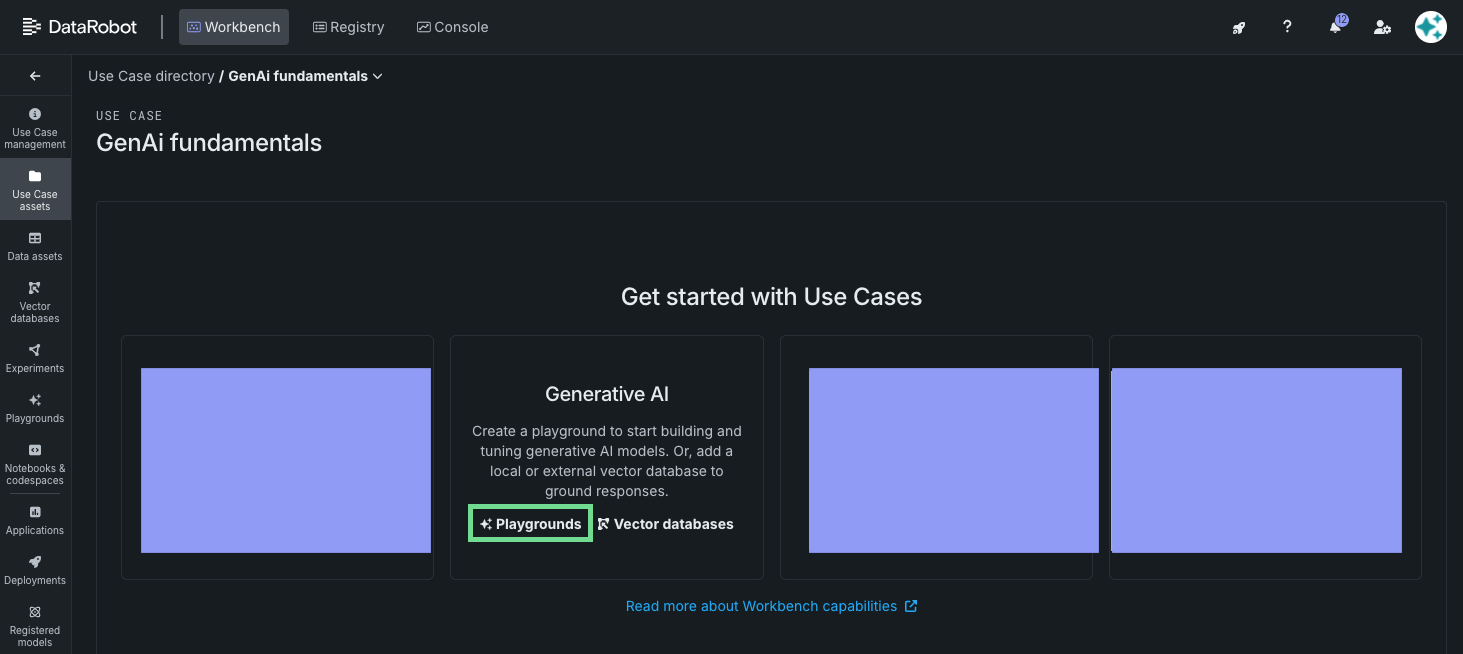
Create a Use Case and playground
Start by creating a Use Case and adding a RAG playground. A playground is the LLM experimentation environment in Workbench, where you build, compare, evaluate, and prepare blueprints for deployment.
Create a vector database
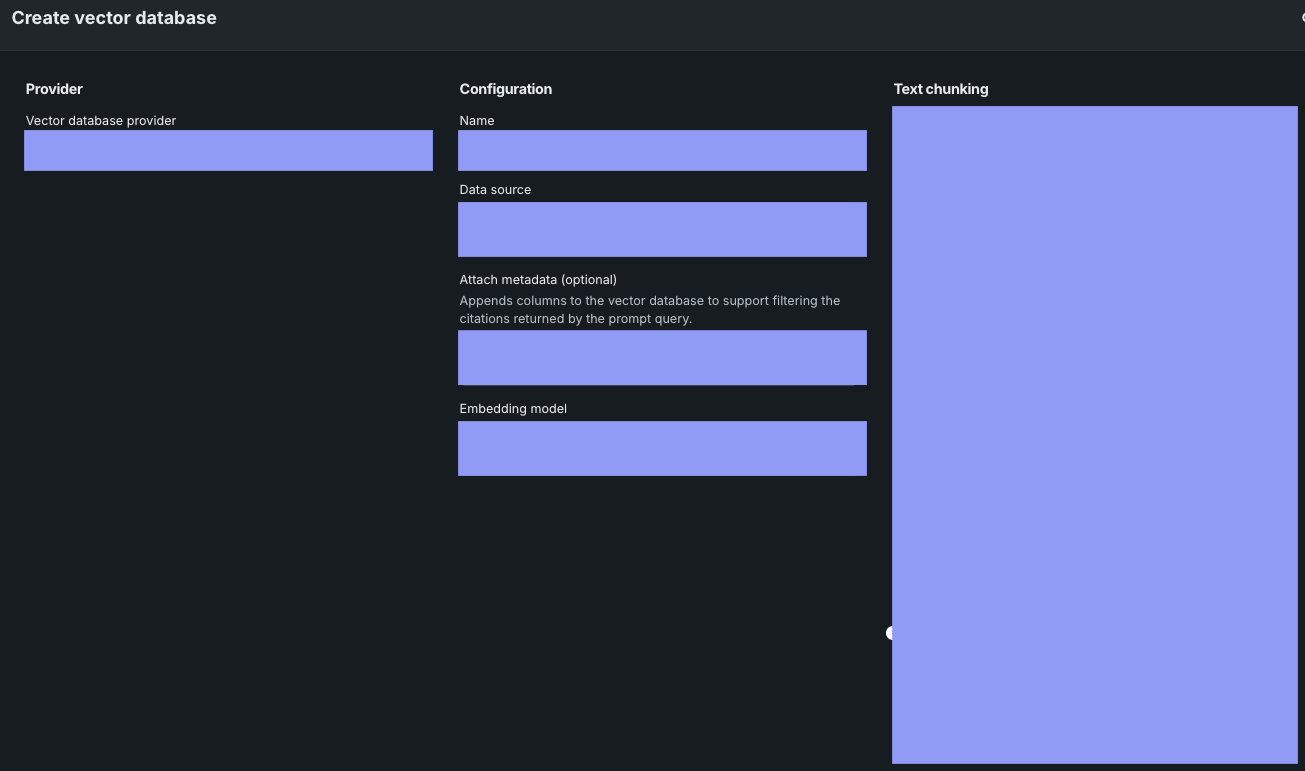
After the playground is set up, optionally add a vector database to enrich prompts with relevant context before they are sent to the LLM. When creating a vector database, you:
- Choose a provider.
- Add data.
- Set a basic configuration and text chunking details.
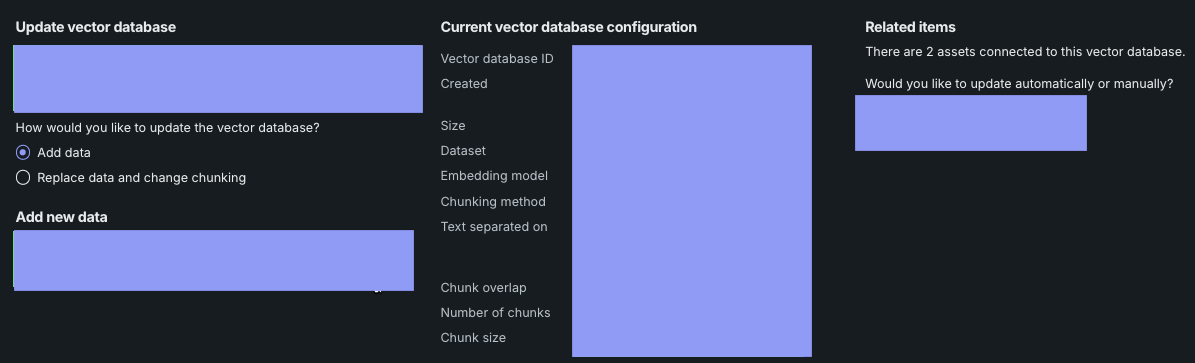
Version the vector database so the most up-to-date data is available to ground LLM responses.
Build LLM blueprints
An LLM blueprint represents the full context needed to generate a response from an LLM. You can compare the resulting output in the playground.
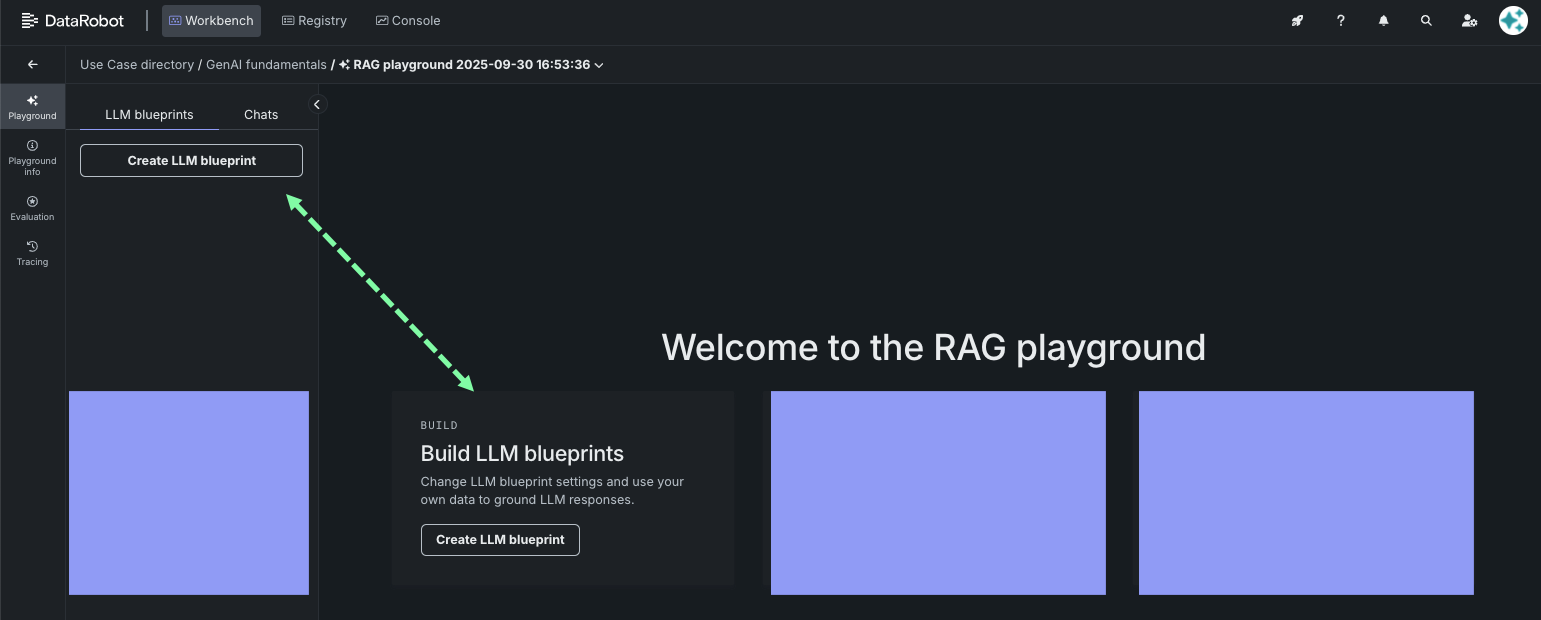
When you create an LLM blueprint, the playground opens. Select an LLM to get started and then set the configuration options.
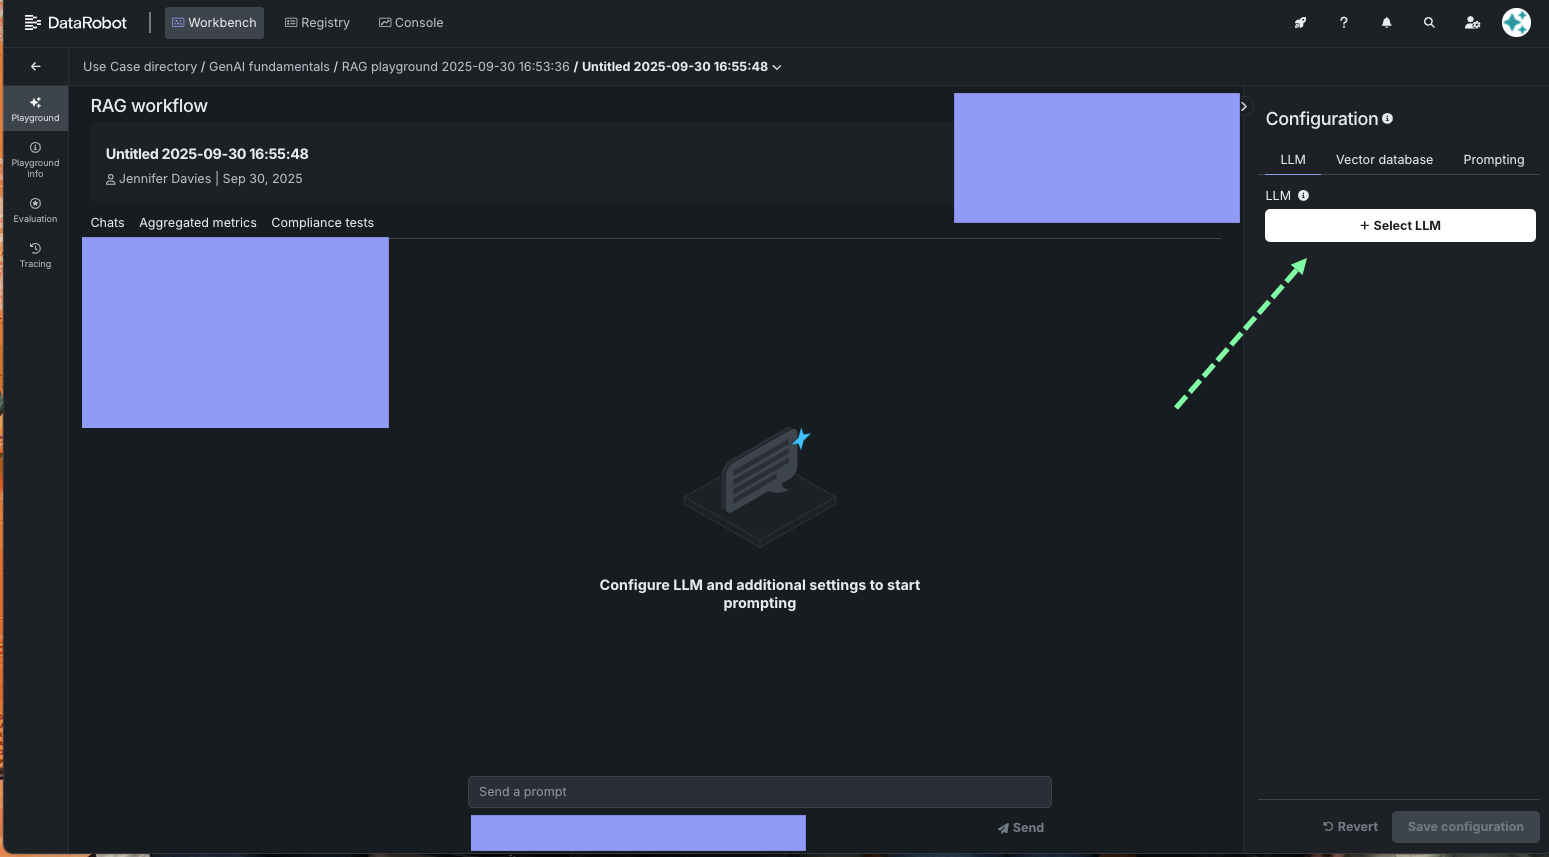
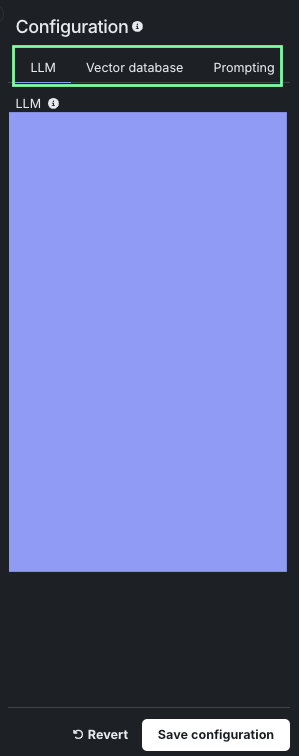
In the configuration panel, optionally add a vector database and set the prompting strategy.
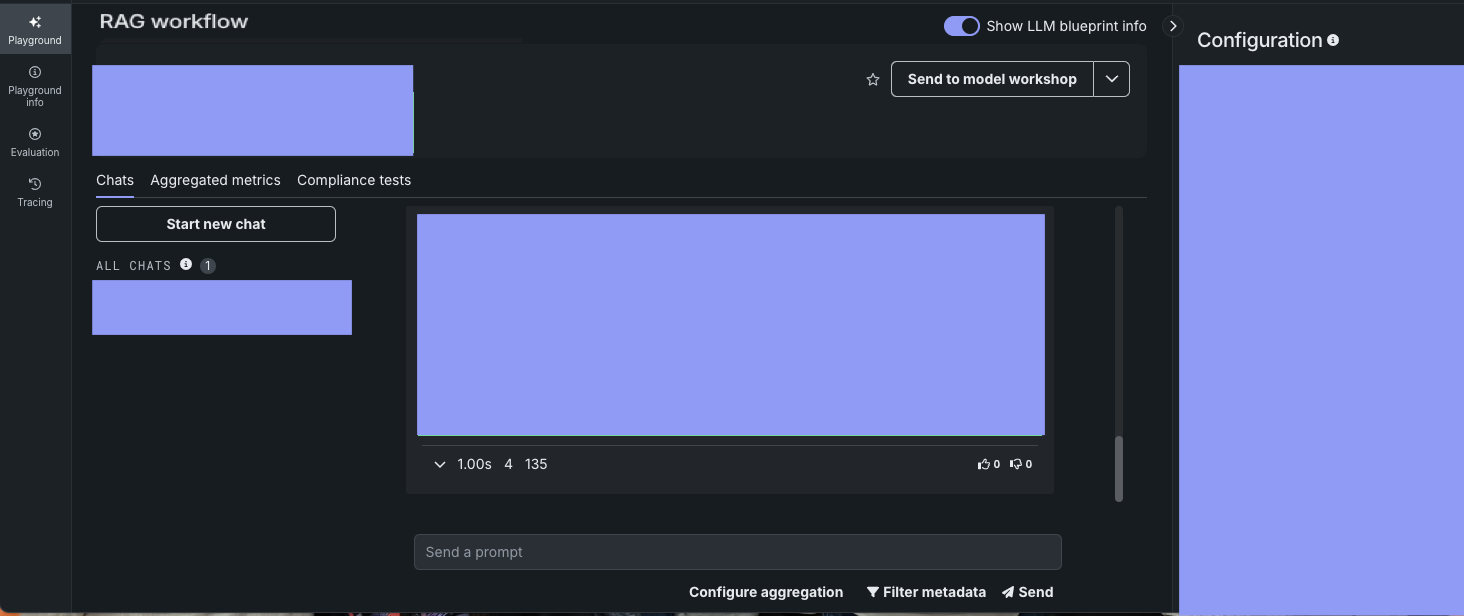
After you save, the new LLM blueprint is listed on the left.
Chat and compare LLM blueprints
After the LLM blueprint configuration is saved, send it prompts to determine whether further refinements are needed.
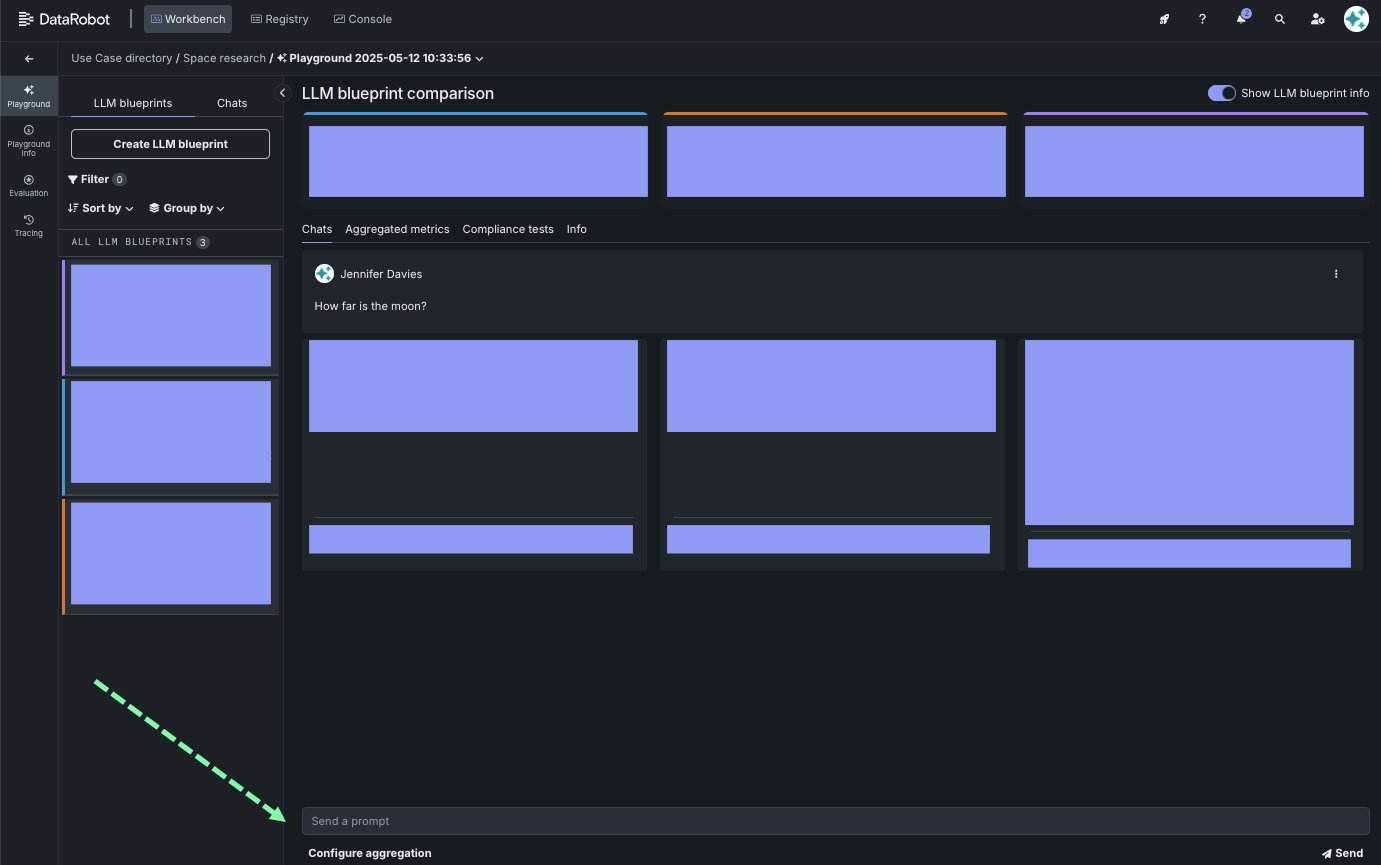
Then add several blueprints and use the comparison tool to test them with the same prompt. This helps you pick the best LLM blueprint for deployment.
See best practices for prompt engineering when chatting and comparing.
Use LLM evaluation tools
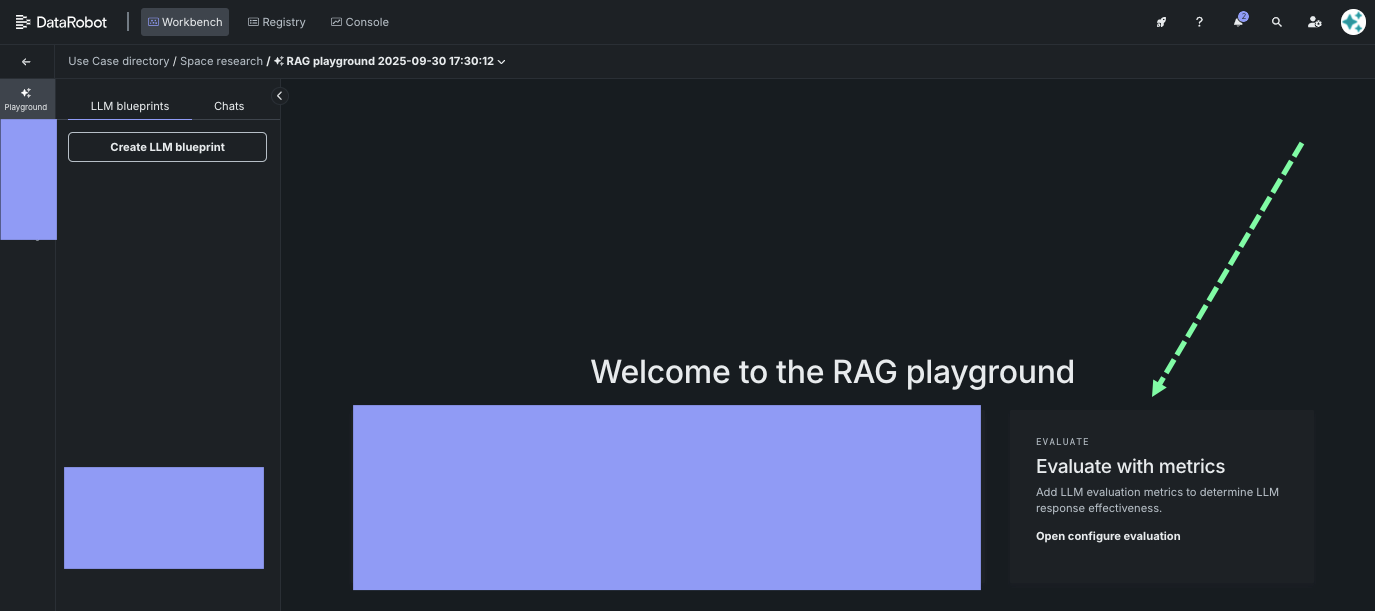
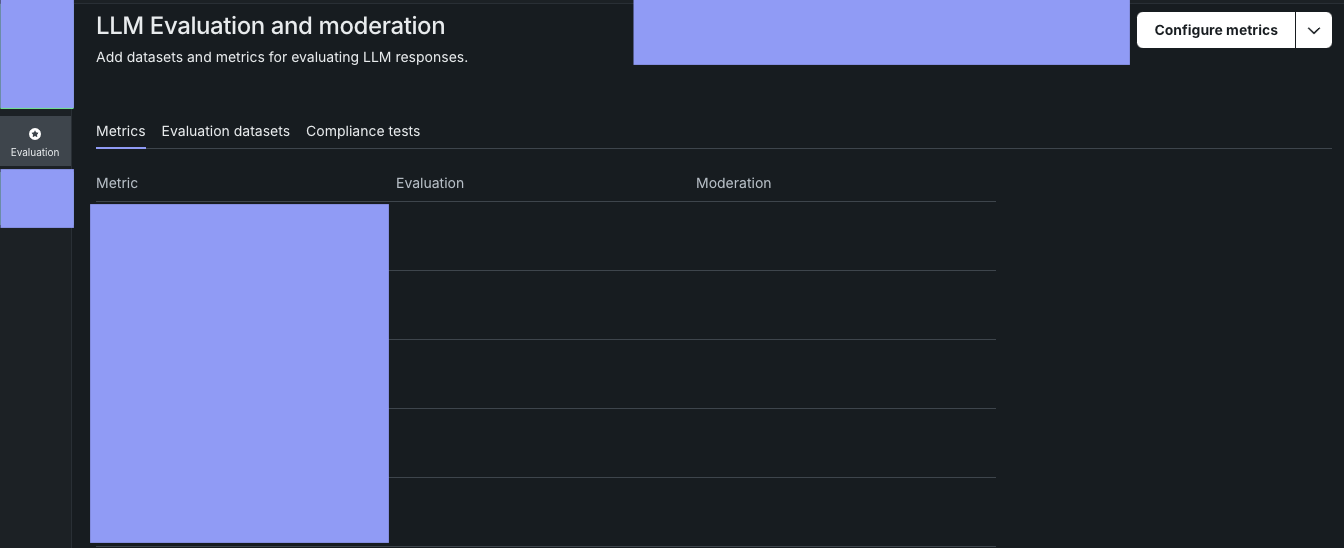
Using metrics and compliance tests, you can evaluate prompts and responses in the playground and define moderation criteria that detect and block problematic output.
Add metrics before or after configuring LLM blueprints:
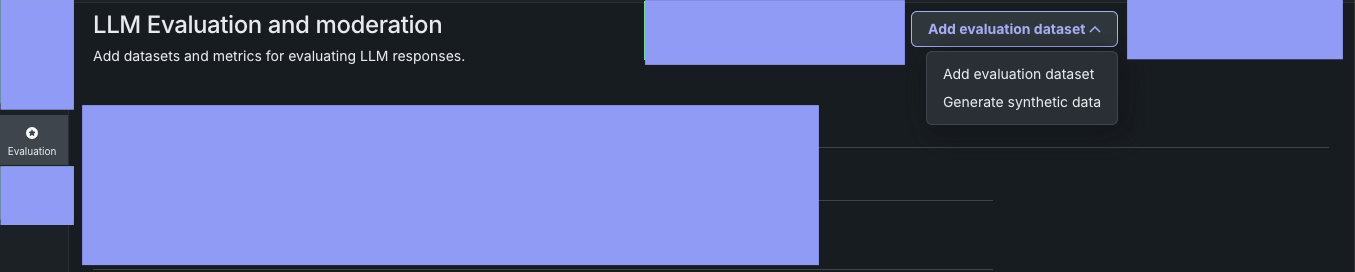
Add evaluation datasets, or generate a synthetic dataset from within DataRobot, to systematically assess how well the model performs for its intended tasks.
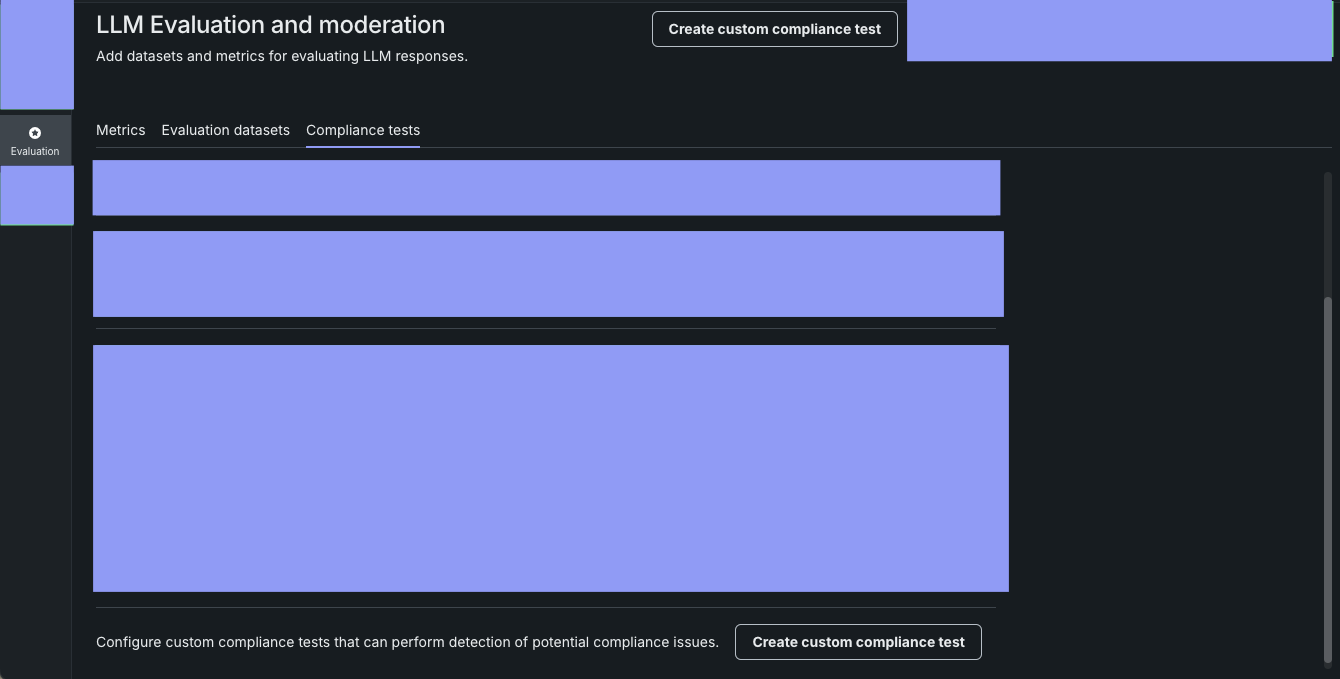
Combine evaluation metrics and an evaluation dataset to automate detection of compliance issues through test prompt scenarios. Use DataRobot-supplied evaluations or create your own.
Deploy an LLM
Once you are satisfied with the LLM blueprint, send it to the Registry workshop from the playground.
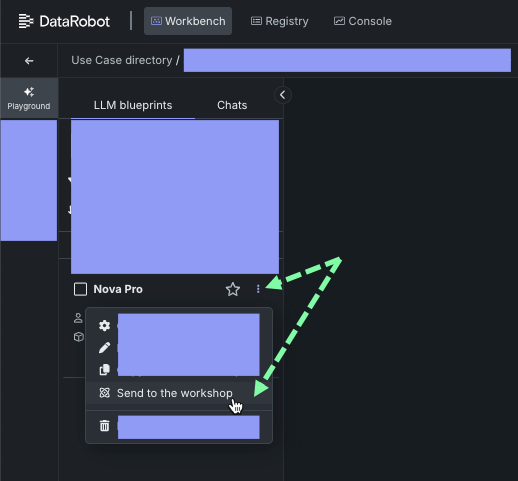
The Registry workshop is where you test the LLM custom model and deploy it to Console for monitoring and management.