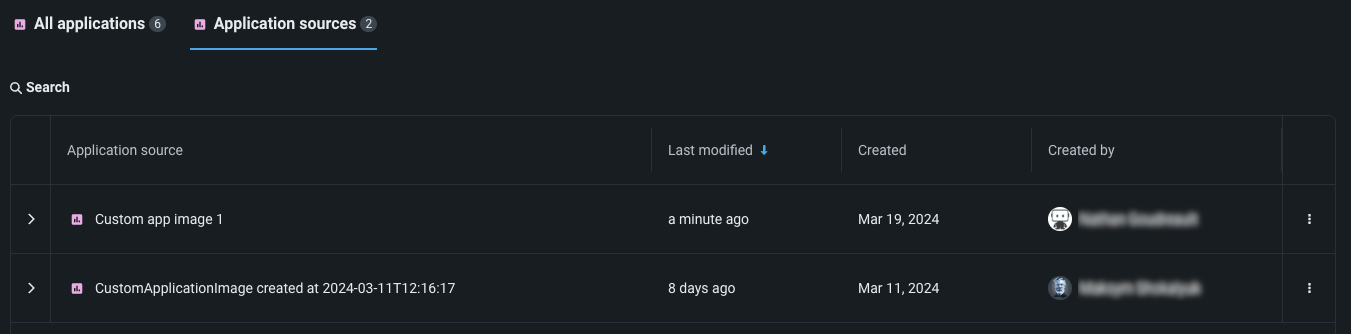
Manage application sources
An application source contains the files, dependencies, and environment from which an application can be built. In Registry, select the Application sources tile to view all the sources that you can build applications from.
Add an application source
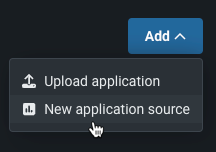
To add a new application source, go to Registry > Application sources and click + Add new application source or select an option from the dropdown.
The new application source is immediately added to Registry.
Configure an application source
After creating or selecting an application source, you can choose its base environment, upload files to the source, and create runtime parameters.
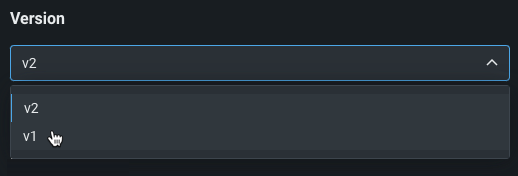
Whenever you edit any of these components of an application source, you create a new version of the source. You can select any version of a source from the Version dropdown.
To view the history of changes made to an application version, choose a version of the application from the list in the left-hand column. Then, expand the right-hand column next to the history icon to view the history of changes made.

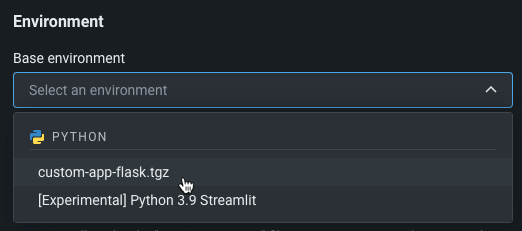
Environment
Applications run inside environments (Docker containers). Environments include the packages, language, and system libraries used by the application. Select a DataRobot-provided environment for the application source from the dropdown under the Environment header. DataRobot offers a predefined base environment named [Experimental] Python 3.9 Streamlit.
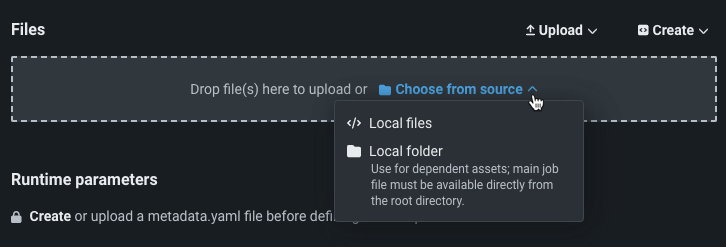
Files
In the Files section, you can assemble the files that make up the application source. Drag files into the box, or use the options in this section to create or upload the files required to assemble a custom job:
| Option | Description |
|---|---|
| Choose from source / Upload | Upload existing custom job files (run.sh, metadata.yaml, etc.) as Local Files or a Local Folder. |
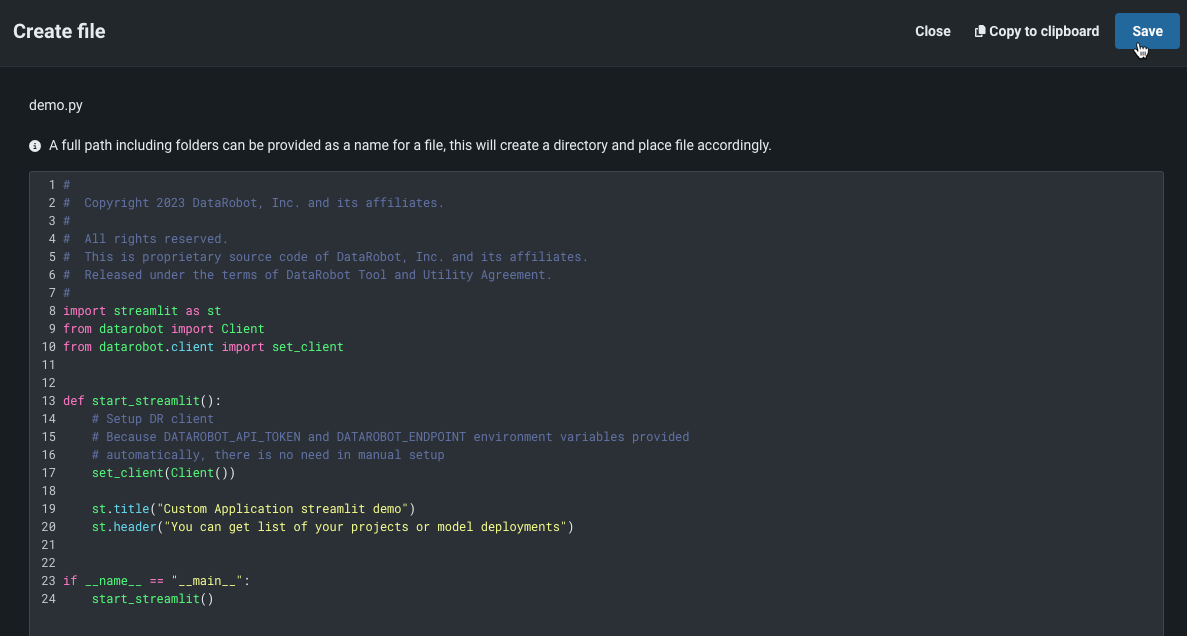
| Create | Create a new file, empty or containing a template, and save it to the custom job:
|
If you choose to create a blank text file, enter the information into the file, name it using a full path (including the folder it belongs to and the file extension), then click Save.
Build app script
If you supply a requirements.txt file in an application source, it instructs DataRobot to install Python dependencies when building an app. However, you may also want to install non-Python dependencies. To install these dependencies, application sources can contain a build-app.sh script, called by DataRobot when you build an application for the first time. The build-app.sh script can run npm install or yarn build, allowing applications to support dependency installation for JavaScript-based applications. When you build an application with this script, the script should include set -e so that it properly fails if errors occur during the build process.
The example below outlines a sample build-app.sh script for a custom node application.
#!/usr/bin/env sh

# add set -e so if the npm install fails, the build will be marked as failed
set -e

cd client

echo "Installing React dependencies from package.json..."
npm install

echo "Building React app..."
yarn run build && rm ./build/index.html
Resources
Preview
Resource bundling for applications is off by default. Contact your DataRobot representative or administrator for information on enabling this feature.
Feature flag: Enable Resource Bundles
After creating an application source, you can configure the resources an application consumes to minimize potential environment errors in production. DataRobot allows you to customize resource limits and the replicas number. To edit the resources bundle:
- Select an application source. In the Resources section, click Edit .
-
In the Update resources dialog box, configure the following settings:

Setting Description Bundle Select a resource bundle from the dropdown that determines the maximum amount of memory and CPU that can be allocated for an application. Replicas Set the number of replicas executed in parallel to balance workloads when an application is running. The default value is 1, and the maximum value is 4. Enable session affinity Send requests to the same replica. This must be enabled for stateful apps, storing data in the local file system or in memory, e.g., an app that can save chat history to a document and reference it. Some Streamlit components such as the file_uploader throw errors without this setting enabled if more than one replica is available. Internally run apps on the root path Allow an app to run on /instead of/apps/{ID}. This setting isn't required if the app automatically handles path configuration (e.g., using Gunicorn or Streamlit). It is useful for web frameworks without a solution to make all routes to work on/apps/{ID}/(e.g., R-Shiny). -
Once you have configured the resource settings for the application source, click Save.
Runtime parameters
In the Runtime parameters section, create runtime parameters to supply different values to application code at runtime, making your application easier to reuse. If you defined any runtime parameters in a metadata.yaml file, you can manage them here as well. Runtime parameters are injected into containers as environment variables (accessible through os.getenv). Parameters created via the UI persist and merge when you upload new code versions, ensuring a seamless development flow.
Runtime parameter considerations
The system uses a blocklist of reserved patterns (e.g., DRUM_*, MLOPS_*, KUBERNETES_*), managed in the dynamic configuration. Matching supports the * wildcard (not full regular expression syntax). Reserved names aren't blocked entirely: if a runtime parameter uses a reserved name, the UI displays a warning. How the variable is exposed depends on the context:
- Custom models: Only in prefixed (
MLOPS_RUNTIME_PARAM_*) and JSONified format—not as a raw (unprefixed) environment variable, to prevent system conflicts. - Custom apps: Prefixed, but values are not packed into a JSON payload (except for credentials).
- Custom jobs: No prefix and no JSON payload (except for credential types); the variable is available as a raw environment variable.
For credential-type runtime parameters, the system automatically unpacks JSON fields into separate environment variables rather than a single string. For example, a credential named MAIN_AWS_CREDENTIAL with the following JSON structure:
{"awsAccessKeyId": "<your-key-id>", "awsSecretAccessKey": "<your-access-key>"}
is unpacked into the following environment variables, combining the parameter name + JSON key, in uppercase:
MAIN_AWS_CREDENTIAL_AWS_ACCESS_KEY_ID="<your-key-id>"
MAIN_AWS_CREDENTIAL_AWS_SECRET_ACCESS_KEY="<your-access-key>"
For single-field credential types (for example, api_token, bearer, or gcp), the injected environment variable uses the bare runtime parameter name (MY_CRED), not the parameter name plus the credential field name (for example, not MY_CRED_API_TOKEN). Multi-field credential types (for example, basic or s3) keep the existing suffixed behavior: one variable per field, named {PARAMETER_NAME}_{FIELD_NAME} in uppercase snake case (for example, MY_CRED_USERNAME and MY_CRED_PASSWORD, or the AWS keys in the example above). JSON-encoded runtime parameter variables (for example, MLOPS_RUNTIME_PARAMETERS_OPEN_AI_API) are unchanged; only the flat variable for a single-field secret uses the bare parameter name.
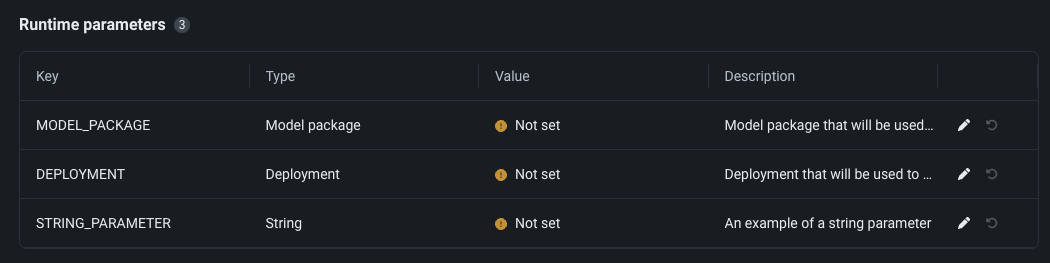
Click + Add runtime parameter to define a new runtime parameter by providing a Name, Type, Value, and, optionally, a Description.
Alternatively define runtime parameters in a metadata.yaml file. A template for this file is available from the Files > Create dropdown.
For existing runtime parameters, click Edit to edit parameter values, remove parameters, or reset parameter values.
Access runtime parameters in containers
For programmatic access to runtime parameters in containers, use DataRobotAppFrameworkBaseSettings as documented in the SDK API reference.
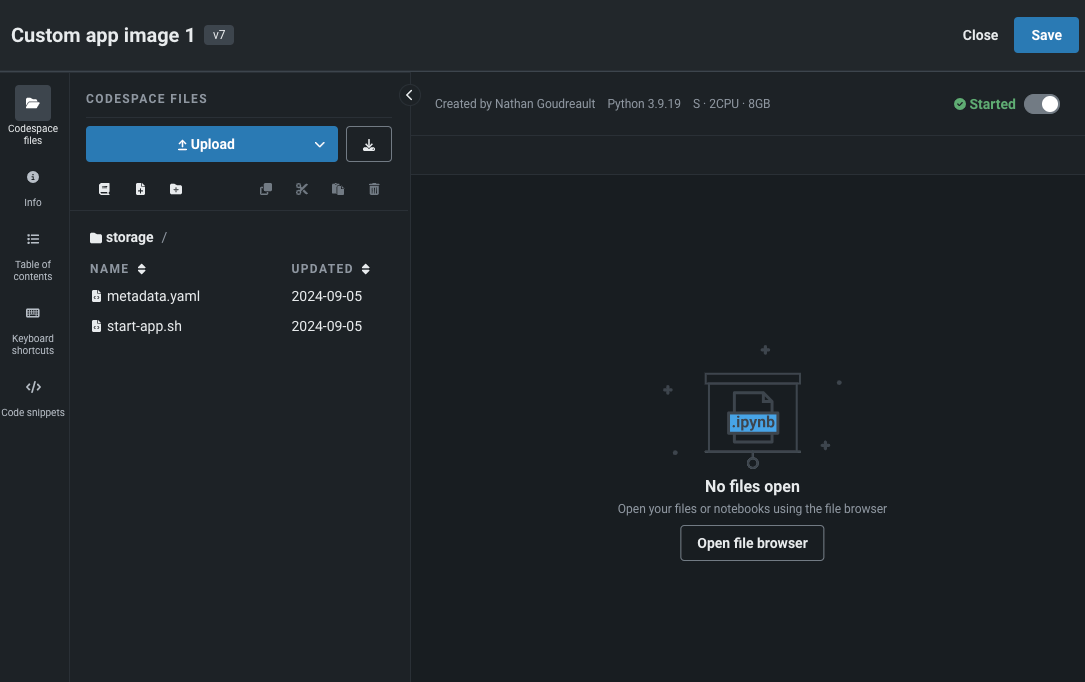
Modify an application source in a codespace
You can open and manage application sources in a codespace, allowing you to directly edit a source's files and upload new files to it.
To open an application source in a codespace, navigate to the source on Registry > Application sources page. Select it to view its contents and click Open in Codespace.

The application source will open in a codespace, where you can directly edit the existing files, upload new files, or use any of the codespace functionality.
After you finish making changes to the application source in the codespace, click Save. The application source version is updated with your changes. If you previously deployed the version of the application source that you are modifying, saving creates a new source version. Otherwise, saving maintains the same source version. If you do not want to save, click Cancel. Otherwise, click Proceed.
After saving the codespace, DataRobot returns you to the Application sources page, listing the new source version in the Version dropdown.

Replace an application source
After using an application, you may want to replace its source. Replacing an application source carries over the following from the original application:
- The application code
- The underlying execution environment
- Number of replicas
- Runtime parameters and secrets are copied over
- The t-shirt size (small, medium, or large) of the containers
Which source versions are available for replacement
Creating a new version of an application source does not, by itself, make that version available in the Replace source modal. A source version appears as a replacement option only after at least one application has been built from that version and that application still exists.
To update a production application to a different source version, first build a separate application from the target version and keep it (or keep another application built from the same version). Then use Replace source on the production application to select that version.
To replace an application source, find the application on the Applications page, open the Actions menu , and click Replace source.

In the modal, select an application source from the dropdown to replace the one currently used by the application. Each source indicates its source version. You can use the search bar to specify an application source. After selecting a replacement source, click Confirm.
As the source is replaced, all users with access to the application can still use it, even though the Open button is disabled during replacement.