すぐに作成できるエージェント
この基本ステップでは、Agentic Starterアプリケーションテンプレートを使用して、DataRobotでエージェントのワークフローを簡単に作成できることを説明します。 手順の終了後は、末尾に記載されているその他の基本ステップもお試しください。
この基本ステップでは、次のことを行います。
- Codespaceを開き、ローカル環境を作成します。
- エージェントを作成し、テストします。
- DataRobotにエージェントをデプロイします。
1. ログインしてワークベンチに移動する
-
DataRobotにログインします。ホームページが表示されます。
-
ワークベンチに移動し、新しいユースケースを作成します。
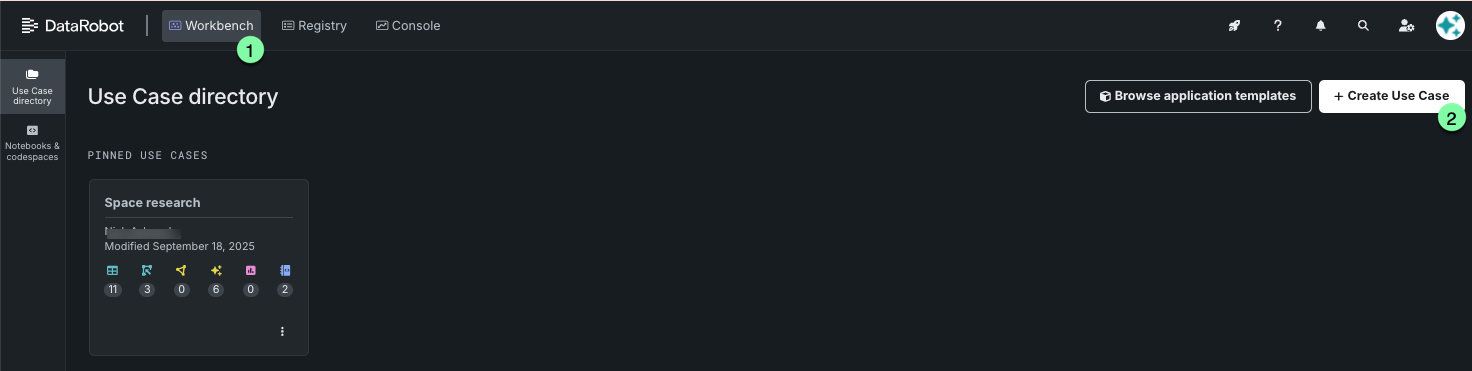
-
「Agents in the AM」という名前を付けます。
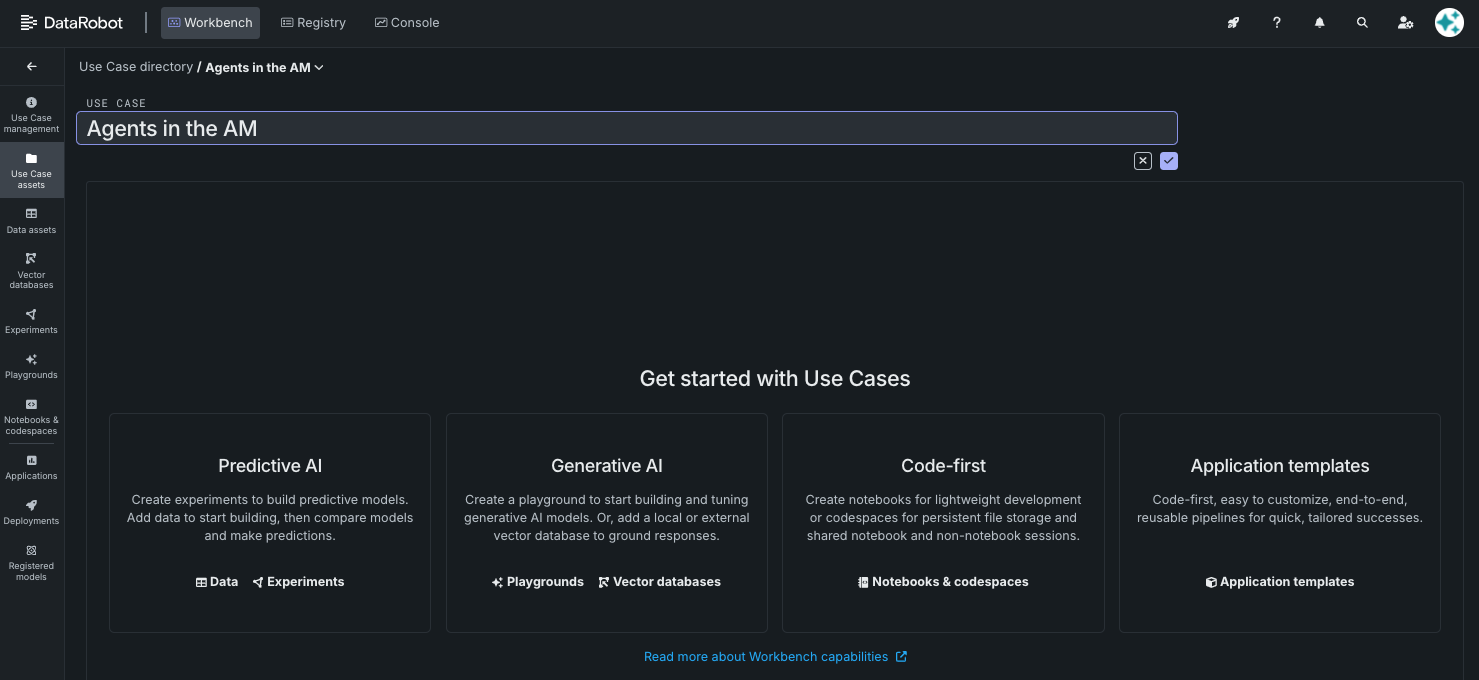
2. Codespaceの作成
-
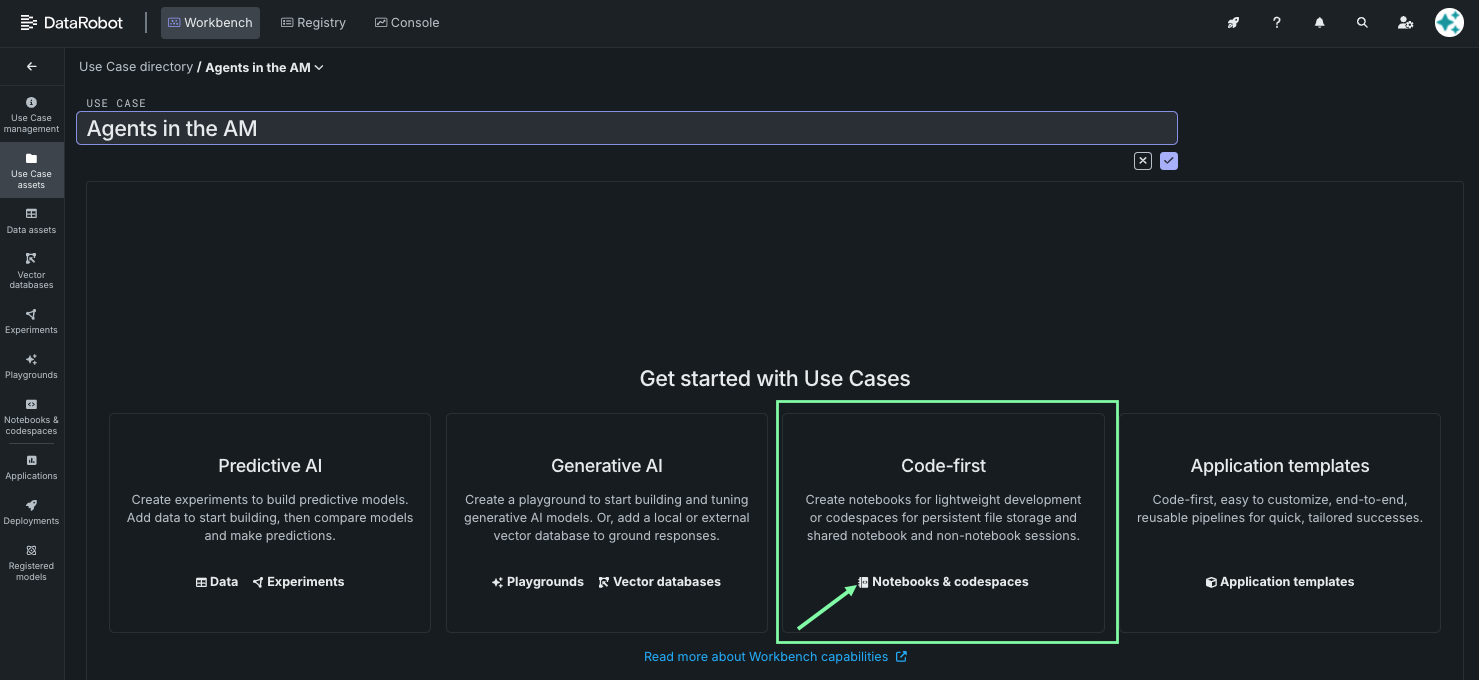
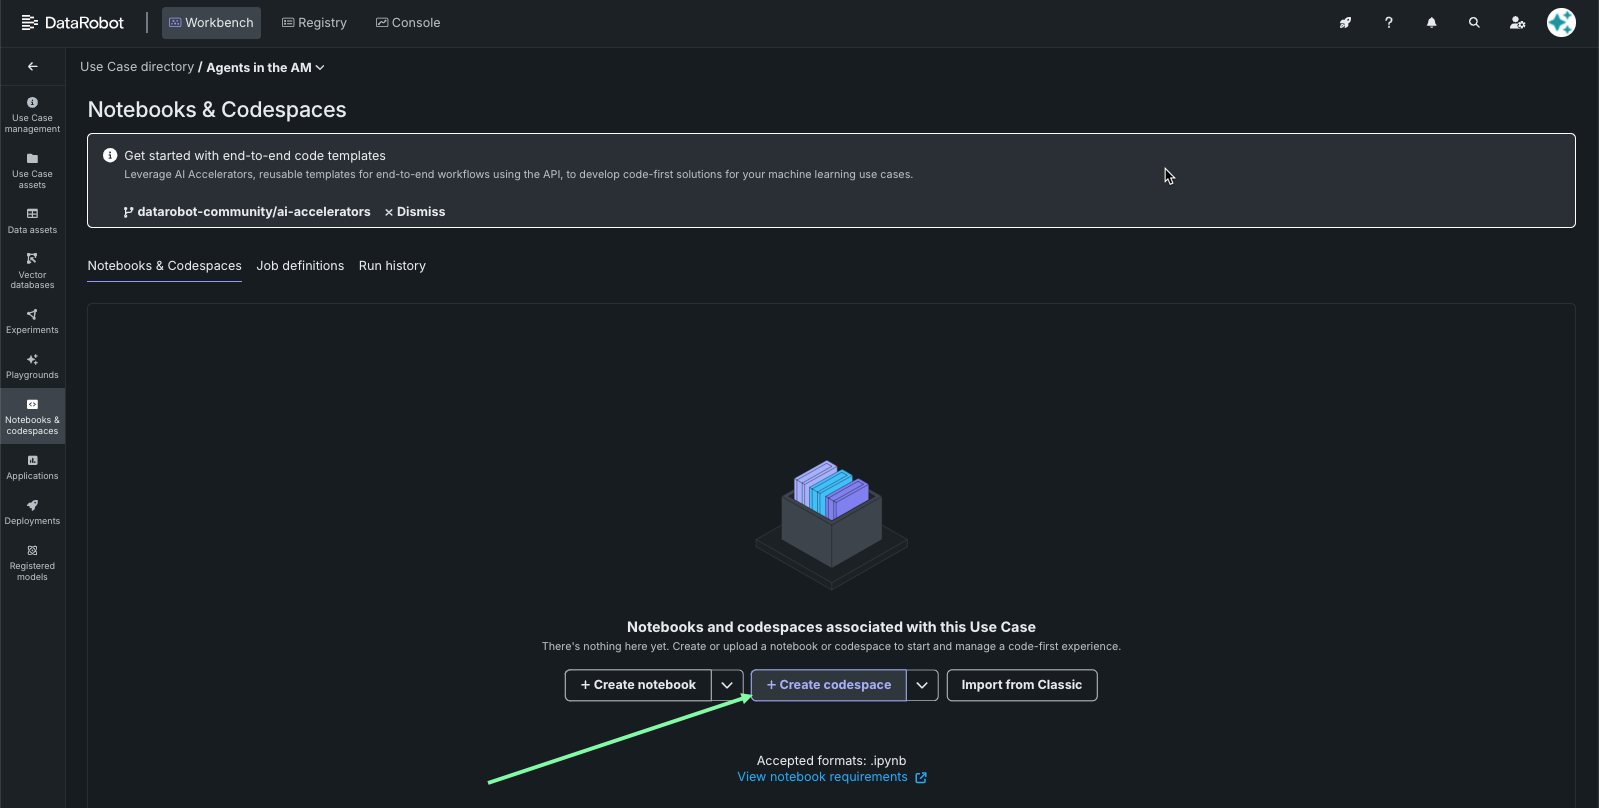
ユースケースの開始ページから、ノートブックとcodespaceをクリックしてCodespacesに移動します。
-
Codespaceを作成をクリックして、新しいCodespaceを作成します。
3. ポート転送を有効にする
DataRobot Codespace内で開発しているため、開発用ポートを公開する必要があります。 これは、セッション環境タイルの公開されているポートセクションで設定します。
-
セッション環境タイルをクリックします。
-
公開されているポートセクションで+ ポートを追加をクリックします。
-
5173と入力し、チェックマークアイコンをクリックして保存します。
4. dr startを実行する
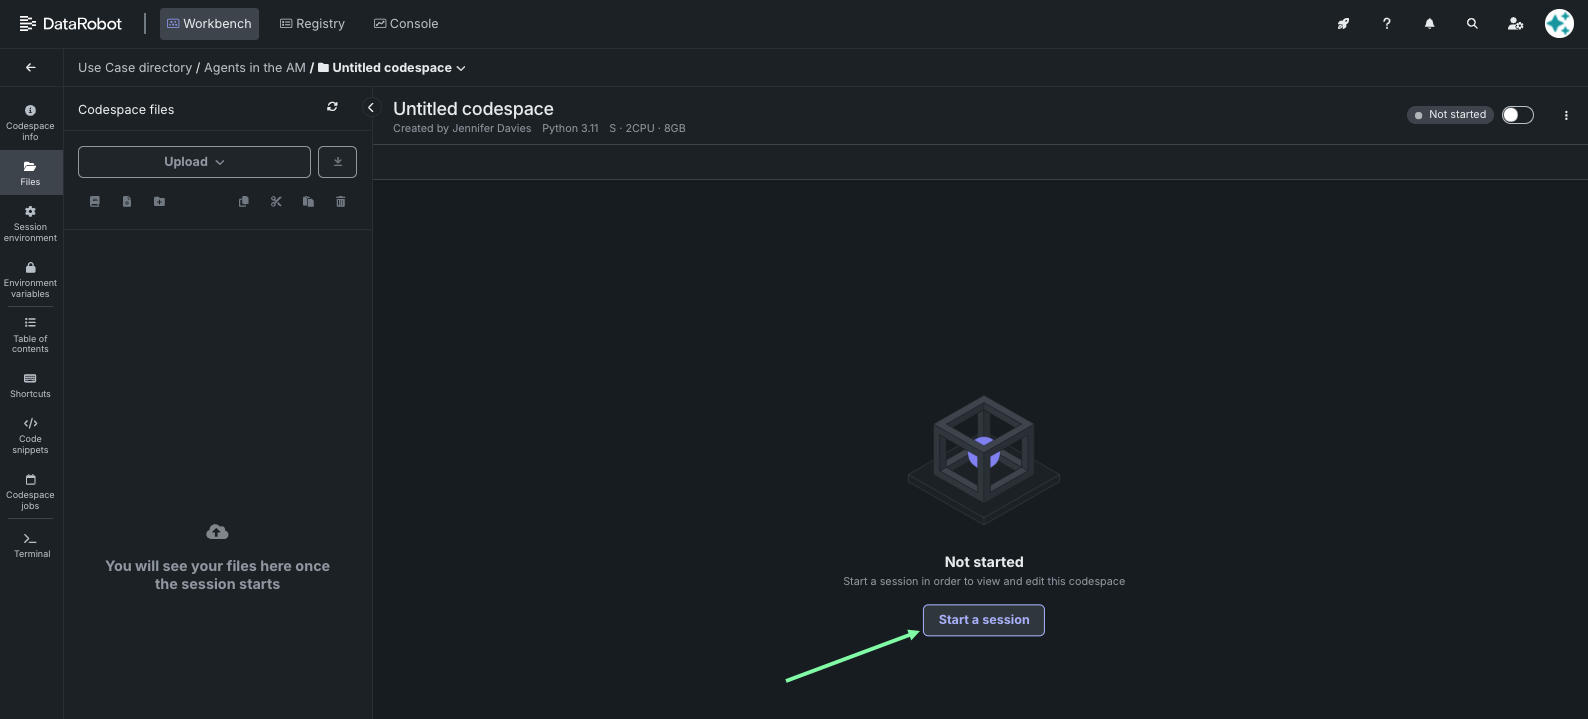
- セッションを開始をクリックして、新しいセッションを開始します。
-
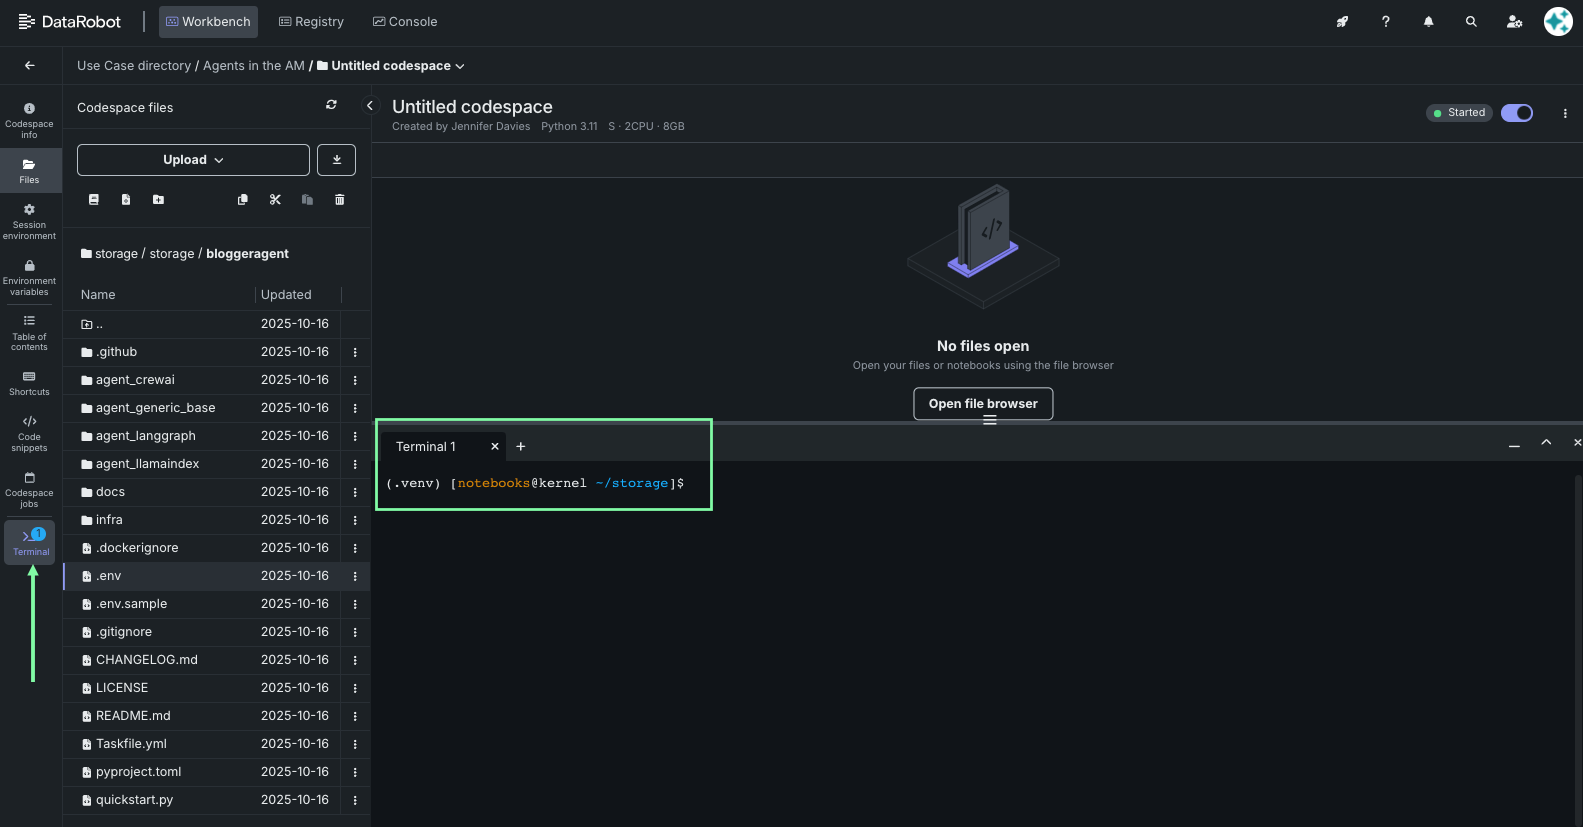
セッションが開始されたら、ターミナルタイルをクリックします。
-
ターミナルで
dr startと入力し、Enterを押します。dr start -
Agentic Starterを選択し、Enterを押します。
dr startコマンドを理解するまだテンプレートのクローンを作成していない場合は、
dr startウィザードでテンプレートの選択とクローンの作成を行ってから、アプリケーションを設定して.envファイルを作成します。 詳細なステップバイステップのウィザードについては、テンプレートREADMEのローカル開発環境の準備を参照してください。 -
次のいくつかの手順では、プロンプトが表示されたらEnterを押して、テンプレートで設定されたデフォルト値をそのまま使用します。 これには、宛先ディレクトリ名、セッションシークレット、OAuthプロバイダー、Pulumiパスフレーズ、ユースケースID、LLM設定、およびMCP設定が含まれます。
-
Enterを押して、ウィザードを終了します。
-
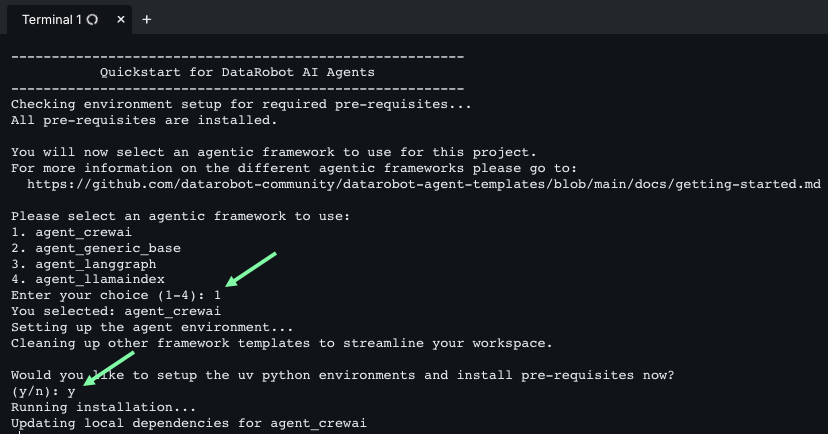
NeMo Agent Toolkitを使用するかどうかを、
yまたはNを選択して指定します。 そうでない場合は、利用可能なエージェントフレームワークの一覧から使用したいフレームワークを選択し、Enterを押します。NeMo Agent Toolkitの使用
NeMo Agent Toolkitは、エージェントワークフローを構築するための、YAMLベースのローコードフレームワークです。 マルチエージェントワークフロー、状態管理、および複雑なエージェントオーケストレーションパターンをサポートする構造化された基盤を提供します。
-
スタックの選択を求められたら、Enterを押して新しいスタックを作成します。
Please choose a stack, or create a new one: [Use arrows to move, type to filter] > <create a new stack> -
スタック名を入力して、Enterを押します。
AITAM_<LASTNAME>
ターミナルがプロンプトに戻ったら、アプリケーションを実行できます。
5. アプリケーションを実行する
-
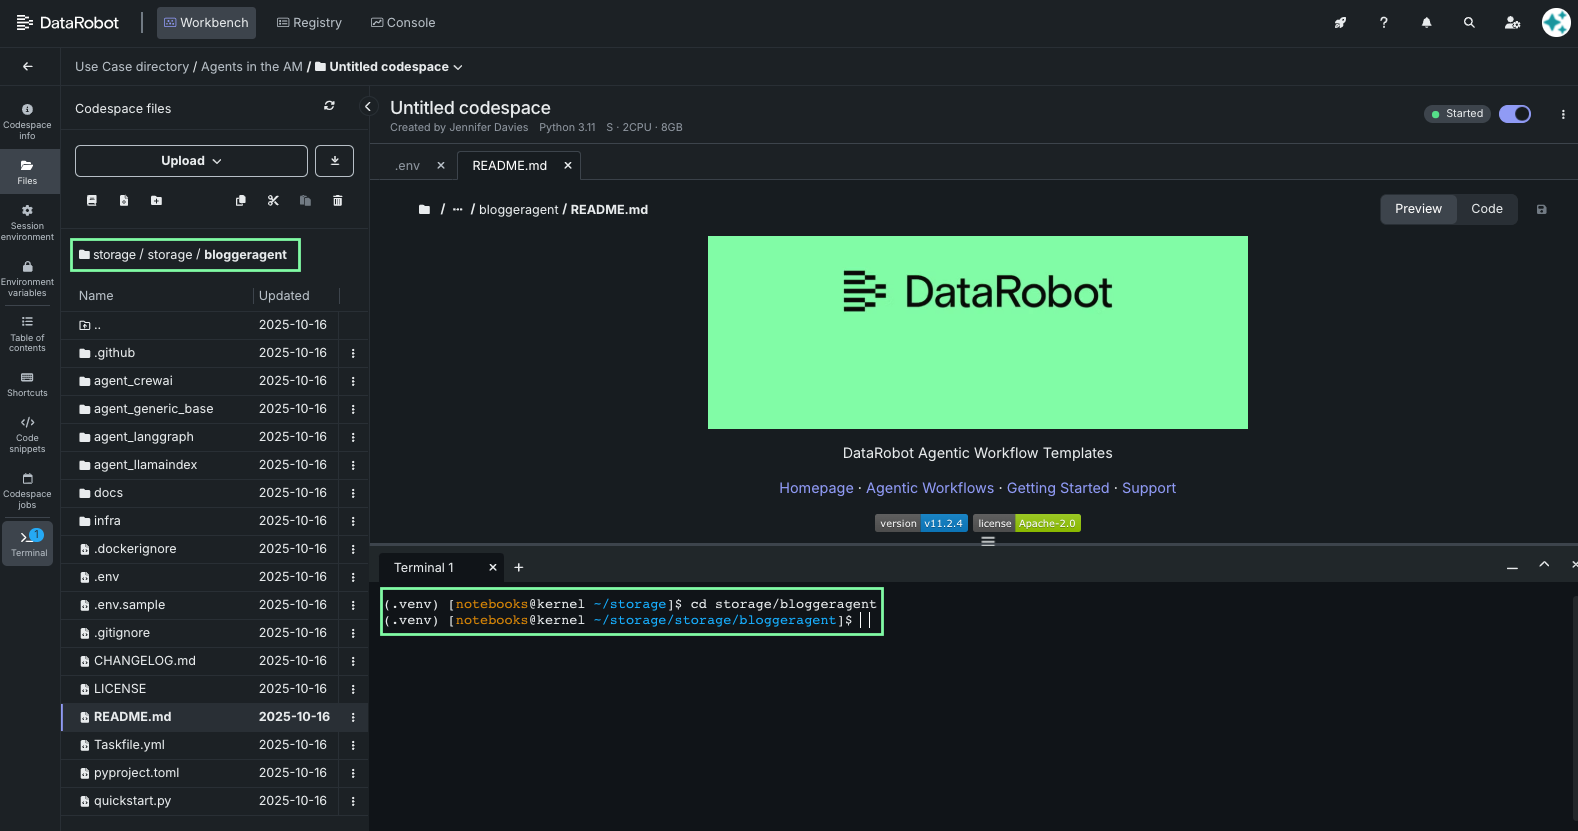
テンプレートディレクトリに移動します。
cd datarobot-agent-application -
アプリケーションのフロントエンド、バックエンド、エージェントおよびMCPサーバーを起動します。
dr run dev -
サービスの準備ができたら、公開されているポートセクションでポートの横にあるリンクをクリックして、Agentic Starterインターフェイスを開きます。
-
新しいタブで、エージェントにテストメッセージを送信します。
ヒント
最初の出力生成には数分かかることがあるため、「処理中」にsyftrについて説明します。syftrはDataRobotのオープンソースフレームワークであり、エージェントワークフローの設定を検索して、データやユースケースに最適な構造、コンポーネント、パラメーターを特定するためのものです。
- テストが終了したら、ターミナルに戻り、
Ctrl+Cを押してアプリケーションを停止します。
エージェントが正常に作成されました。必要に応じて、DataRobotへのエージェントのデプロイに進むことができます。
6. エージェントをデプロイする
pulumi login --localを実行してPulumiにログインしていることを確認するか、Pulumi Cloudアカウントにログインします。dr run deployを実行して、DataRobotにデプロイします。
デプロイ中の更新
デプロイ中に更新を実行するように求められた場合は、はいを選択して更新を受け入れ、実行します。
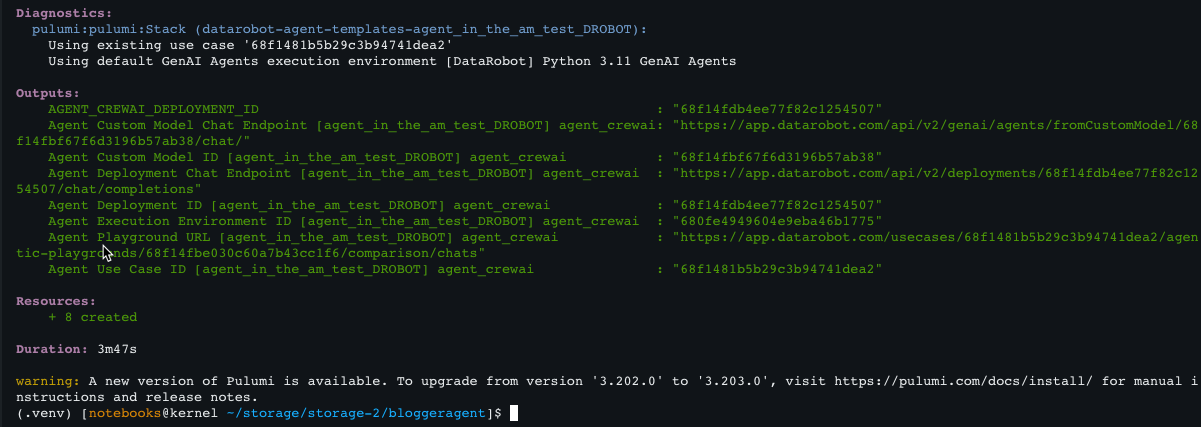
デプロイには数分かかります。 完了すると、コマンドはデプロイID、チャットエンドポイント、エージェントプレイグラウンドURLなどの出力を表示します。 詳細については、テンプレートREADMEのエージェントのデプロイを参照してください。
終了
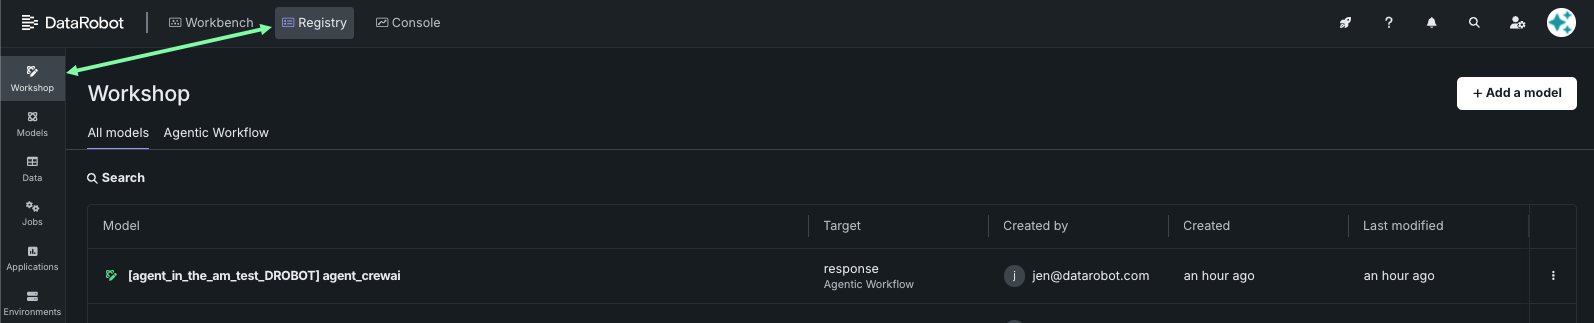
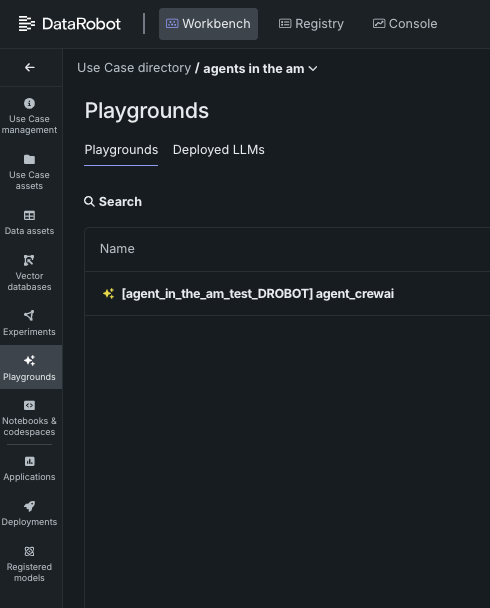
おめでとうございます。エージェントは正常に動作しています。 プラットフォームから離れてもかまいません。Codespaceは自動的に終了します。 エージェントは、ワークベンチのプレイグラウンドタイルでいつでも確認できます。
次はこれにトライ
データと会話するエージェントやGenAIの基礎など、How-toページにある他のエージェント基本ステップに進みます。