Update deployed Workloads
The Console exposes two change-event operations for an existing Workload: Promote (in-place draft-to-locked transition) and Replace artifact (swap the artifact behind the Workload, with a rollout strategy).
For routine controls (start, stop, delete, settings, sharing, importance), see Operate deployed Workloads. For the Workload list and its monitoring indicators, see View deployed Workloads.
Promote a draft Workload
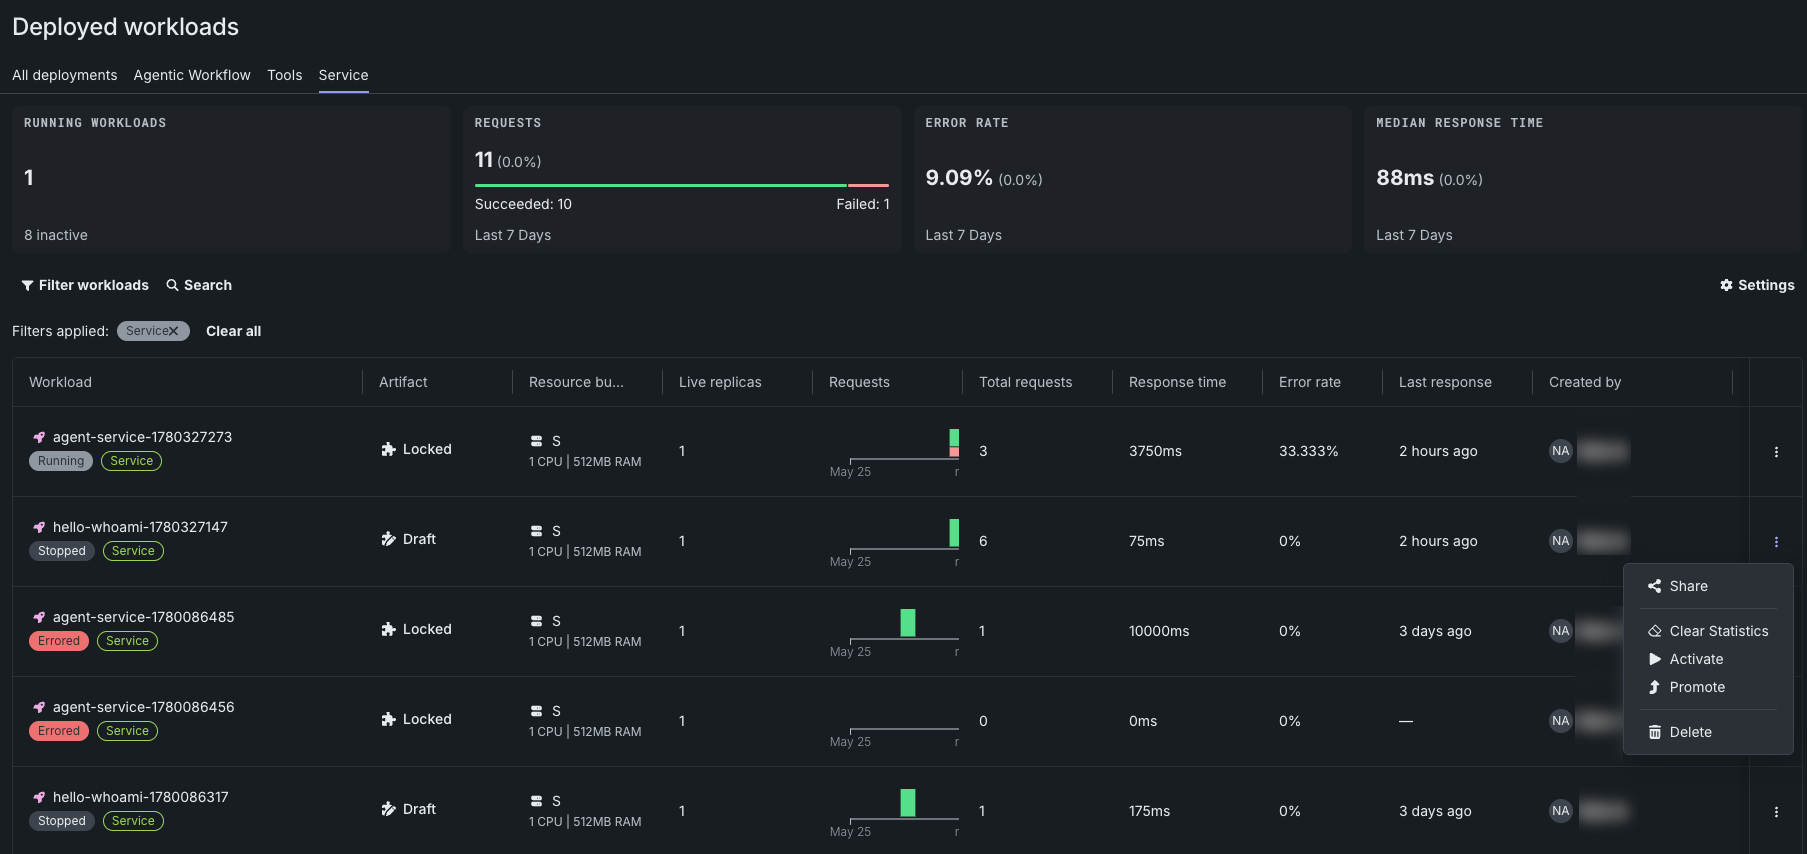
To promote a Workload, on the Console > Service tab, locate a Draft Workload (shown in the Artifact column), click the actions menu on that row, and then click Promote and confirm the promotion. The promote action is not available for Locked Workloads.
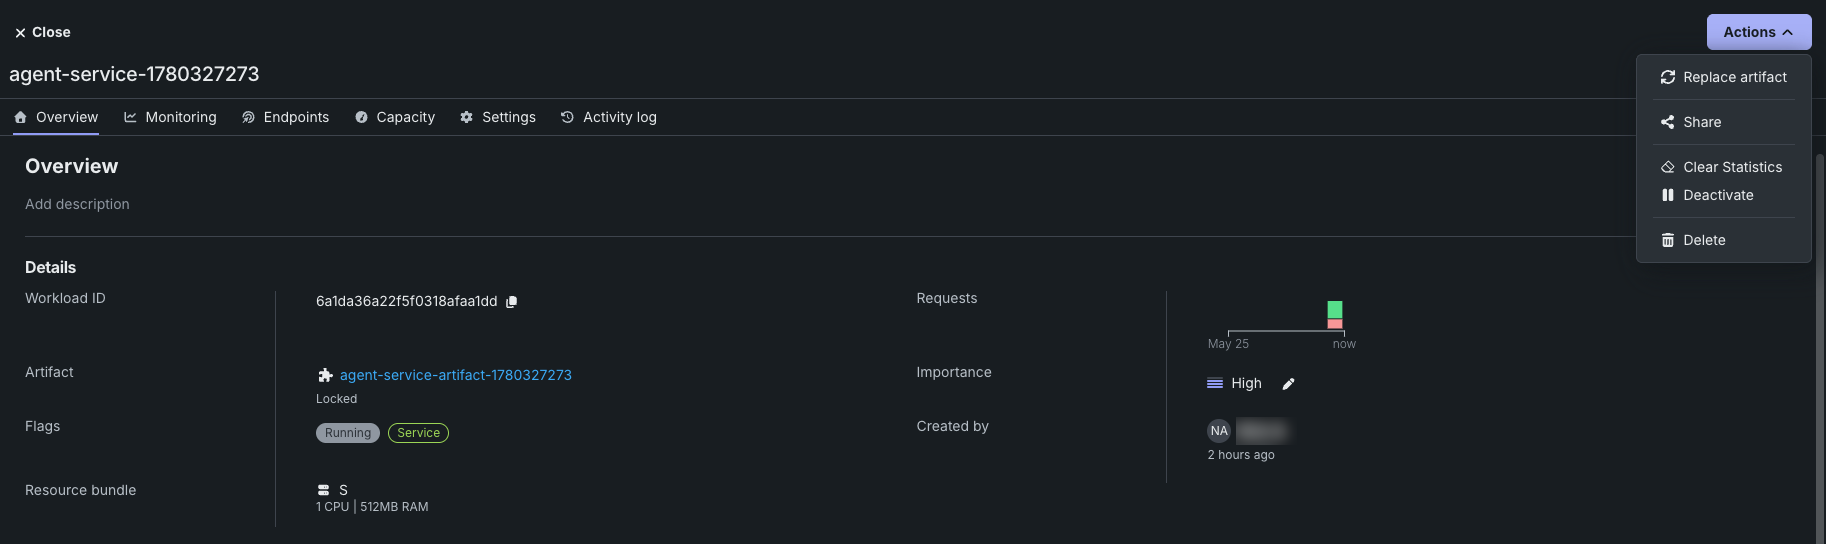
Or, from the deployed Workload's Overview tab, click the Actions menu in the top-right corner, and then click Promote. To confirm the promotion, in the Promote Workload dialog box, click Promote.
Promote transitions the Workload from draft to locked in-place: the Workload keeps its identity, endpoint, sharing, and configuration; only the lifecycle policy changes (the 8-hour draft TTL is removed, and statistics are wiped). For the underlying behavior and post-promote iteration paths, see Promote to production.
Replace the artifact behind a Workload
The Replace artifact action is available from the Actions menu on a deployed Workload's detail view only. The two-step Replace artifact panel selects a new artifact and configures the rollout.
Artifact replacement rules
The artifact statuses must match: a locked Workload can only be replaced with another locked artifact, and a draft Workload can only be replaced with another draft artifact. For the full rule set, the rolling rollout strategy, and the timing controls, see Replace and roll out.
To replace the artifact behind a Workload:
-
Open a deployed Workload. In the Actions menu in the top-right corner, click Replace artifact.
-
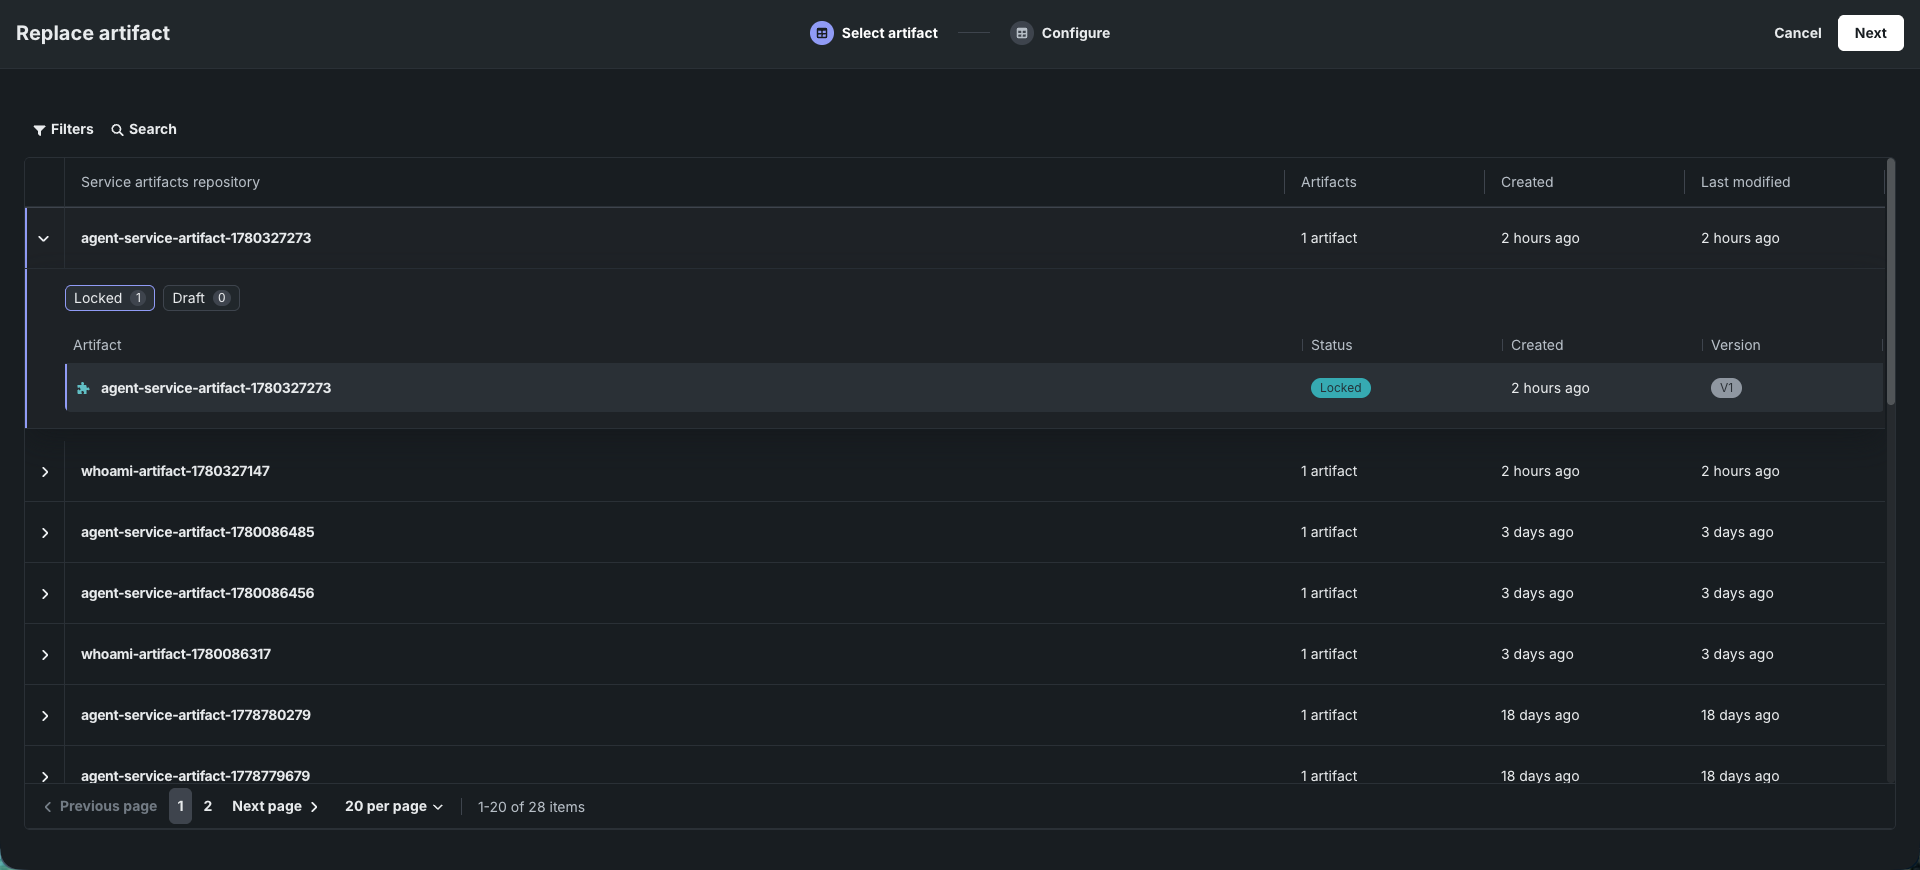
In the Replace artifact panel, the Select artifact step displays a table listing service artifact repositories. Click Filters or Search in the table toolbar to narrow the list. The Artifacts column shows the count of artifacts in the repository.
-
In the table, click a repository name in the Repository column to expand the repository. Expanding a repository shows the artifacts inside, grouped by status under a Locked tab and a Draft tab (both tabs are always visible, with their counts in parentheses).
-
Click an artifact to select it, and then click Next in the top-right corner to continue to Configure.
-
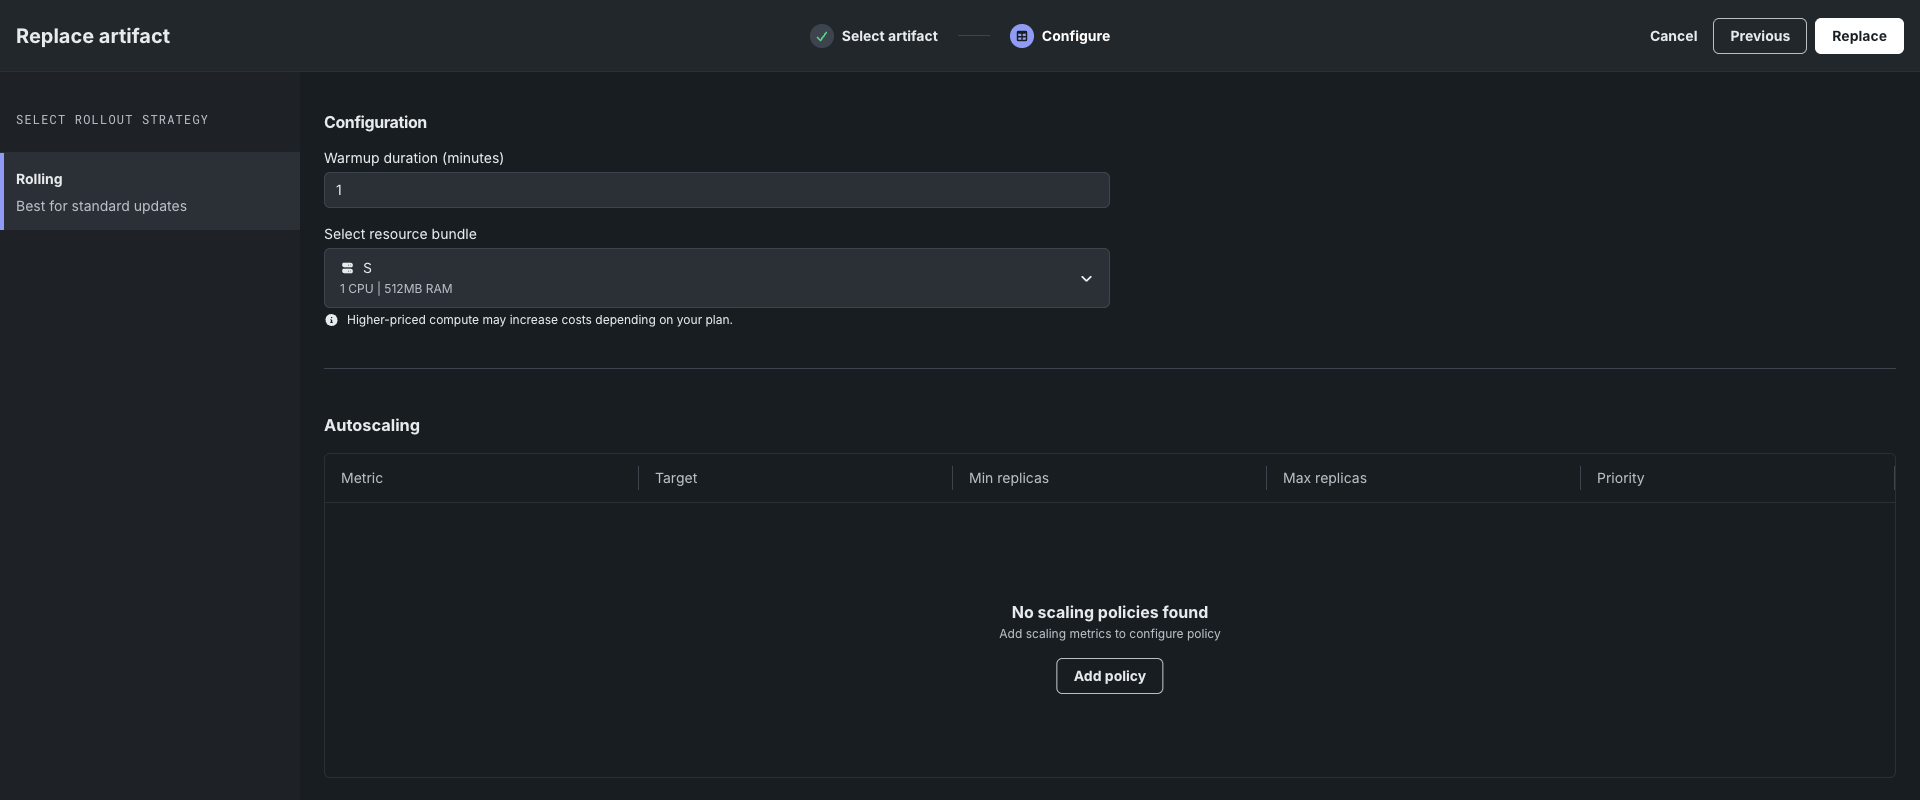
In the Configure step, configure Select Rollout Strategy, set the Warmup duration (minutes), and then optionally configure Autoscaling settings. For the autoscaling fields, see Configure autoscaling.
-
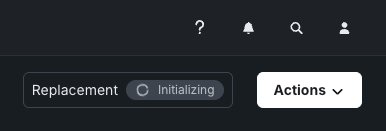
Click Replace in the top-right corner to submit the replacement request. The platform starts a replacement, and you can monitor the progress next to the Actions menu.