How-to: Predictive model building
This walkthrough describes how to use DataRobot to identify at-risk patients, reduce readmission rates, maximize care, and minimize costs. Learn more about the use case here and watch a video version on YouTube.
Assets for download
To follow this walkthrough, download the two datasets linked below.
Download training data Download scoring data
1. Create a Use Case
DataRobot Use Cases are containers that group objects that are part of the Workbench experimentation flow, which can include datasets, models, experiments, No-Code AI Apps, and notebooks. To create a Use Case:
-
Open the DataRobot interface and click Workbench.
-
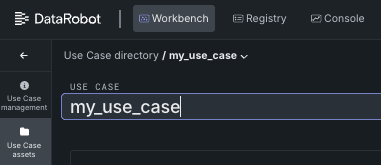
Click Create Use Case.
-
Give the Use Case a descriptive name in the Use Case field.
Now that the Use Case has been created, the data from the files linked above can be uploaded to it.
2. Upload data files
-
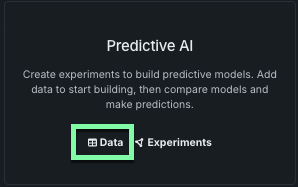
From your open Use Case, locate the Predictive AI box and click Data.
-
Click Upload file.
-
Upload the training dataset file downloaded previously and wait for it to finish registering to the Use Case.
3. Preview the datasets
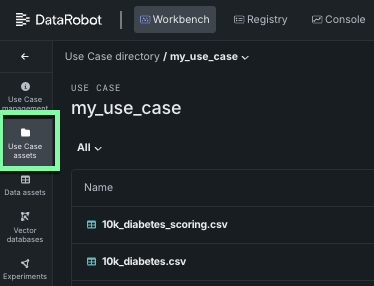
All files within a Use Case are contained in the Data assets tab. To view them, click Data assets from the open Use Case.
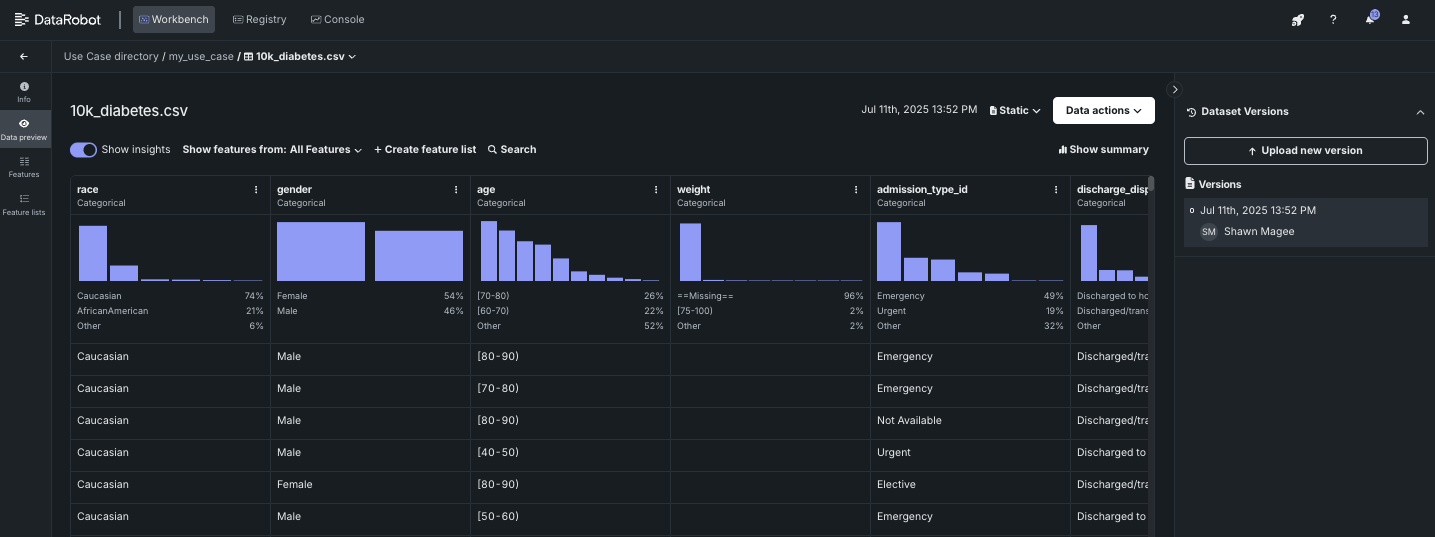
Click a dataset to explore its feature structure and values. In this example, select 10k_diabetes.csv.
Read more: Working with data
4. Wrangle data
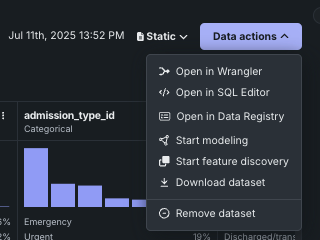
Click Data actions > Open in Wrangler to pull a random sample of data from the data source and begin transformation operations.
Read more: Wrangle data
5. Build a recipe
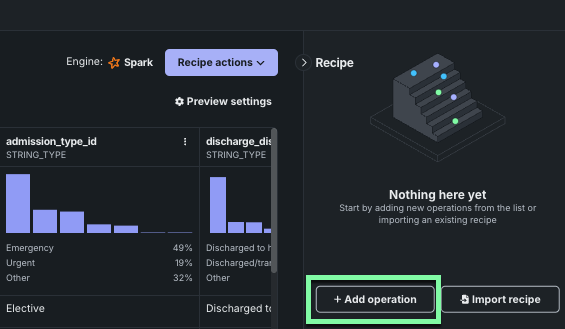
Click Add operation to build a wrangling "recipe." Each new operation updates the live sample to reflect the transformation. Note that if you wrangle your training dataset, you will want to apply the same operations to your scoring dataset to ensure you have the same columns.
Read more: Add operations
6. Compute a new feature
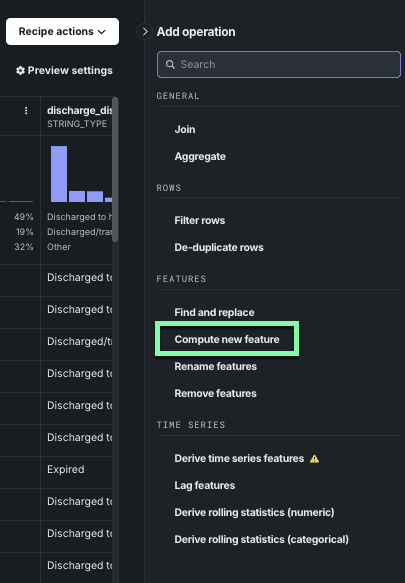
The recipe panel lists a variety of possible wrangling operations. Click Compute new feature to create a new output feature—perhaps one better representing your business problem—from existing dataset features.
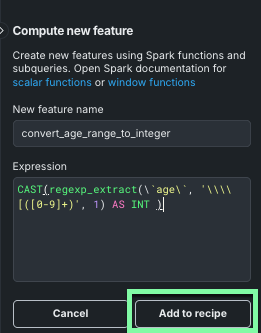
The Compute new feature window is where you add functions and subqueries that define the new feature. Enter the name and expression listed below and click Add to recipe when done. The transformation converts the age range into a single integer.
New feature name: convert_age_range_to_integer
Expression: CAST(regexp_extract(`age`, '\\[([0-9]+)', 1) AS INT )
Read more: Compute a new feature
7. Prepare for publishing
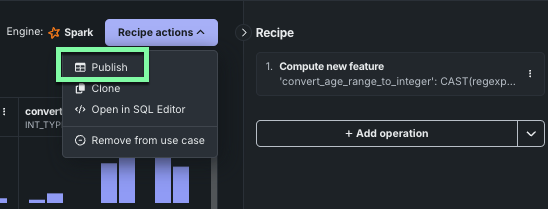
When you are finished adding operations, assess the live sample to verify that the applied operations are ready for publishing. Click Recipe actions > Publish to configure the final publishing settings for the output dataset.
Set the criteria for the final output dataset, such as the name and specifics of automatic downsampling (if enabled). Click Publish to apply the recipe to the source, creating a new output dataset, registering it in the Data Registry, and adding it to your Use Case.
Read more: Publish a recipe
8. Explore the new dataset
The transformed, published dataset, identifiable by the wrangling time stamp, has been added to the Use Case’s Data assets tab. Click the dataset to see the final feature set, including the new wrangled feature, and explore feature insights.
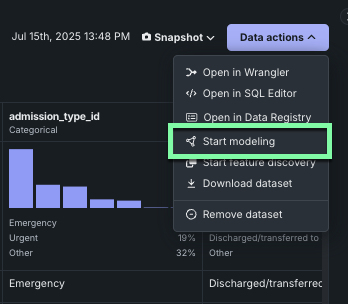
If the dataset needs further modification, you can choose to keep wrangling. Otherwise, from the new output dataset, click Data actions > Start modeling to set up a new experiment.
Read more: View data insights
9. Create an experiment
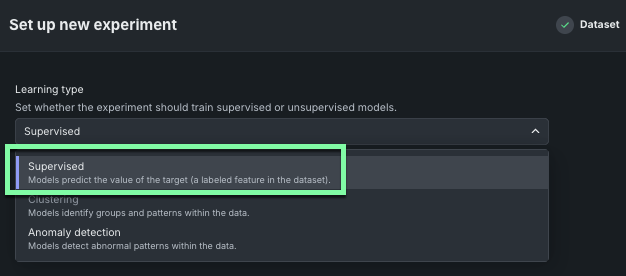
After DataRobot prepares the dataset, you can create a new experiment with the data. First, use the Learning type dropdown to select the type of experiment you want to run, Supervised or Unsupervised (see more about the different learning types in the predictive experiments documentation).
For this example, select Supervised.
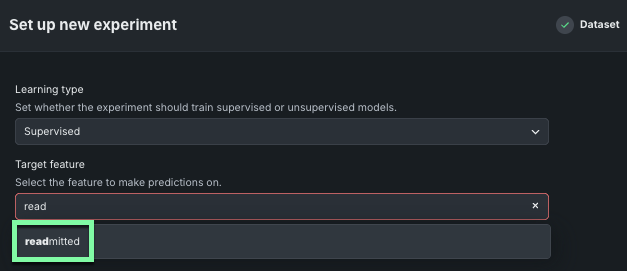
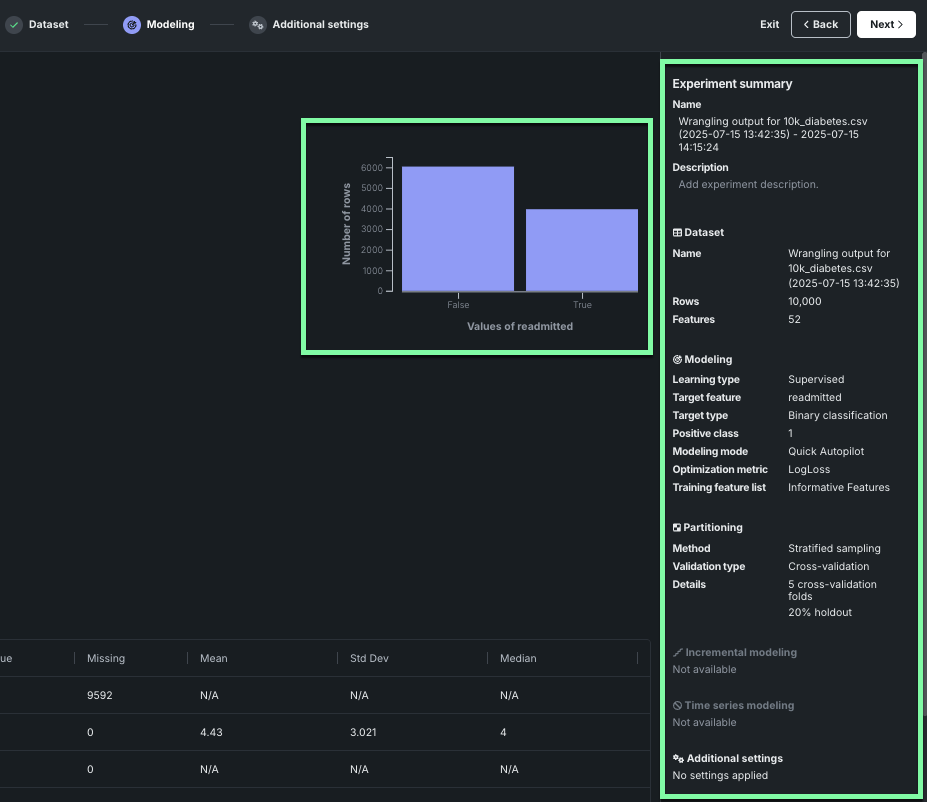
Next, use the Target feature field to specify which column in the dataset to make predictions for.
For this Use Case, enter the name Readmitted.
DataRobot presents the target feature’s distribution in a histogram, with experiment settings summarized in the right panel. The list of features shown reflects the selected feature list. You can read more about the different features in the feature list documentation.
Read more: Select a target
10. Apply optional settings
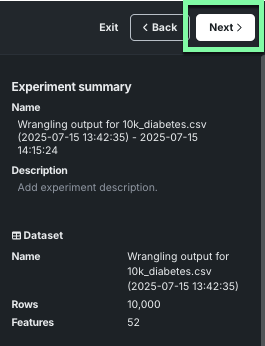
Click Next to further refine your experiment.
DataRobot sets default partitioning and validation based on your data; however, changing experiment parameters is a good way to iterate on a Use Case. Notice the experiment summary information in the right panel, then click Start modeling to launch Autopilot.
Read more: Customize settings
11. Start modeling
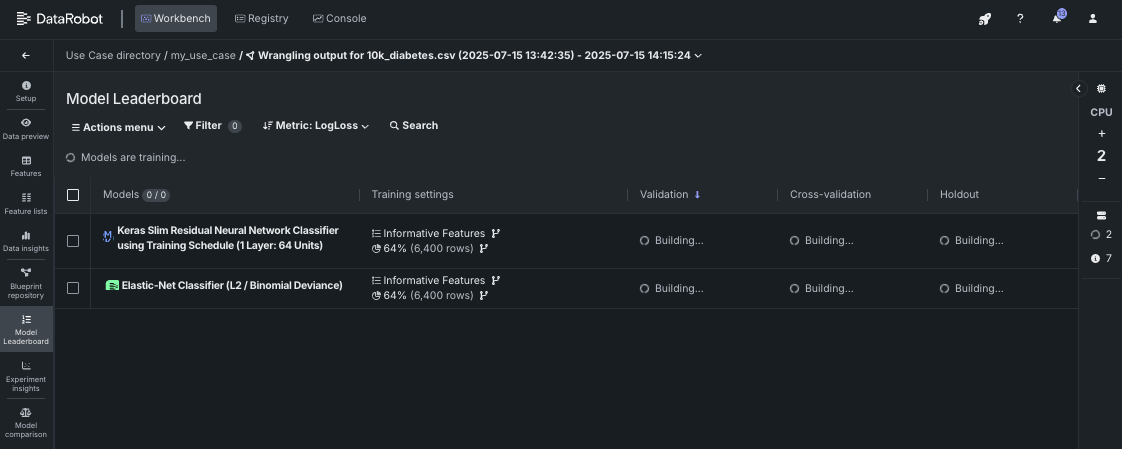
Once modeling begins, Workbench begins to construct a model Leaderboard.
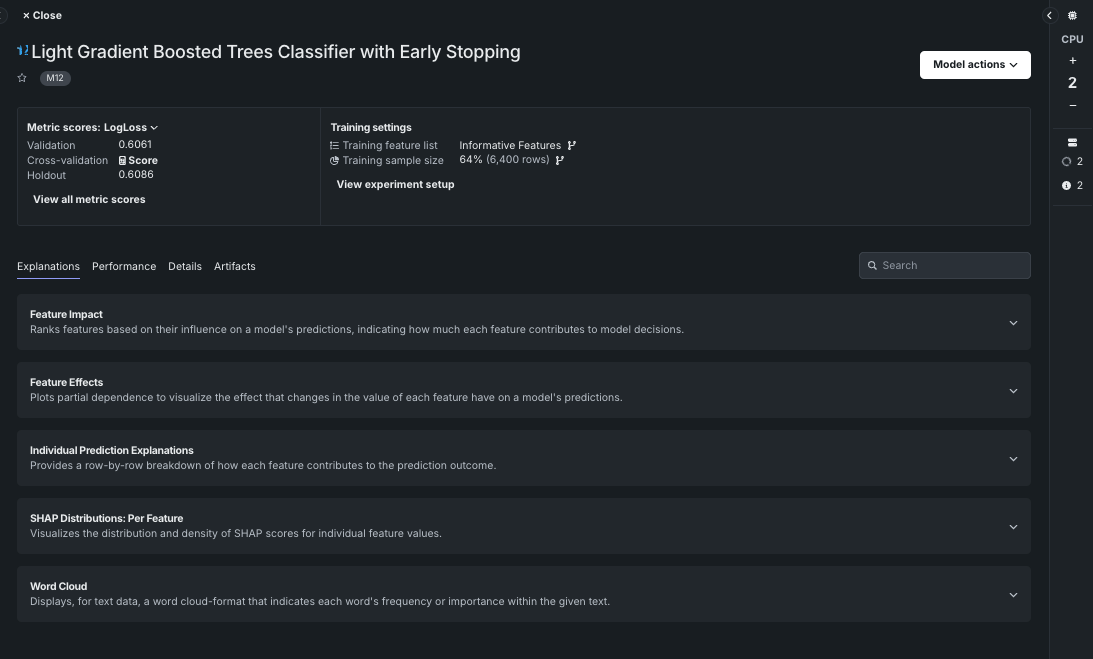
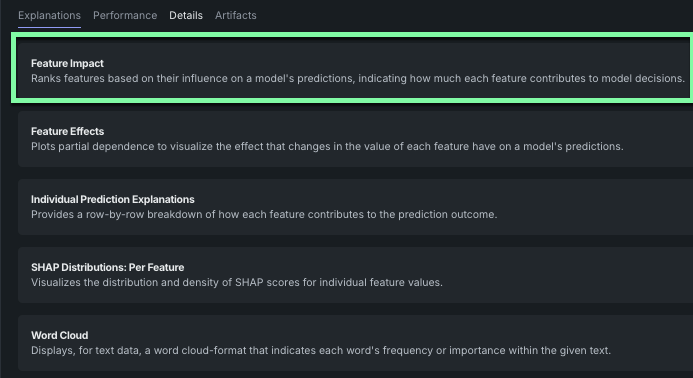
Ultimately, DataRobot will select and retrain the most accurate model and mark it as prepared for deployment. While model building progresses, click any completed model to familiarize yourself with the insights available for model evaluation. Each model's landing page provides an overview that displays available insights for the model, which differ depending on the experiment type.
Click Feature Impact (and compute if prompted) to visualize which features are driving model decisions.
Read more: Evaluate experiments
12. View the modeling pipeline
From the model you have selected, click the Details tab and select Blueprint. This allows you to view the pre- and post-processing steps that go into building a model.
Read more: Blueprints
Next steps
When you are done investigating, you can:
From Model actions, you can access a variety of next-steps for your model.
| Action | Description | Read more |
|---|---|---|
| Register model | Create versioned deployment-ready model packages. | Operate and govern how-to |
| Make predictions | Make one-time predictions on new data, registered data, or training data to validate Leaderboard models. | Make predictions from Workbench |
| Create no-code application | Use No-Code AI App templates to build applications that enable core DataRobot services and are shareable with other users, whether or not they have a DataRobot license. | Create an application |
| Delete model | Permanently remove the selected model from the Use Case (and the associated Leaderboard). | N/A |
Register and monitor deployed models in the operate and govern how-to.


