Developer tools
DataRobot provides multiple developer tools for you to use when making prediction requests or engaging with the DataRobot API. Currently available tools are:
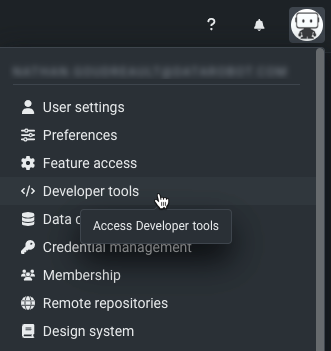
Click on your user icon and navigate to Developer Tools to access these features:
API key management
API keys are the preferred method for authenticating web requests to the DataRobot API and Prediction API; they replace the legacy API token method. You can simply post the API key into the request header, and the application requests you as a user. All DataRobot API endpoints use API keys as a mode of authentication.
Generating multiple API keys allows you to create a new key, update your existing integrations, and then revoke the old key all without disruption of service of your API calls. This also allows you to generate distinct keys for different integrations (script A using key A, script B using key B).
Note that if you were previously using an API token, that token has been upgraded to an API key. All existing integrations will continue to function as expected, both for the DataRobot API and the Prediction API.
Additional resources
- The developer portal.
- Github community repositories. Log in to GitHub before clicking this link.
Access API key management
You can register and manage—name, create, and delete—multiple API keys. To access this page, click on your user icon and navigate to the Developer Tools page.
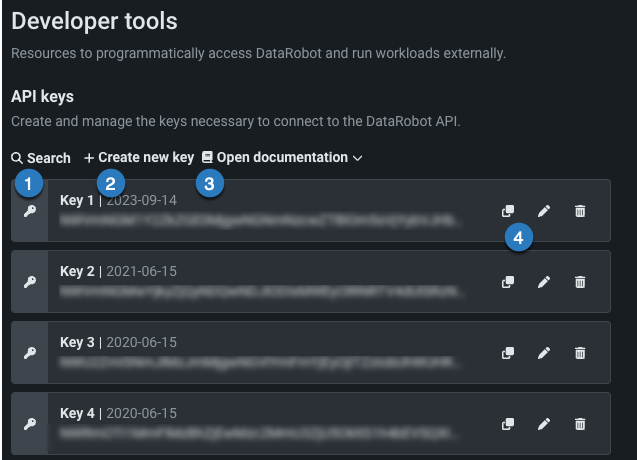
The API Keys section lists your API keys with a variety of options available to you:
| Element | Description | |
|---|---|---|
| 1 | Search | Search the list of API keys by name or date created. |
| 2 | Create | Create a new API key. |
| 3 | Open documentation | Access multiple code-first resources: REST API documentation, Python client documentation, R documentation, and AI accelerators. |
| 4 | Manage | Copy a key to your clipboard (contents blurred out in this image) to paste elsewhere, edit the name of a key, or delete a key. |
Each individual key has three pieces of information:

| Element | Description | |
|---|---|---|
| 1 | Key name | The name of the key, which you can edit. |
| 2 | Last used | The date the key was last used. Newly created keys will instead display "Wasn't used." |
| 3 | Key string | The key itself. |
Create a new key
-
Click your user icon in the top right corner and navigate to the Developer Tools page.
-
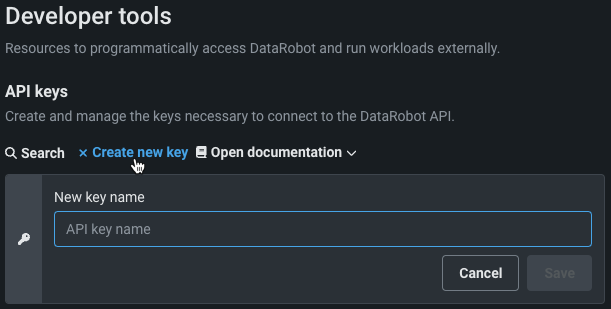
To generate a new key, click Create new key.
-
Name the new key, and click Save. This activates your new key, making it ready for use.
Delete an existing key
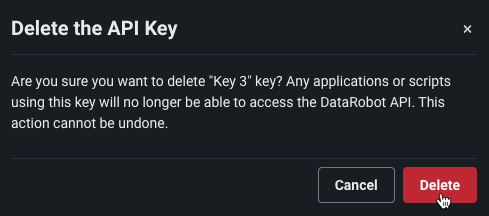
To delete an existing key, click the trash can icon next to the key you wish to delete. This prompts a dialog box warning you about the impacts of deletion. Click Delete to remove your key.
Monitoring agent tarball
DataRobot offers the monitoring agent as a solution for monitoring external models outside of DataRobot and reporting back statistics. To monitor a deployment of this kind, you must first implement the following software components, provided by DataRobot:
- MLOps library (available in Python, Java, and R)
- The monitoring agent
These components are part of an installer package available as a tarball in the DataRobot application.
Download the monitoring agent tarball
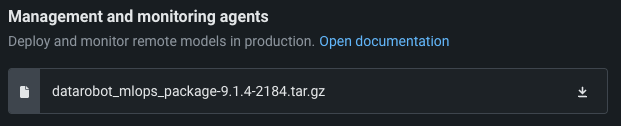
The monitoring agent tarball can be accessed from two locations: the Developer Tools section, and the Predictions > Monitoring tab for a deployment.
Click on your user icon and navigate to Developer Tools. Under the Management and monitoring agents header, click the download icon. Additional documentation for setting up the Agent is included in the tarball.
Note
You can also download the MLOps Python libraries from the public Python Package Index site. Download and install the DataRobot MLOps metrics reporting library and the DataRobot MLOps Connected Client. These pages include instructions for installing the libraries.
Portable Prediction Server Docker image
Availability information
The Portable Prediction Server image may not be available in some installations. Review the availability guidelines for more information.
Download the Portable Prediction Server Docker image from the Developer Tools page:
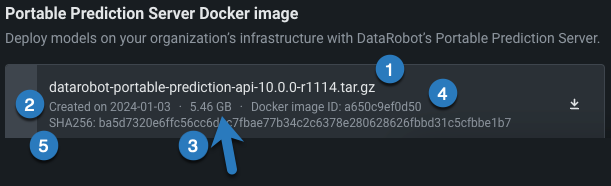
You can see some important information about the image:
| Element | Description | |
|---|---|---|
| 1 | Image name | The name of the image archive file that will be downloaded. |
| 2 | Image creation date | The date that the image was built. |
| 3 | File size | The size of the compressed image to be downloaded. Be aware that the uncompressed image size can exceed 12GB. |
| 4 | Docker Image ID |
A shortened version of the Docker Image ID, as displayed by the docker images command. It is content-based so that regardless of the image tag, this value will remain the same. Use it to compare versions with the image you are currently running. |
| 5 | Hash | Hash algorithm and content hash sum. Use to check file integrity after download (see example below). Currently SHA256 is used as a hash algorithm. |
Click the download icon and wait for the file to download. Due to image size, download times may take minutes (or even hours) depending on your network speed. Once the download completes, check the file integrity using its hash sum. For example, on Linux:
sha256sum datarobot-portable-prediction-api-7.0.0-r1736.tar.gz
5bafef491c3575180894855164b08efaffdec845491678131a45f1646db5a99d  datarobot-portable-prediction-api-7.0.0-r1736.tar.gz
If the checksum matches the value displayed in the image information (Hash value (5), above), the image was downloaded successfully and can be safely loaded to Docker.