Data ingest and project creation
To create a project in DataRobot, you first need to ingest a training dataset. This dataset may or may not go through data engineering or feature engineering processes before being used for modeling.
Note
The usage examples provided are not exclusive to Snowflake and can be applied in part or in whole to other databases.
At a high level, there are two approaches for getting this data into DataRobot:
-
PUSH
Send data to DataRobot and create a project with it. Examples include dragging a supportable file type into the GUI or leveraging the DataRobot API.
-
PULL
Create a project by pulling data from somewhere, such as the URL to a dataset, or via a database connection.
Both examples are demonstrated below. Using the well-known Kaggle Titanic Survival dataset, a single tabular dataset is created with one new feature-engineered column, specifically:
total_family_size = sibsp + parch + 1
PUSH: DataRobot Modeling API
You can interact with DataRobot via the UI or programmatically through a REST API. The API is wrapped by an available R SDK or Python SDK, which simplifies calls and workflows with common multistep and asynchronous processes. The process below leverages Python 3 and the DataRobot Python SDK package for project creation.
The data used in these examples is obtained via the Snowflake Connector for Python. For easier data manipulation, the Pandas-compatible driver installation option is used to accommodate feature engineering using dataframes.
First, import the necessary libraries and credentials; for convenience, they have been hardcoded into the script in this example.
import snowflake.connector
import datetime
import datarobot as dr
import pandas as pd

# snowflake parameters
SNOW_ACCOUNT = 'my_creds.SNOW_ACCOUNT'
SNOW_USER = 'my_creds.SNOW_USER'
SNOW_PASS = 'my_creds.SNOW_PASS'
SNOW_DB = 'TITANIC'
SNOW_SCHEMA = 'PUBLIC'

# datarobot parameters
DR_API_TOKEN = 'YOUR API TOKEN'
# replace app.datarobot.com with application host of your cluster if installed locally
DR_ENDPOINT = 'https://app.datarobot.com/api/v2'
DR_HEADERS = {'Content-Type': 'application/json', 'Authorization': 'token %s' % DR_API_TOKEN}
Below, the training dataset is loaded into the table TITANIC.PUBLIC.PASSENGERS_TRAINING and then retrieved and brought into a pandas DataFrame.
# create a connection
ctx = snowflake.connector.connect(
user=SNOW_USER,
password=SNOW_PASS,
account=SNOW_ACCOUNT,
database=SNOW_DB,
schema=SNOW_SCHEMA,
protocol='https',
application='DATAROBOT',
)
# create a cursor
cur = ctx.cursor()
# execute sql
sql = "select * from titanic.public.passengers_training"
cur.execute(sql)
# fetch results into dataframe
df = cur.fetch_pandas_all()
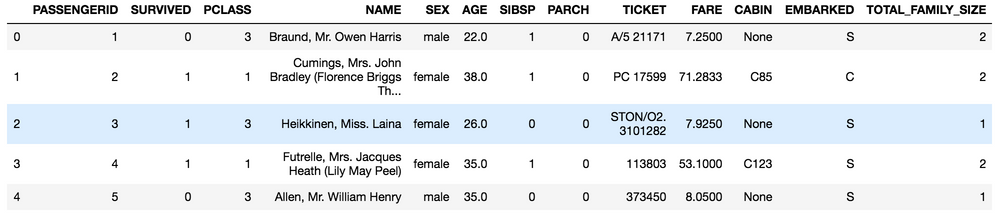
df.head()

You can then perform feature engineering within Python (in this case, using the Pandas library).
Note
Feature names are uppercase because Snowflake follows the ANSI standard SQL convention of capitalizing column names and treating them as case-insensitive unless quoted.
# feature engineering a new column for total family size
df['TOTAL_FAMILY_SIZE'] = df['SIBSP'] + df['PARCH'] + 1

df.head()
The data is then submitted to DataRobot to start a new modeling project.
# create a connection to datarobot
dr.Client(token=DR_API_TOKEN, endpoint=DR_MODELING_ENDPOINT)

# create project
now = datetime.datetime.now().strftime('%Y-%m-%dT%H:%M')
project_name = 'Titanic_Survival_{}'.format(now)
proj = dr.Project.create(sourcedata=df,
    project_name=project_name)

# further work with project via the python API, or work in GUI (link to project printed below)
print(DR_MODELING_ENDPOINT[:-6] + 'projects/{}'.format(proj.id))
You can interact further with the project using the SDK.
PULL: Snowflake JDBC SQL
Snowflake is cloud-native and publicly available by default. The DataRobot platform supports the installation of JDBC drivers to establish database connectivity. To connect from a locally hosted database, you must open firewall ports to provide DataRobot access and allow its IP addresses for incoming traffic. You might need to take additional similar steps if a service like AWS PrivateLink is leveraged in front of a Snowflake instance.
Note
If your database is protected by a network policy that only allows connections from specific IP addresses, contact DataRobot Support for a list of addresses that an administrator must add to your network policy.
The DataRobot managed AI Platform has a JDBC driver installed and available; customers with a Self-Managed AI Platform installation must add the driver (contact DataRobot Support for assistance, if needed).
You can establish a JDBC connection and initiate a project from the source via SQL using the AI Catalog. Use the JDBC connection to set up objects connected to Snowflake.
-
Create a Snowflake data connection in DataRobot.
The JDBC driver connection string's format can be found in the Snowflake documentation. In this example, the database is named
titanic; if any parameters are left unspecified, the defaults associated with the Snowflake account login are used.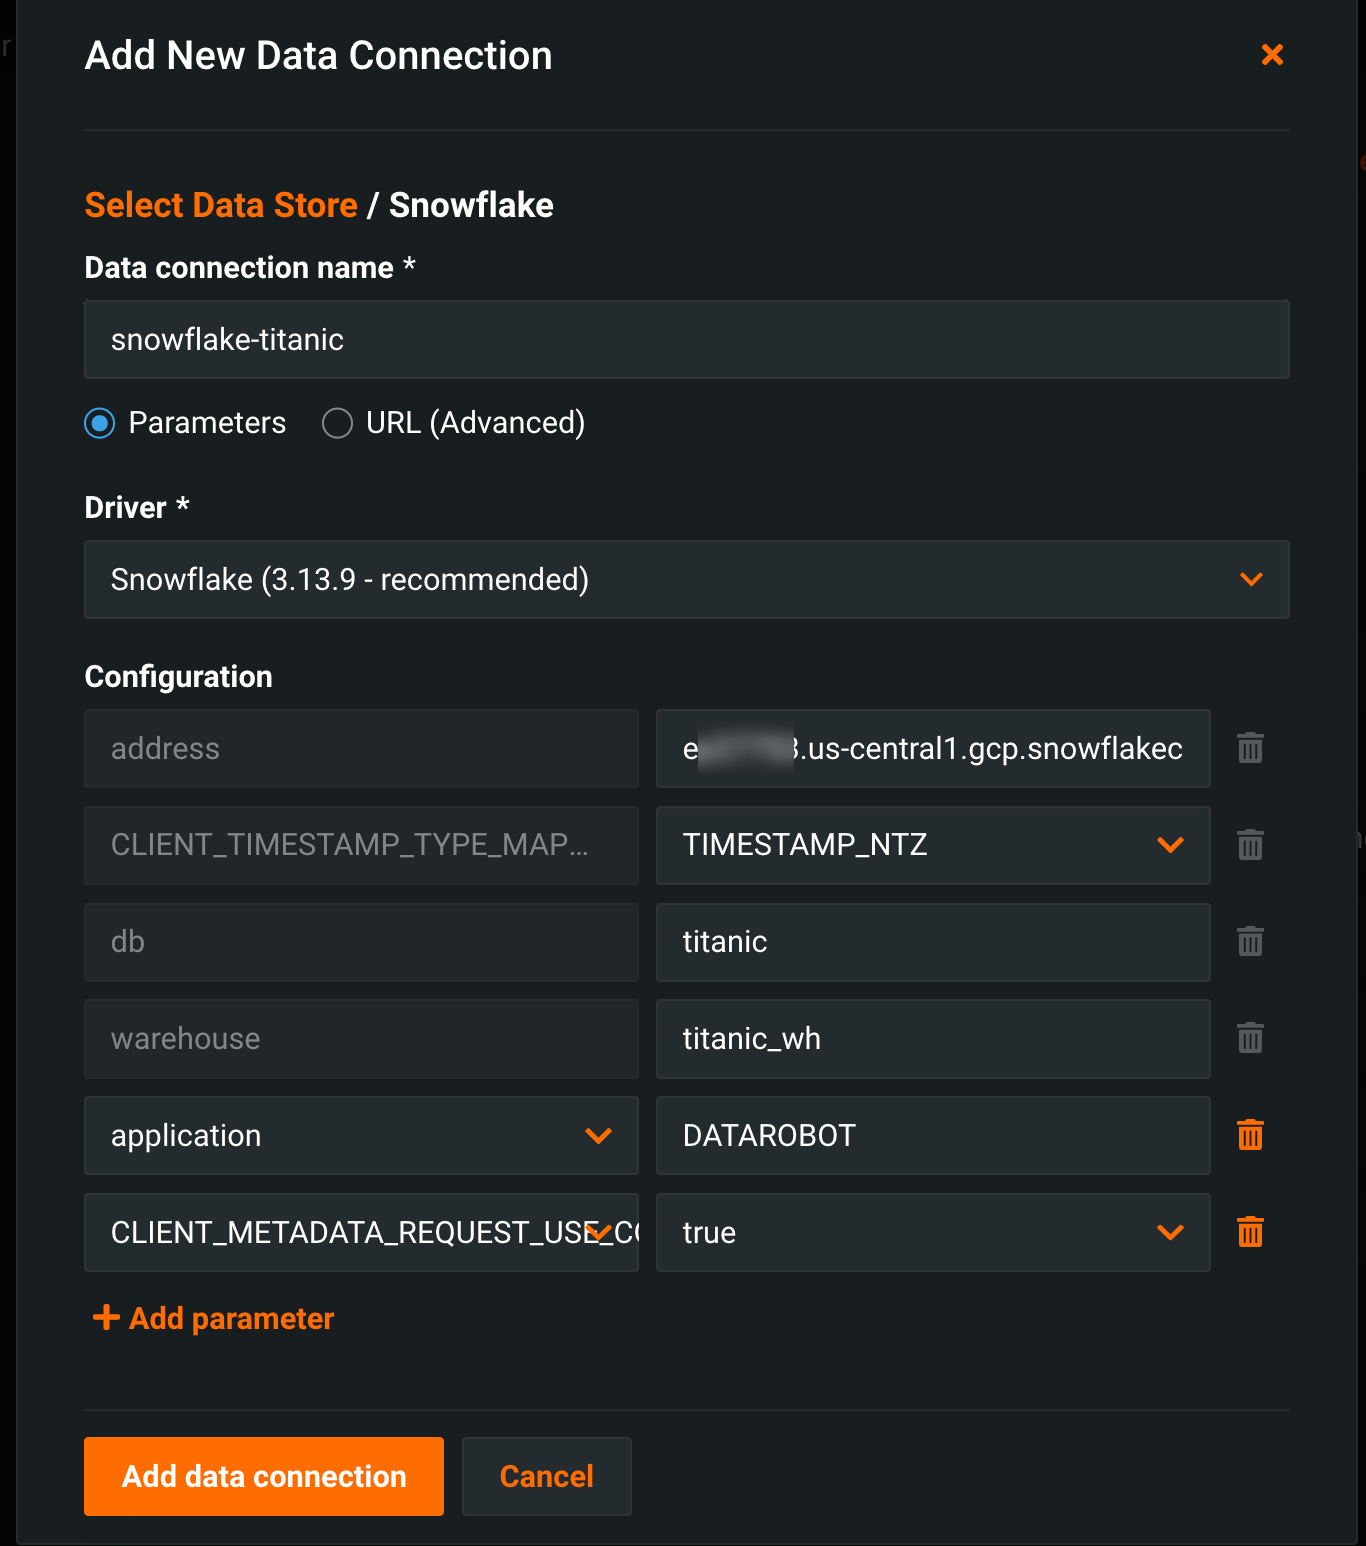
-
With the data connection created, you can now import assets into the AI Catalog. In the AI Catalog, click Add to Catalog > Existing Data Connection, choose the newly created connection, and respond to the credentials prompt. If you previously connected to the database, DataRobot provides the option to select from your saved credentials.
When connectivity is established, DataRobot displays metadata of accessible objects. For this example, feature engineering of the new column will be done in SQL.
-
Choose SQL query rather than the object browsing option. The SQL to extract and create the new feature can be written and tested here.

Note the Create Snapshot option. When checked, DataRobot extracts the data and materializes the dataset in the catalog (and adds a Snapshot label to the catalog listing). The snapshot can be shared among users and used to create projects, but it will not update from the database again unless you create a new snapshot for the dataset to refresh the materialized data with the latest dataset. Alternatively, you can add a Dynamic dataset. When dynamic, each subsequent use results in DataRobot re-executing the query against the database, pulling the latest data. When registration completes successfully, the dataset is published and available for use.
Some additional considerations with this method:
- The SQL for a dynamic dataset cannot be edited.
- You might want to order the data because it can affect training dataset partitions from one project to the next.
- A best practice for a dynamic dataset is to list each column of interest rather than using "*" for all columns.
- For time series datasets, you need to order the data by grouping it and sorting on the time element.
- You may want to connect to views with underlying logic that can be changed during project iterations. If implemented, that workflow may make it difficult to associate a project instance to a particular view logic at the time of extract.
Code for this example is available in GitHub.
See Real-time predictions to learn about this model scoring techniques using DataRobot and Snowflake.