Use Scoring Code with AWS SageMaker
This topic describes how to make predictions using DataRobot’s Scoring Code deployed on AWS SageMaker. Scoring Code allows you to download machine learning models as JAR files which can then be deployed in the environment of your choice.
AWS SageMaker allows you to bring in your machine-learning models and expose them as API endpoints, and DataRobot can export models in Java and Python. Once exported, you can deploy the model on AWS SageMaker. This example focuses on the DataRobot Scoring Code export, which provides a Java JAR file.
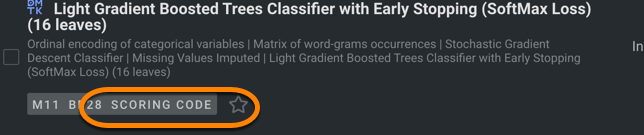
Make sure the model you want to import supports Scoring Code. Models that support Scoring Code export are indicated by the Scoring Code icon.
Why deploy on AWS SageMaker?
While DataRobot provides scalable prediction servers that are fully integrated with the platform, there are reasons why someone would want to deploy on AWS SageMaker instead:
-
Company policy or governance decision.
-
Configure custom functionality on top of a DataRobot model.
-
Low-latency scoring without API call overhead. Executing Java code is typically faster than scoring through the Python API.
-
The ability to integrate models into systems that cannot communicate with the DataRobot API.
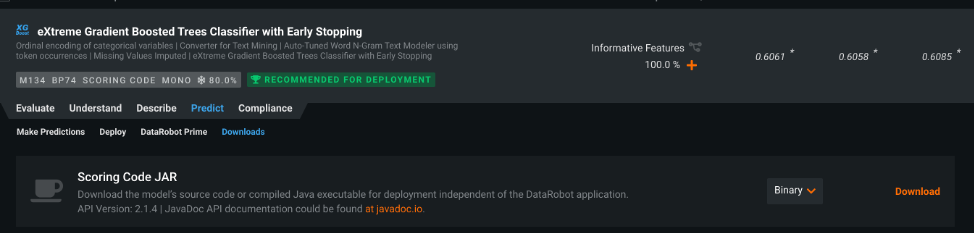
Download Scoring Code
The first step to deploying a DataRobot model to AWS SageMaker is to create a TAR.GZ archive that contains your model (the Scoring Code JAR file provided by DataRobot). You can download the JAR file from the Leaderboard or from a deployment.
Note
Depending on your DataRobot license, the code may only be available through the Deployments page.
Upload Scoring Code to an AWS S3 bucket
Once you have downloaded the Scoring Code JAR file, you need to upload your Codegen JAR file to an AWS S3 bucket so that SageMaker can access it.
SageMaker expects the archive (tar.gz format) to be uploaded to an S3 bucket. Compress your model as a tar.gz archive using one of the following commands:
tar -czvf 5e8471fa169e846a096d5137.jar.tar.gz 5e8471fa169e846a096d5137.jar
MacOS adds hidden files to the tar.gz package that can introduce issues during deployment. To prevent these issues, use the following command:
COPYFILE\_DISABLE=1 tar -czvf 5e8471fa169e846a096d5137.jar.tar.gz 5e8471fa169e846a096d5137.jar
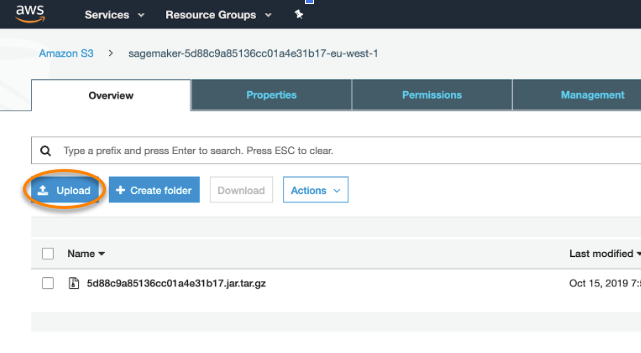
Once you have created the tar.gz archive, upload it to S3:
-
Enter the Amazon S3 console.
-
Click Upload and provide your
tar.gzarchive to the S3 bucket.
Publish a Docker image to Amazon ECR
Next, publish a Docker image containing inference code to the Amazon ECR. In this example, you can download the DataRobot-provided Docker image with the following command:
docker pull datarobotdev/scoring-inference-code-sagemaker:latest
To publish the image to Amazon ECR:
-
Authenticate your Docker client to the Amazon ECR registry to which you intend to push your image. Authentication tokens must be obtained for each registry used, and the tokens are valid for 12 hours. You can refer to Amazon documentation for various authentication options listed here.
-
Use token-based authentication:
TOKEN=$(aws ecr get-authorization-token --output text --query 'authorizationData[].authorizationToken')curl -i -H "Authorization: Basic $TOKEN" <https://xxxxxxx.dkr.ecr.us-east-1.amazonaws.com/v2/sagemakertest/tags/list> -
Next, create an Amazon ECR Registry where you can push your image:
aws ecr create-repository --repository-name sagemakerdemoUsing this command returns the output shown below:

You can also create the repository from the AWS Management console:
-
Navigate to ECR Service > Create Repository and provide the repository name.

-
Identify the image to push. Run the docker images command to list the images on your system.
-
Tag the image you want to push to AWS ECR.
-
The
xxxxxxxxplaceholder represents the image ID of the DataRobot-provided Docker image containing the inference code (scoring-inference-code-sagemaker:latest) that you downloaded from Docker Hub. -
Tag the image with the Amazon ECR registry, repository, and optional image tag name combination to use. The registry format is
*aws_account_id.dkr.ecr.region.amazonaws.com*. The repository name should match the repository that you created for the image. If you omit the image tag, then DataRobot assumes the tag is the latest.docker tag xxxxxxxx "${account}.dkr.ecr.${region}.amazonaws.com/sagemakerdemo" -
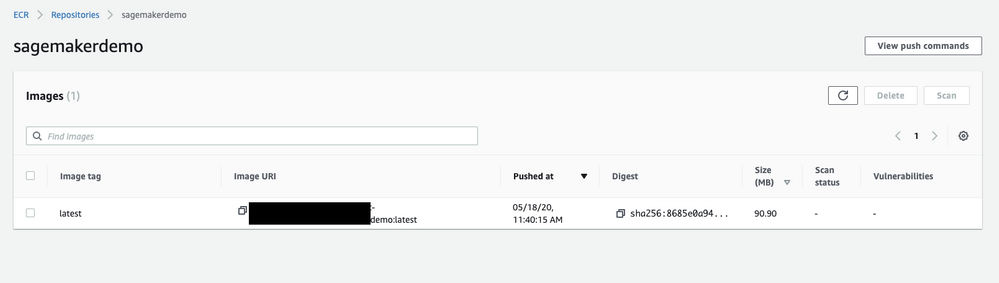
Push the image:
docker push ${account}.dkr.ecr.${region}.amazonaws.com/sagemakermlopsdockerized
Once pushed, you can validate the image from the AWS management console.
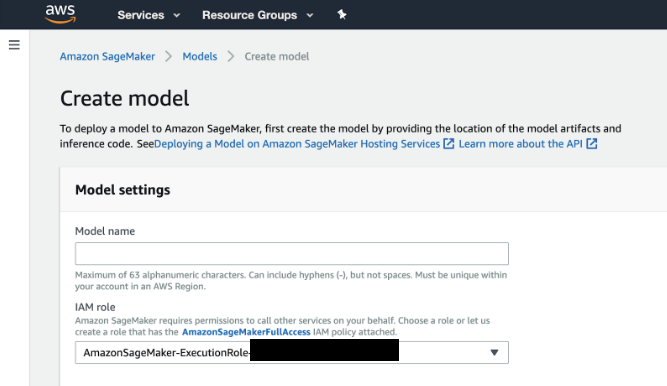
Create the model
-
Sign in to AWS and search for
SageMaker. Select the first search result,Amazon SageMaker, to enter the SageMaker console and create a model. -
In the IAM role field, select Create a new role from the dropdown if you do not have an existing role on your account. This option creates a role with the required permissions and assigns it to your instance.
-
For the Container input options field (1), select Provide model artifacts and inference image location. Then, specify the location of the Scoring Code image (your model) in the S3 bucket (2) and the registry path to the Docker image containing the inference code (3).
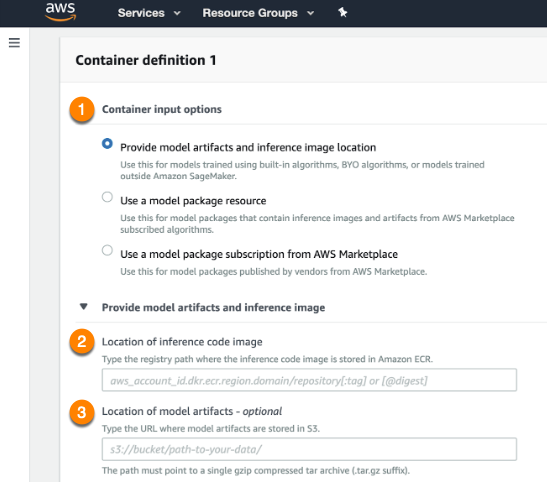
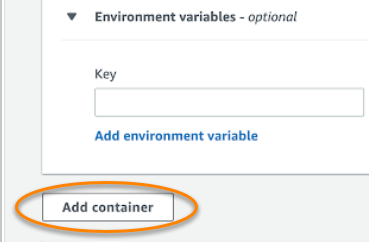
-
Click Add container below the fields when complete.
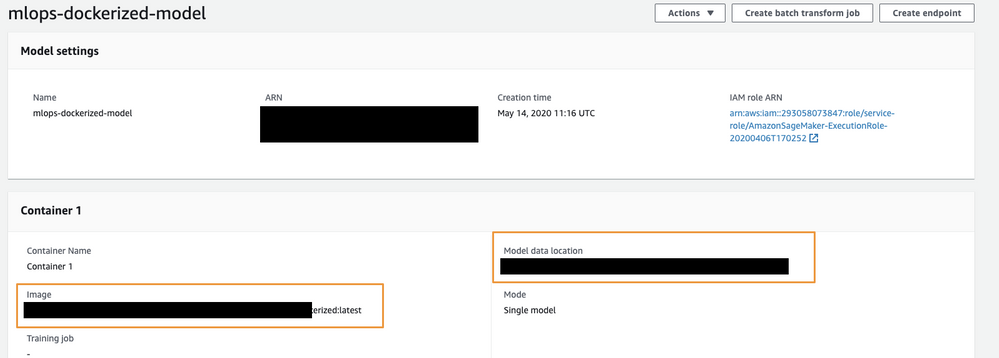
Your model configurations should match the example below:
Create an endpoint configuration
To set up an endpoint for predictions:
-
Open the dashboard on the left side and navigate to the Endpoint configurations page to create a new endpoint configuration. Select the uploaded model.
-
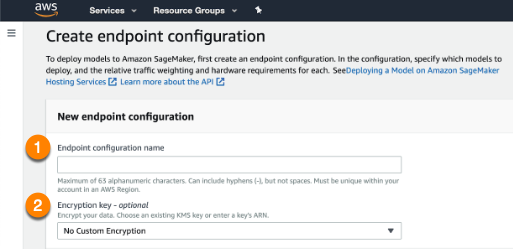
Enter an Endpoint configuration name (1) and provide an Encryption key if desired (2). When complete, select Create endpoint configuration at the bottom of the page.
-
Use the dashboard to navigate to Endpoints and create a new endpoint:
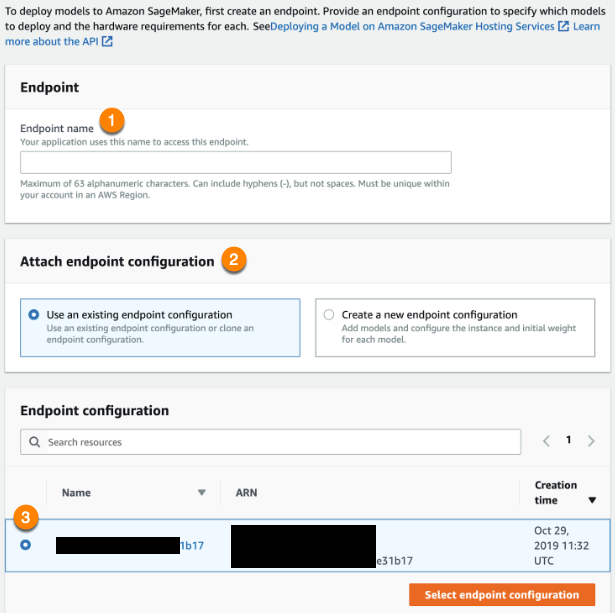
Enter an Endpoint name (1) and Use an existing endpoint configuration (2). Then, click the configuration you just created (3). When finished, click Select endpoint configuration. When the endpoint creation is complete, you can make prediction requests with your model.
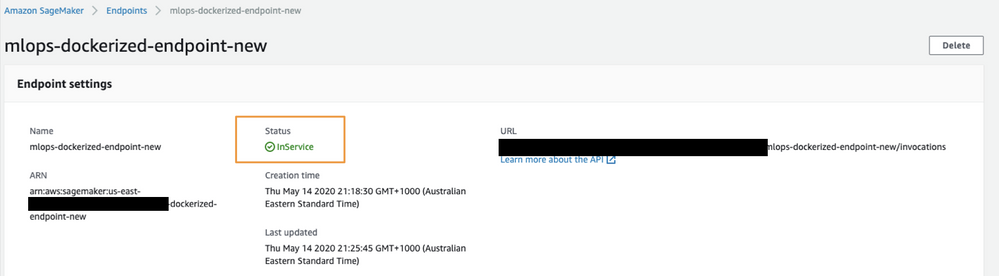
Once the endpoint is ready to service requests, the status will change to InService:
Make predictions
Once the SageMaker endpoint status changes to InService you can start making predictions against the endpoint.
Test the endpoint from the command line first to make sure the endpoint is responding. Use the command below to make a test prediction and pass the data in the body of the CSV string:
aws sagemaker-runtime invoke-endpoint --endpoint-name mlops-dockerized-endpoint-new
Note
To run the command above, ensure you have installed AWS CLI.
Considerations
Note the following when deploying on SageMaker:
-
There is no out-of-the-box data drift and accuracy tracking unless MLOps agents are configured.
-
You may experience additional time overhead as a result of deploying to AWS SageMaker.