Verify custom models
This guide walks you through the process of creating and verifying a custom model in DataRobot, from creating the environment to testing the final deployment.
Create an environment
The first step is to create a custom environment for the model. This example uses the python3_sklearn environment from DataRobot's public user models repository.
-
To download the repository, you need Git installed on your workstation. Run the following command:
git clone [https://github.com/datarobot/datarobot-user-models.git](https://github.com/datarobot/datarobot-user-models.git){ target=_blank } -
The environment data must be uploaded as a
.tar.gztarball. From your terminal, run thetarcommand to create the tarball. Replace/path/to/with the actual path where you cloned the repository.tar -czvf py_dropin.tar.gz -C /path/to/datarobot-user-models/public_dropin_environments/python3_sklearn/ . -
In the DataRobot UI, create a new custom environment with the tarball from the previous step.
a. モデルレジストリ > カスタムモデルワークショップ > 環境 に移動します。 b. Click + Add New Environment. c. In the form, provide a name, upload the
py_dropin.tar.gztarball, set the language to Python, and click Create environment.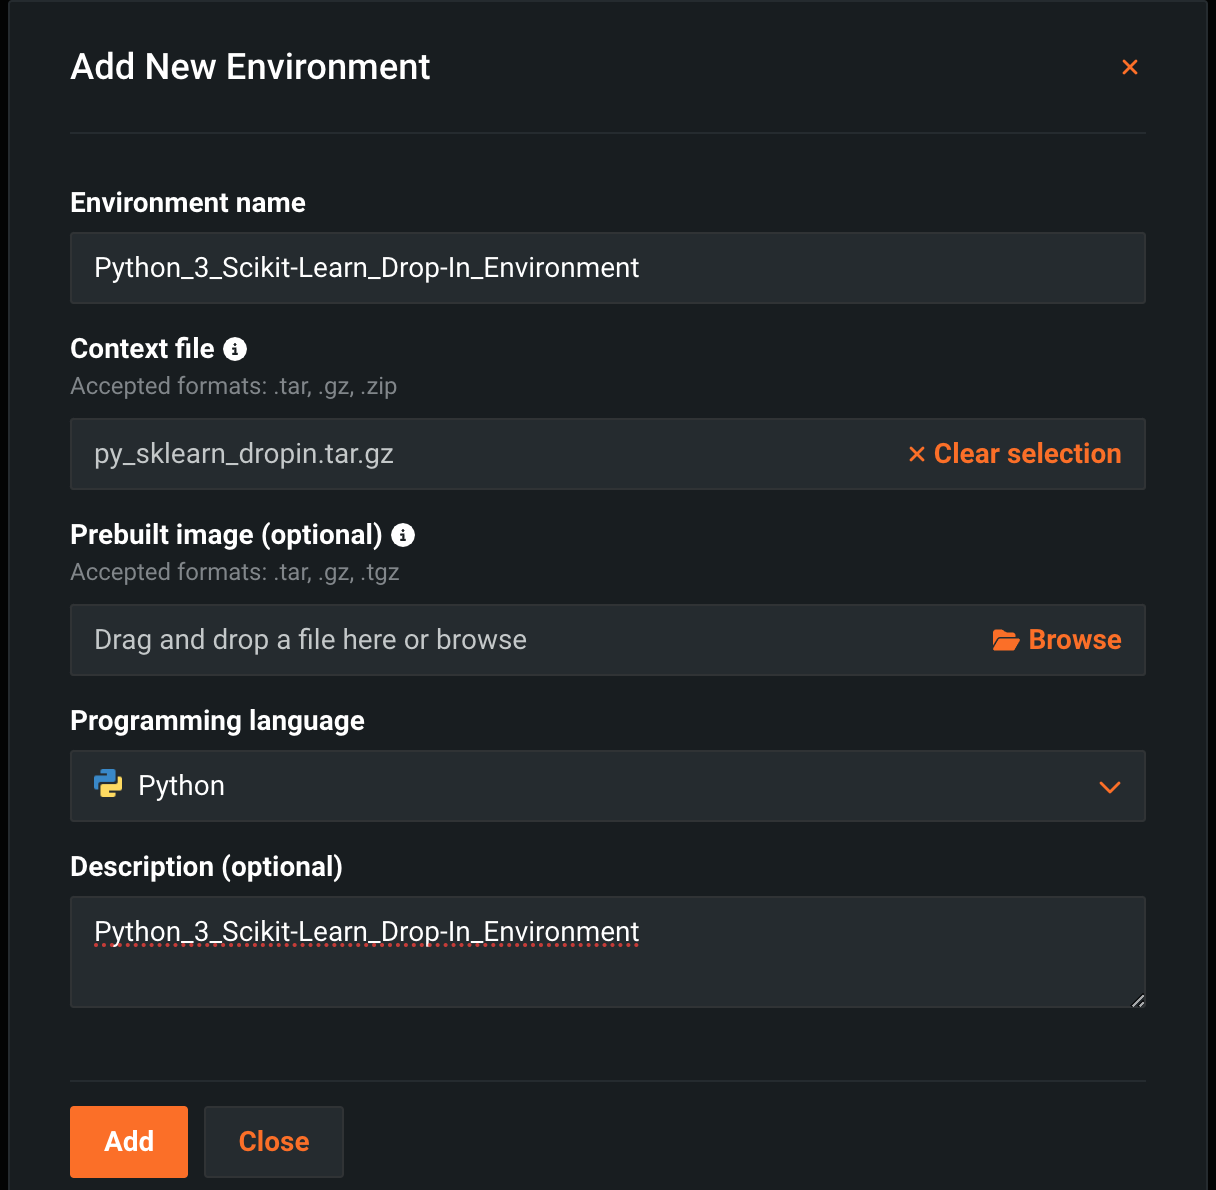
-
Wait for the environment to finish building. When the Build Status reads Success, you can move to the next step.
Create and test a model
Next, create a new custom model that uses the environment you just built.
- Navigate to Model Registry > Custom Model Workshop > Models.
- Click +Add new model.
-
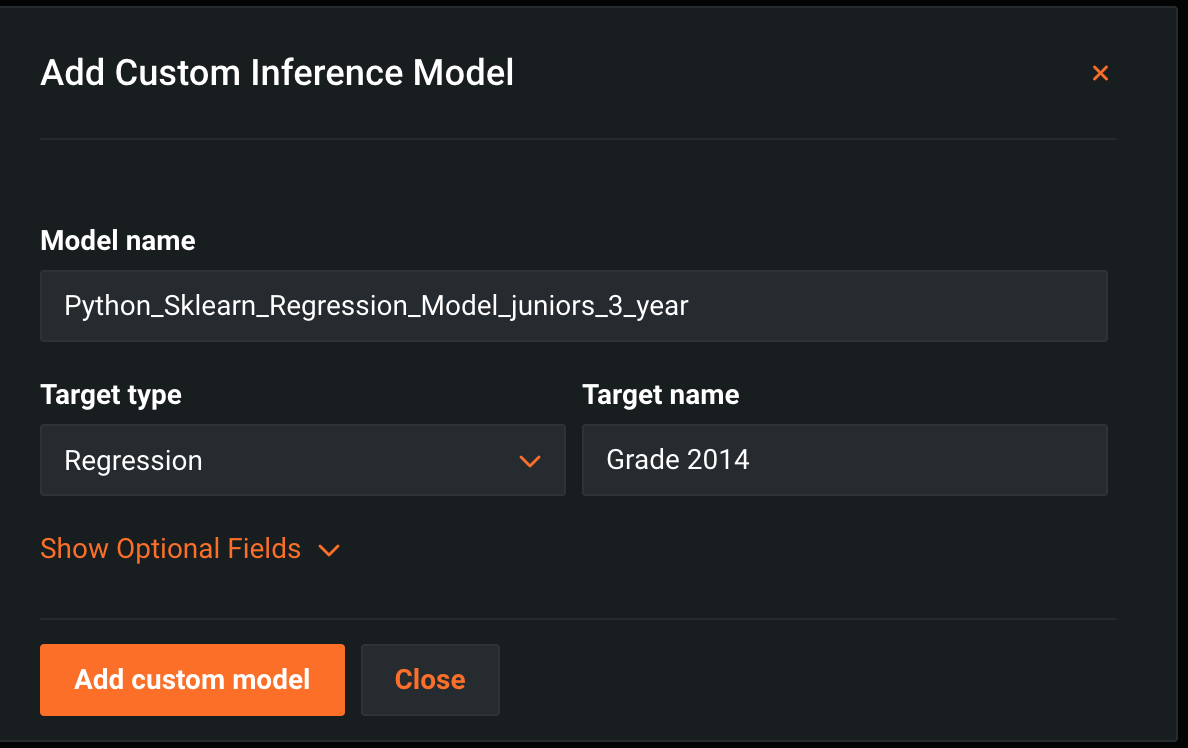
Configure the new model:
- Enter a Name for your model.
- Select Regression as the Target type.
- In the Target field, enter
Grade 2014.
-
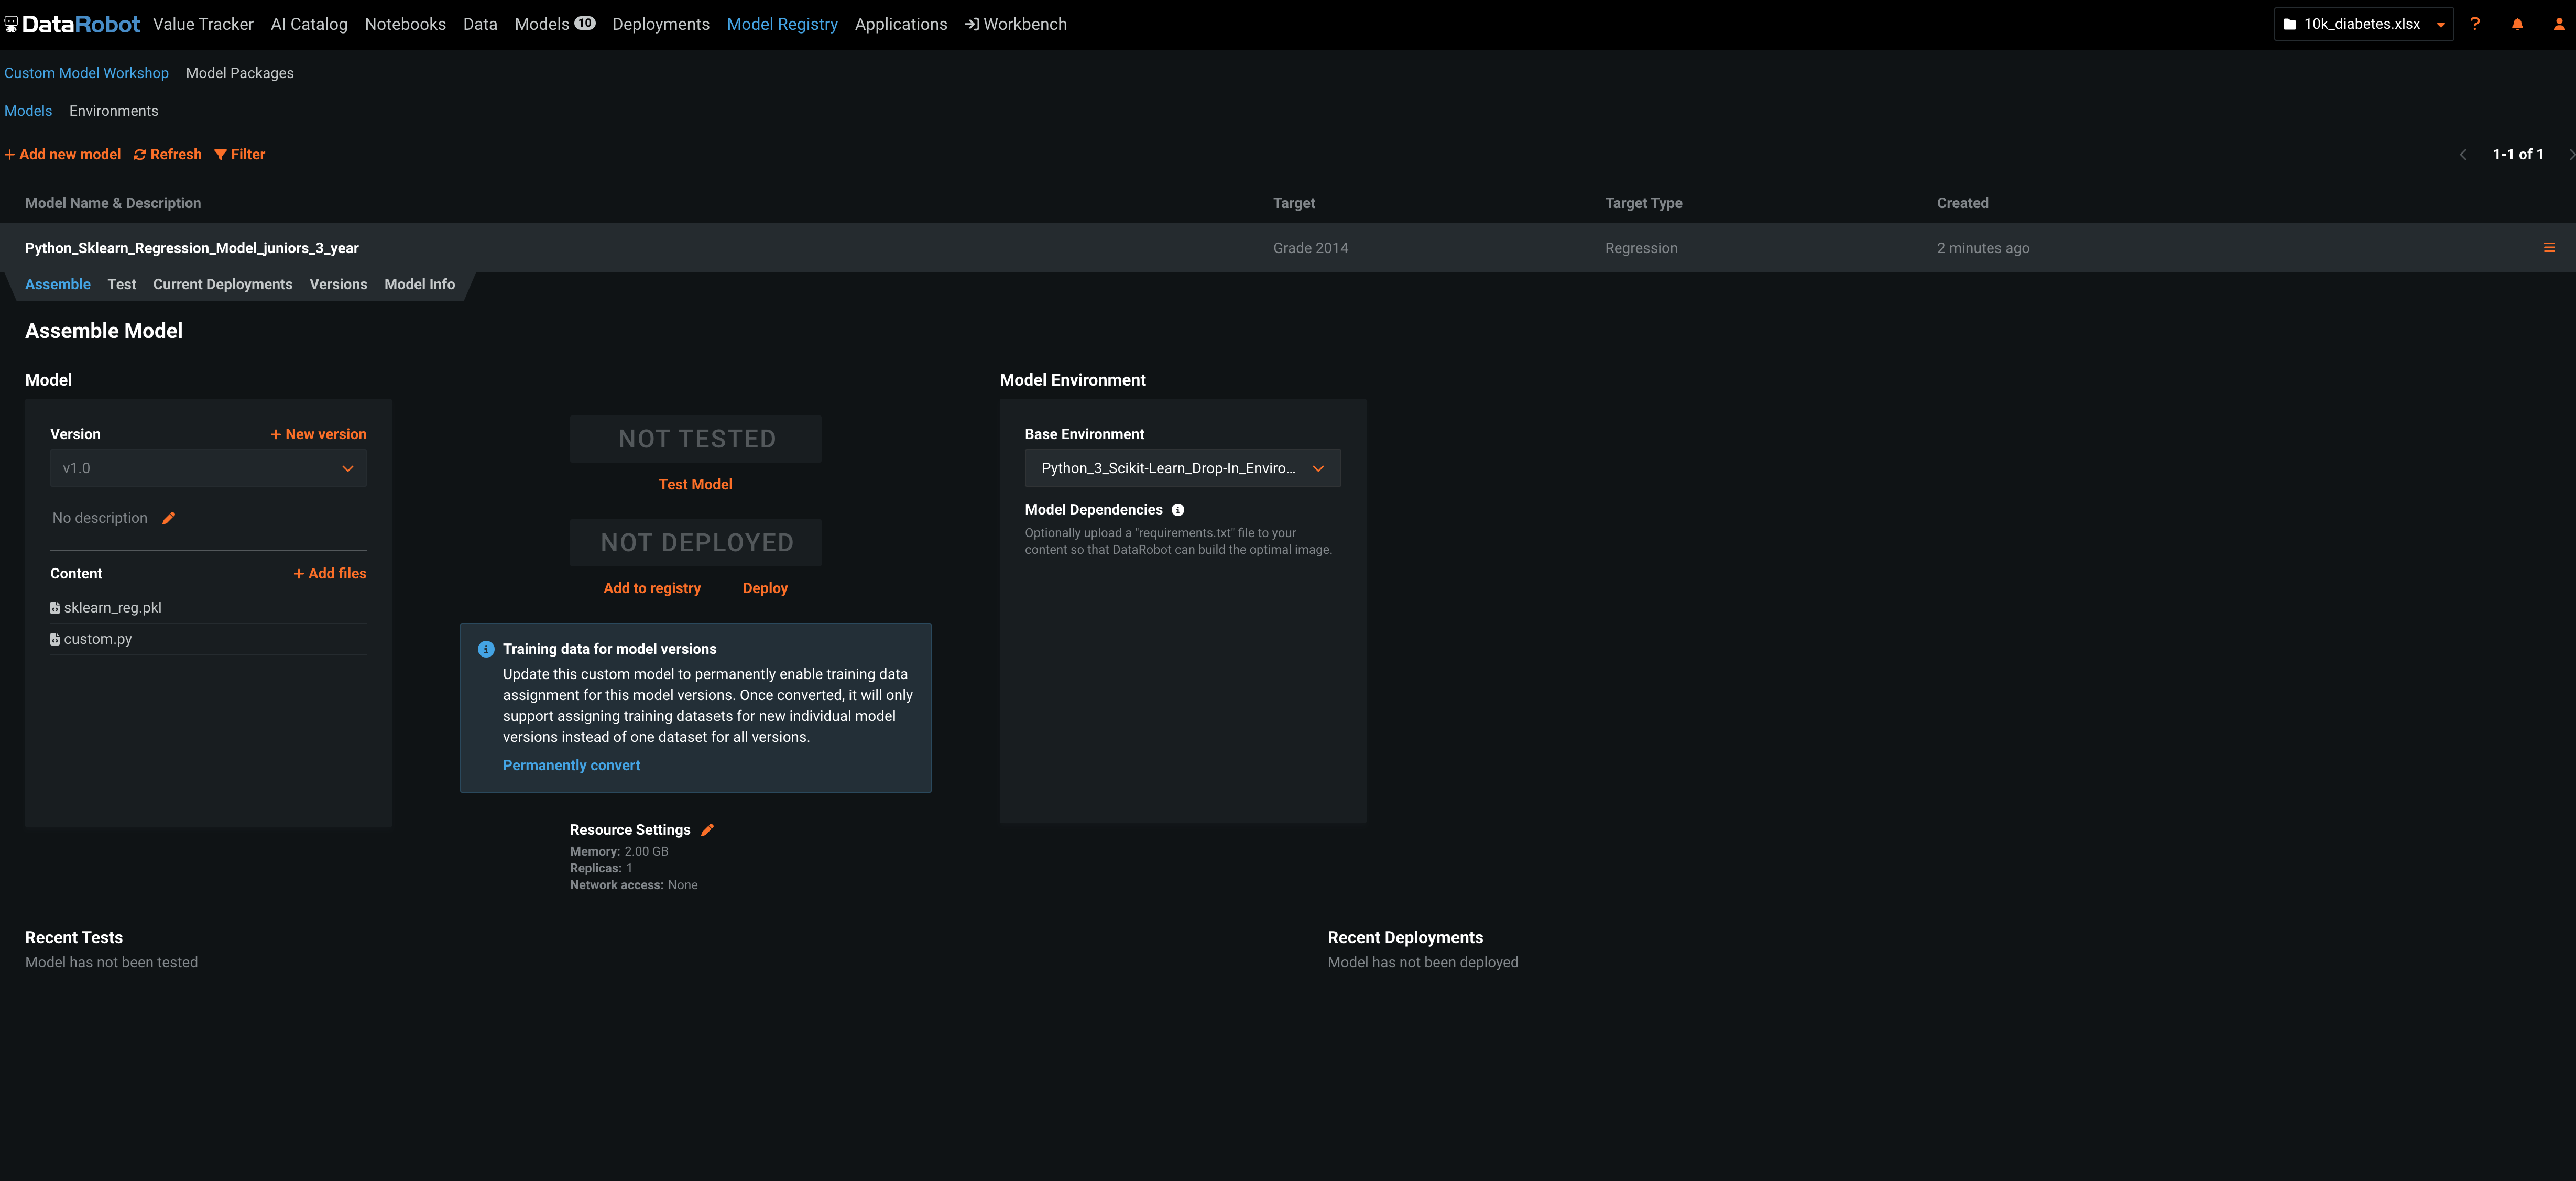
Once the model is created, expand its entry to view its settings.
- On the Assemble tab, under Base Environment, select the custom environment you created earlier from the dropdown list.
-
In the Model Content box, upload the
custom.pyandsklearn_reg.pklfiles.- These files can be found in the
datarobot-user-modelsrepository you cloned earlier, inside themodel_templates/python3_sklearndirectory.
- These files can be found in the
-
Select the Test tab to validate the model.
- In the center of the screen, click + New Test. Upload the
juniors_3_year_stats_regression.csvfile.- This test file can be found in the
datarobot-user-modelsrepository, inside thetests/testdatadirectory.
- This test file can be found in the
-
Click Start Test.
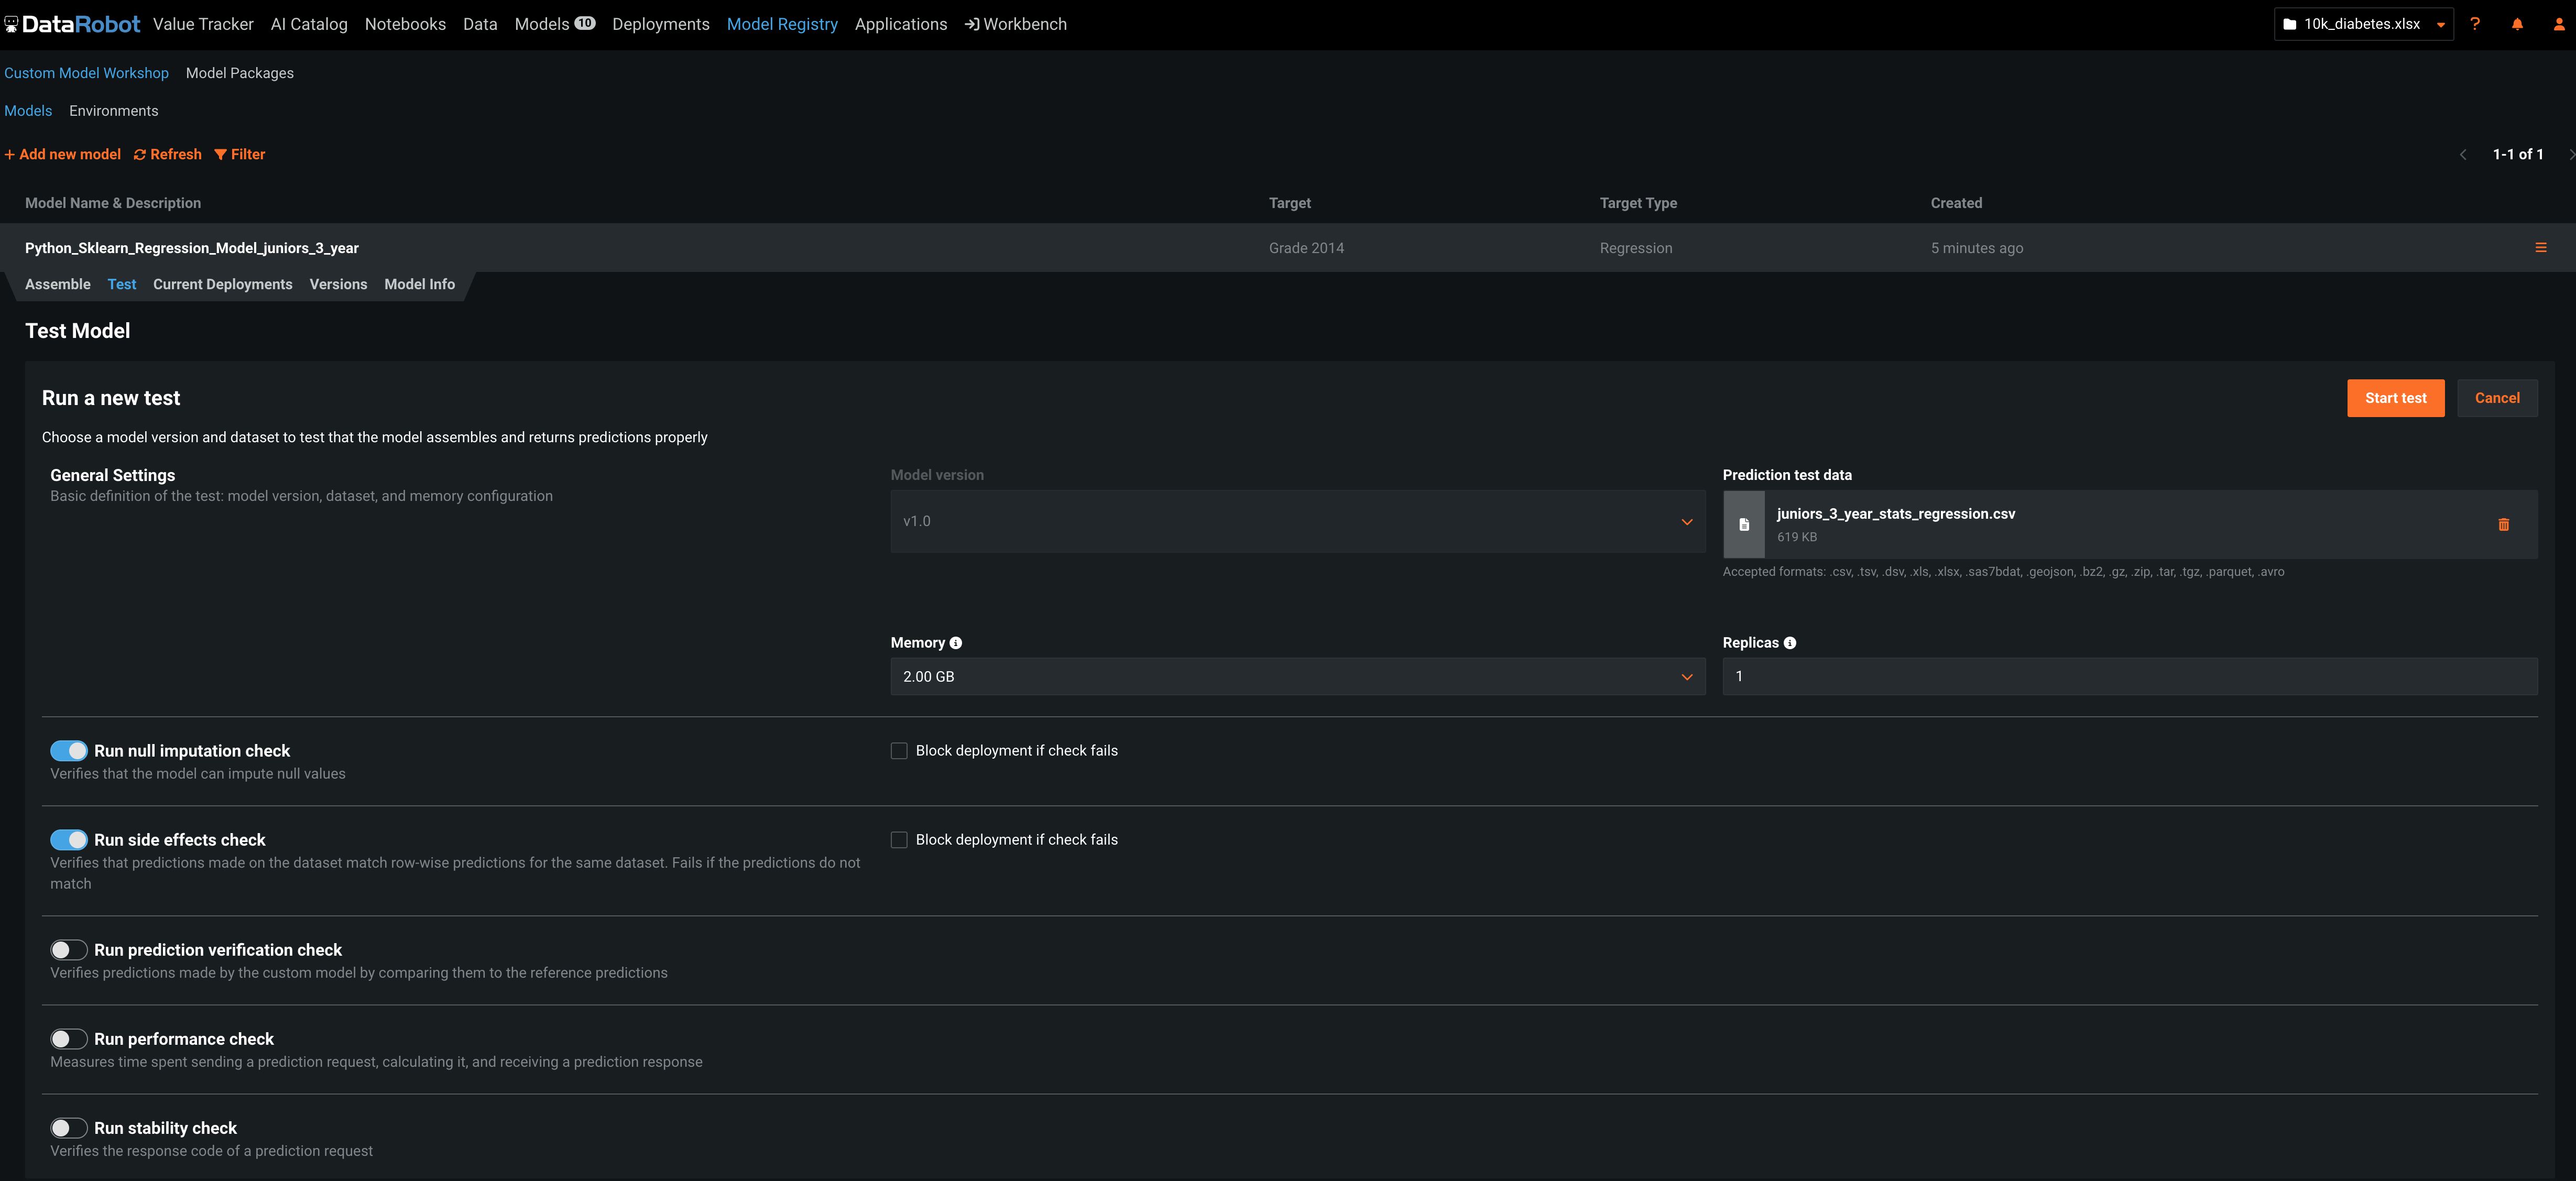
The underlying
build-servicecreates an image and runs tests to validate that the model works as expected.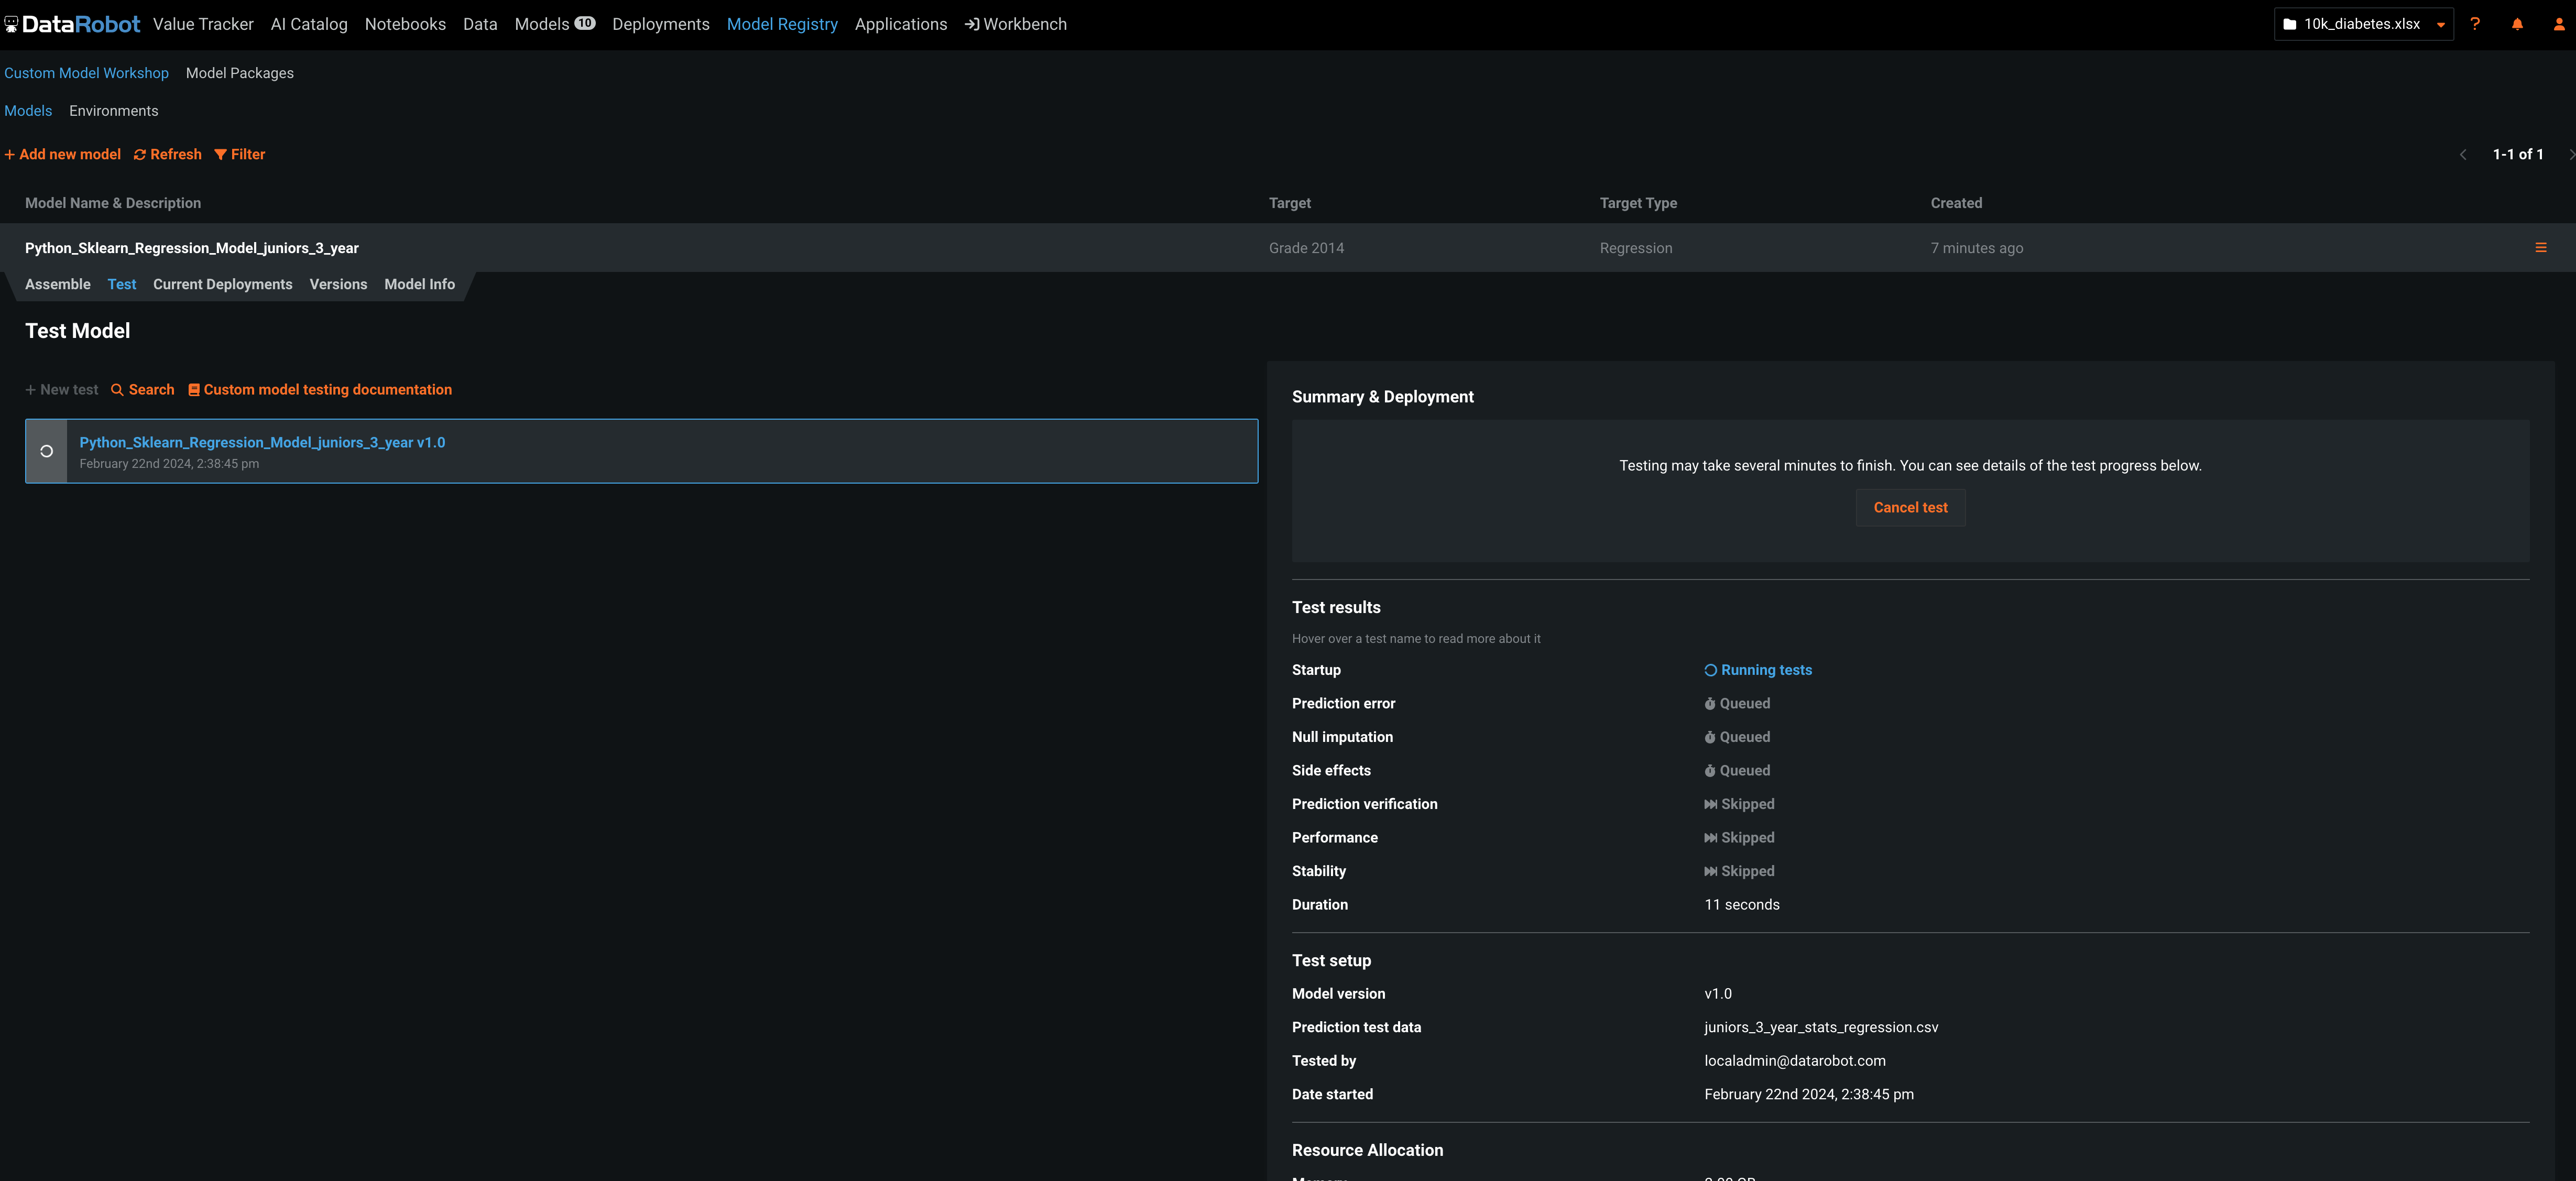
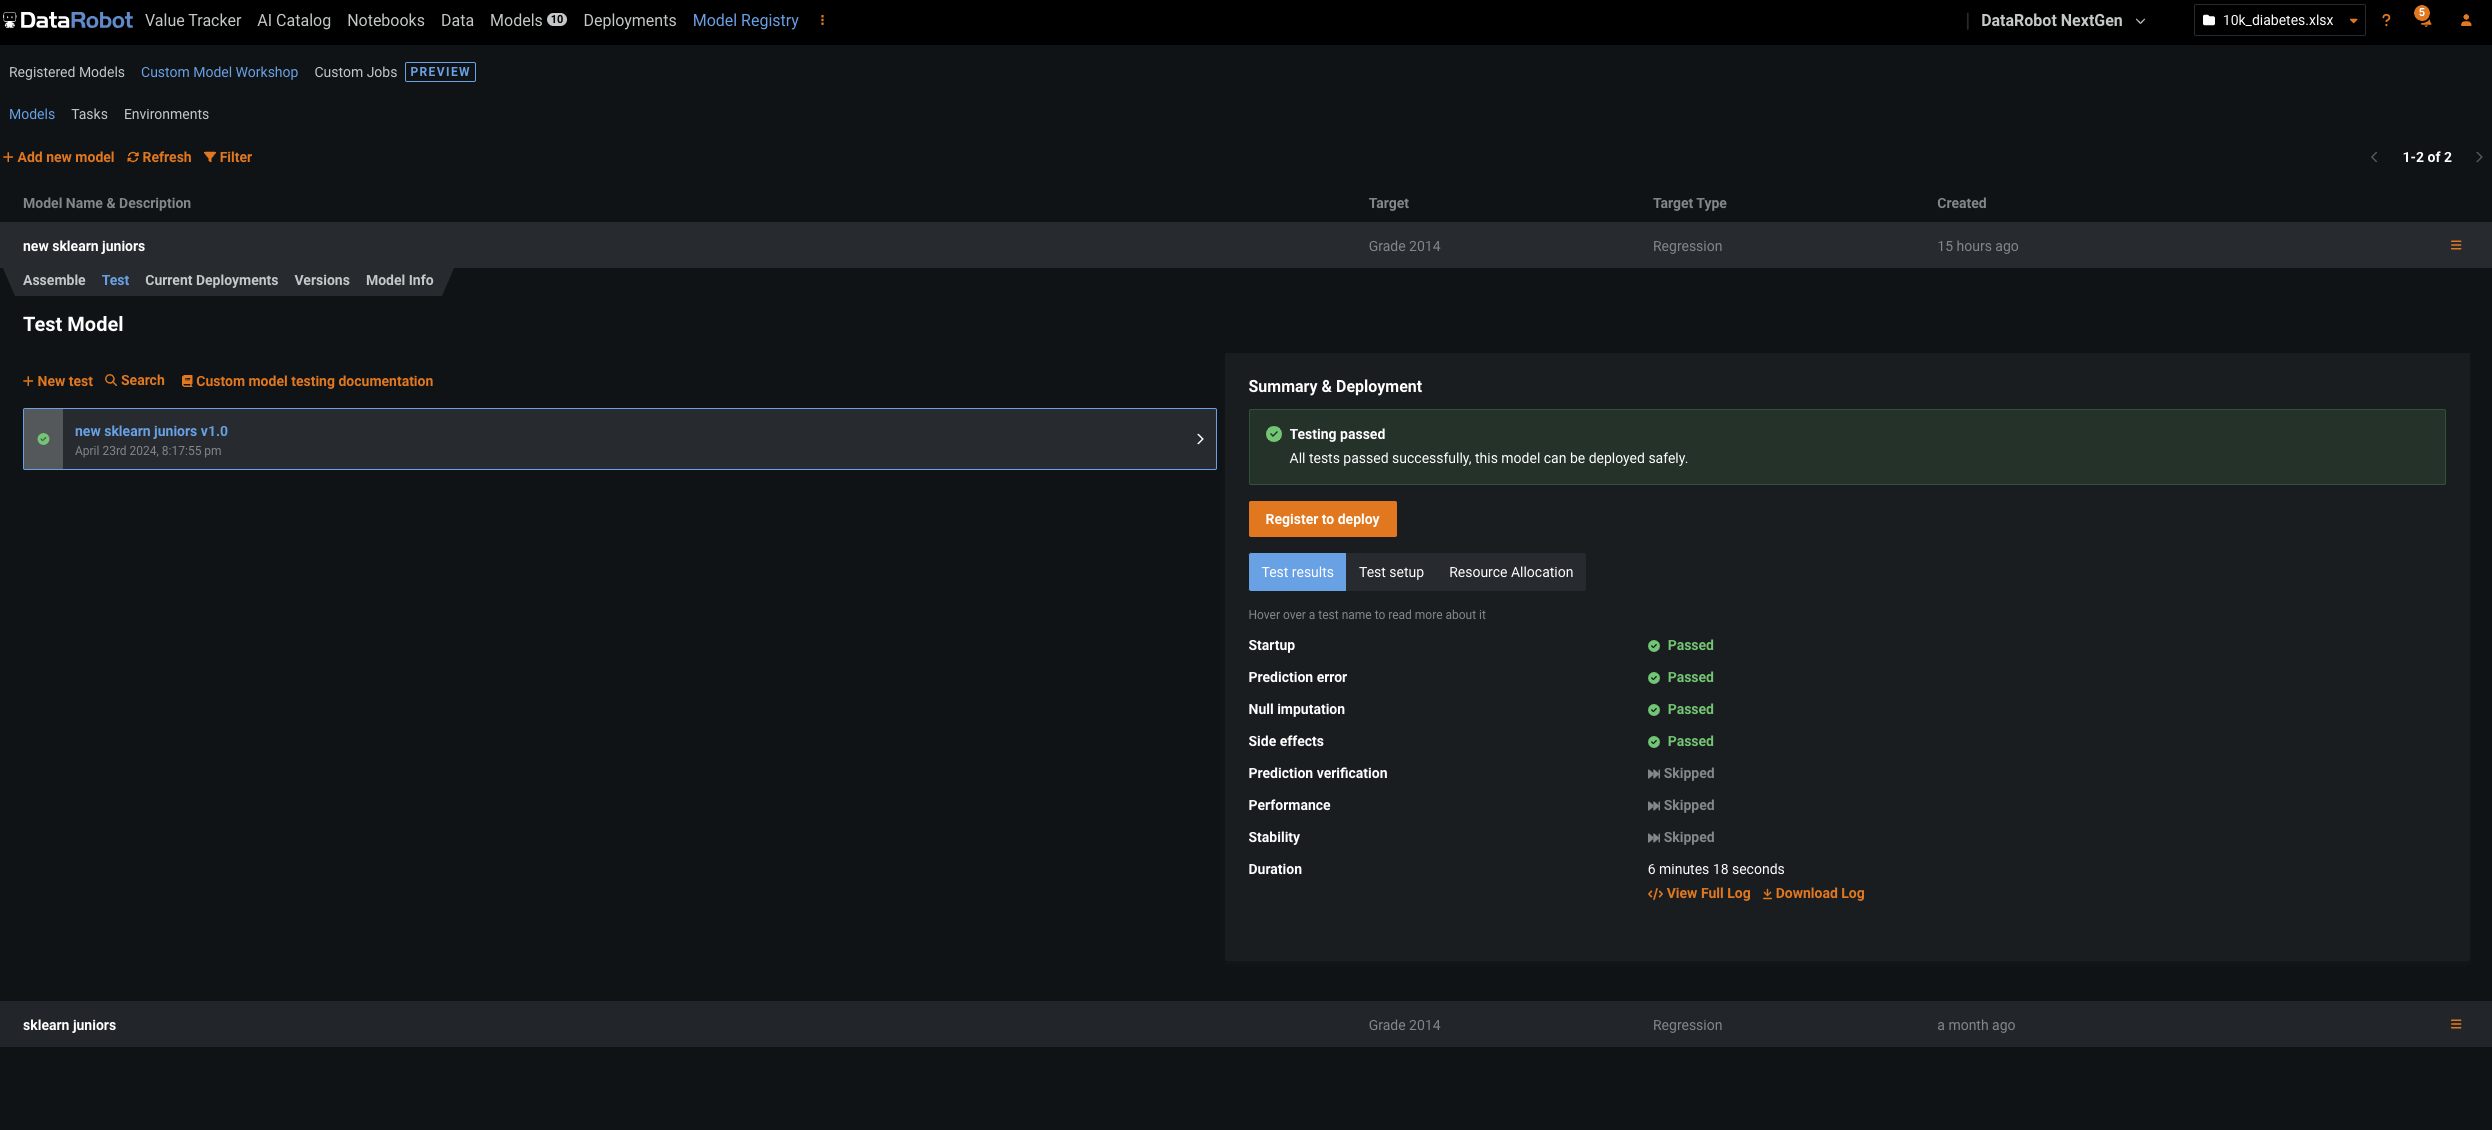
Deploy the model and get predictions
Once all tests have passed, you can register and deploy the model.
-
To register the model for deployment:
a. Click Register to Deploy. b. In the Registered model name field, enter a name for the deployment. c. レジストリに追加をクリックします。
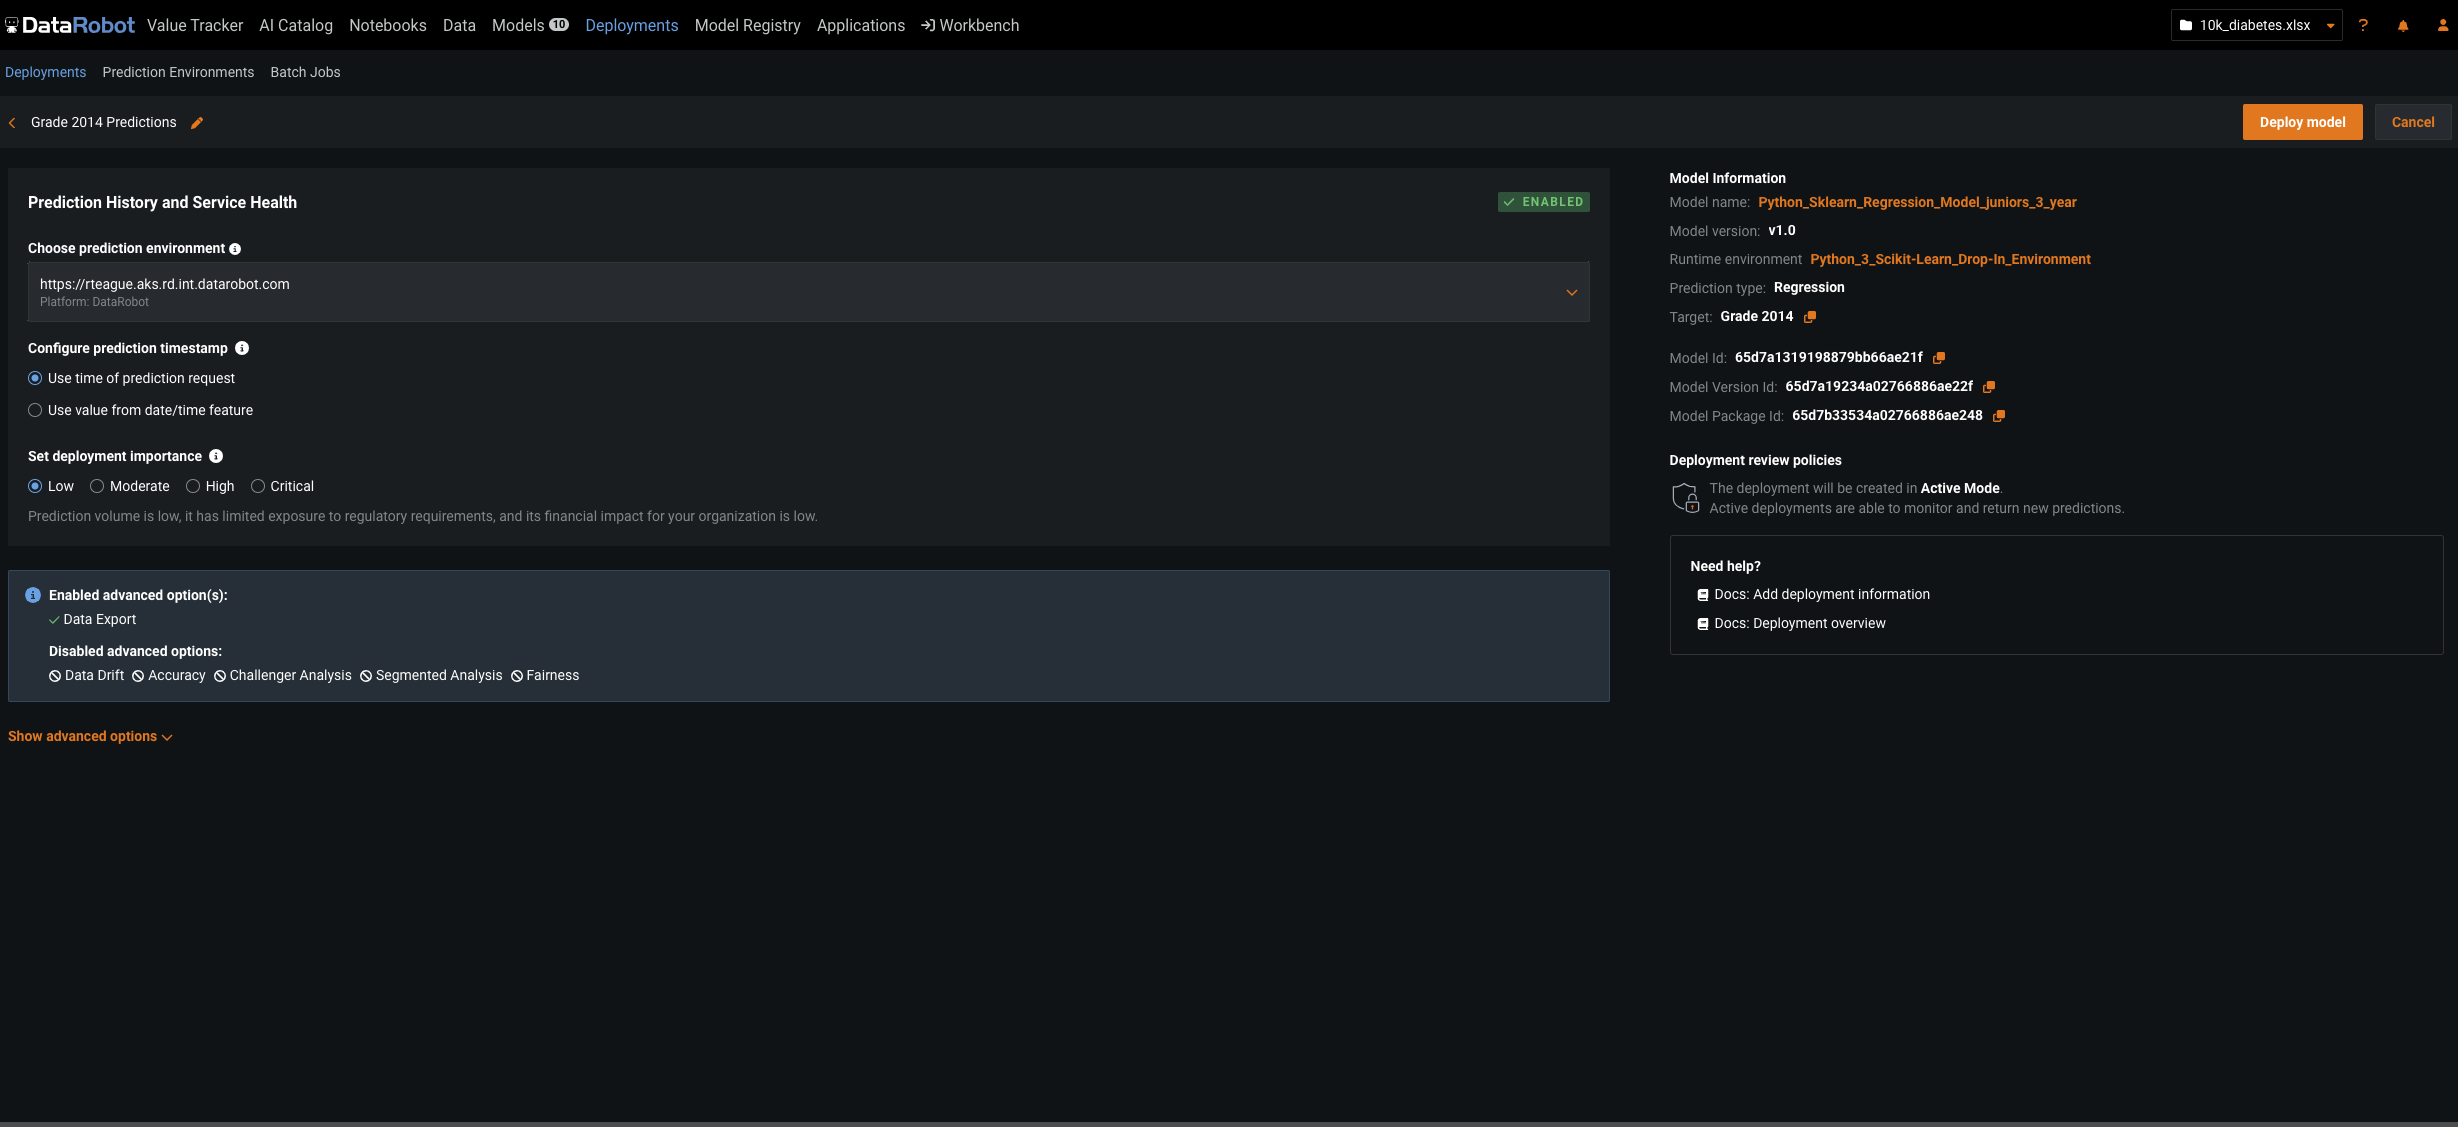
-
To deploy the registered model:
a. Click the Deploy button. b. Select the Deployment Target. c. Click Confirm, and then click Deploy model.
-
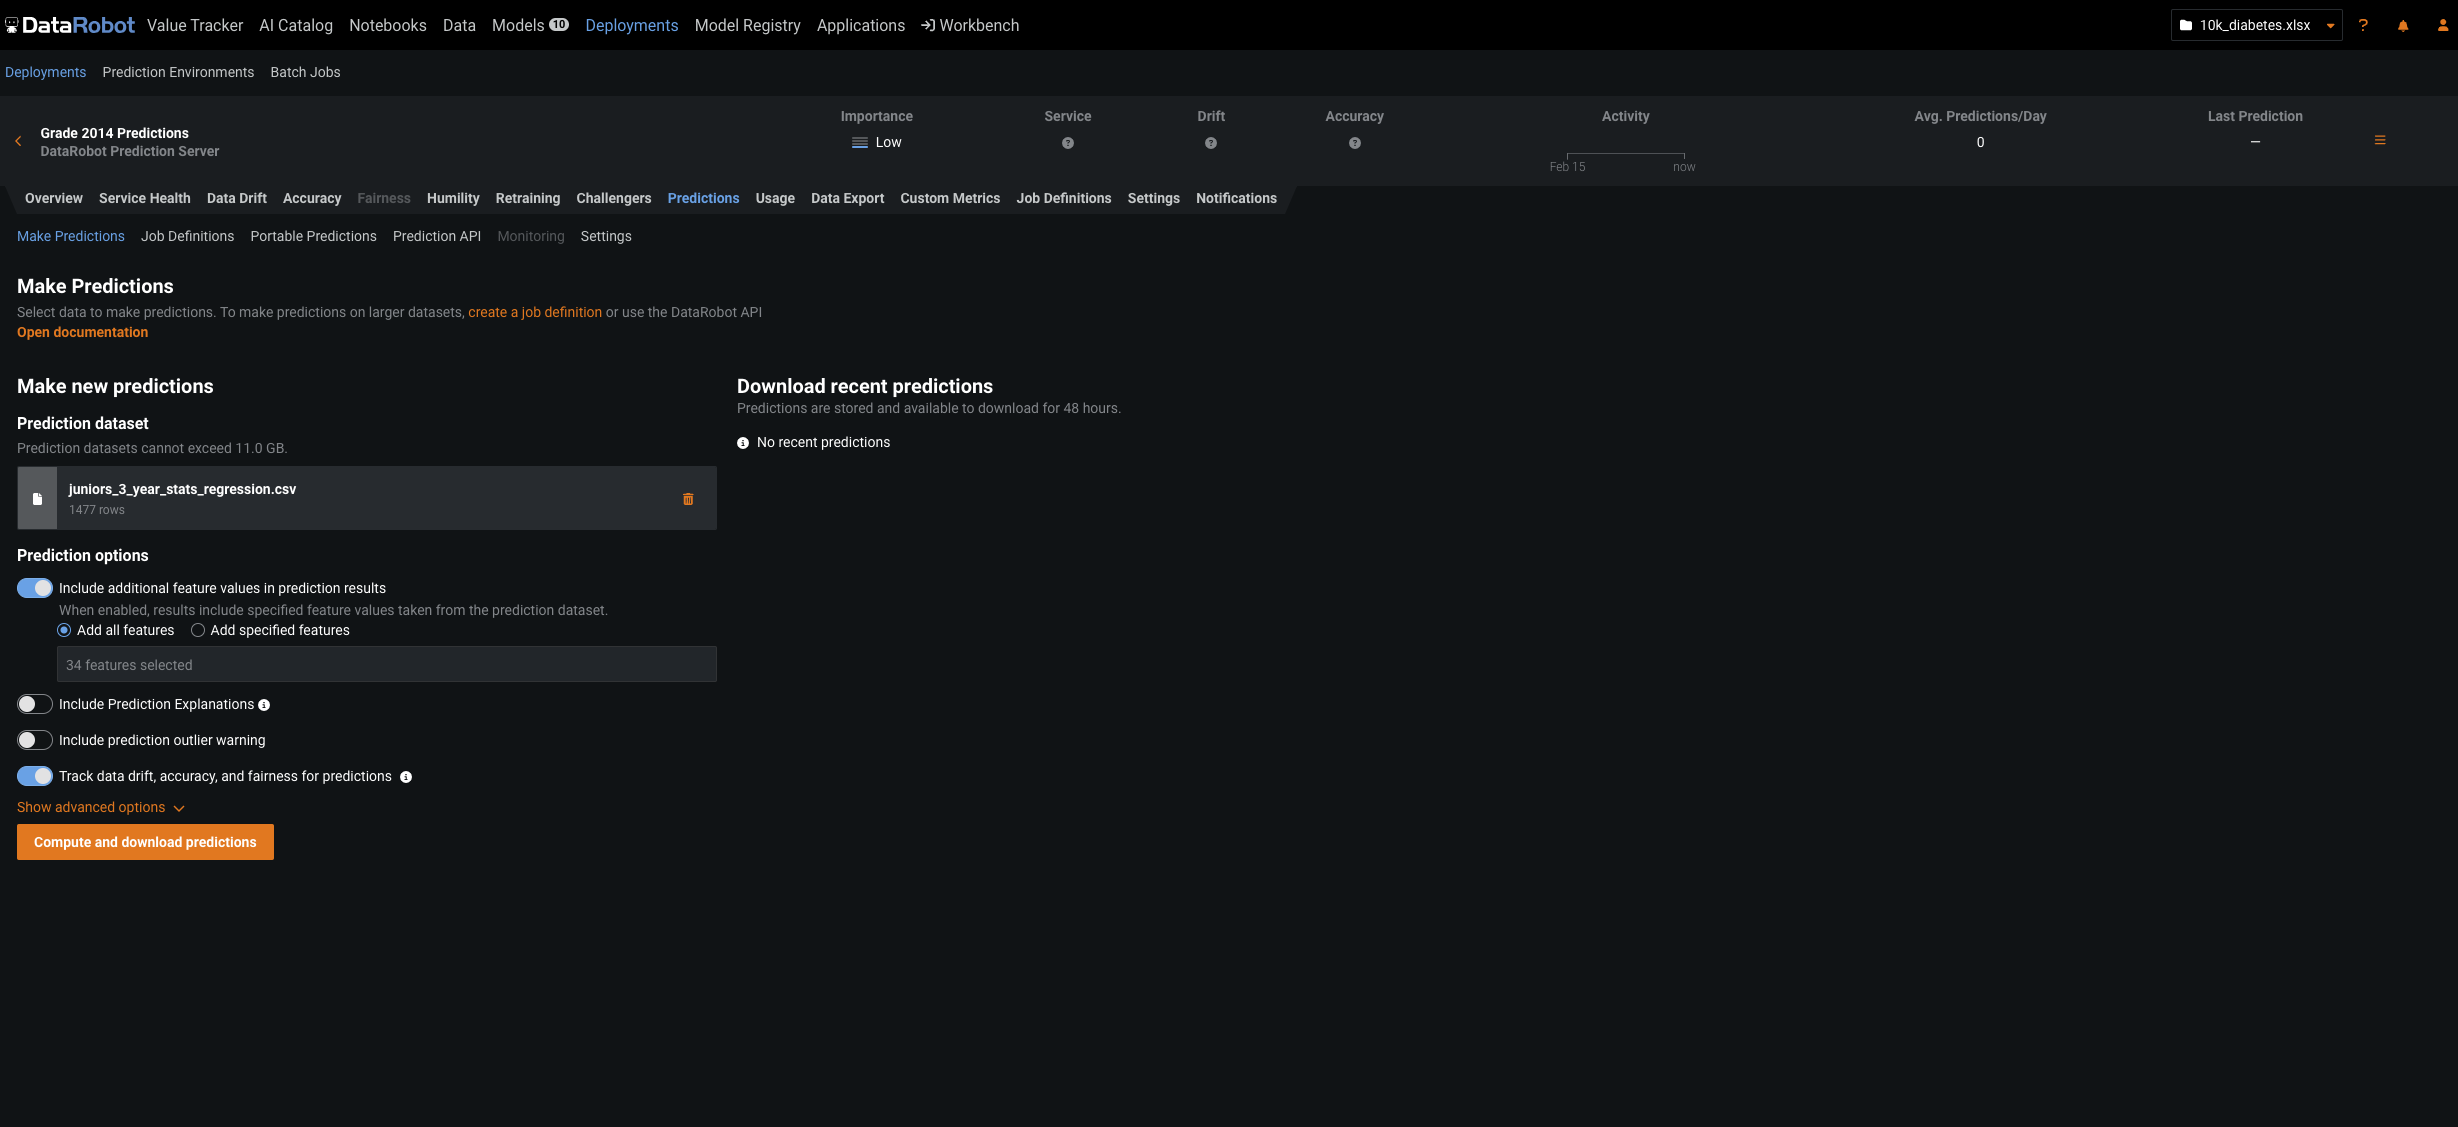
To test the deployment with new data:
a. Navigate to the main Deployments tab. b. Select and expand the deployment you just made. c. Select the Predictions tab. d. In the Prediction Source box, either upload the
juniors_3_year_stats_regression.csvfile again or select it from the AI Catalog. e. When the dataset is loaded, click Compute and Download Predictions.