View and manage jobs
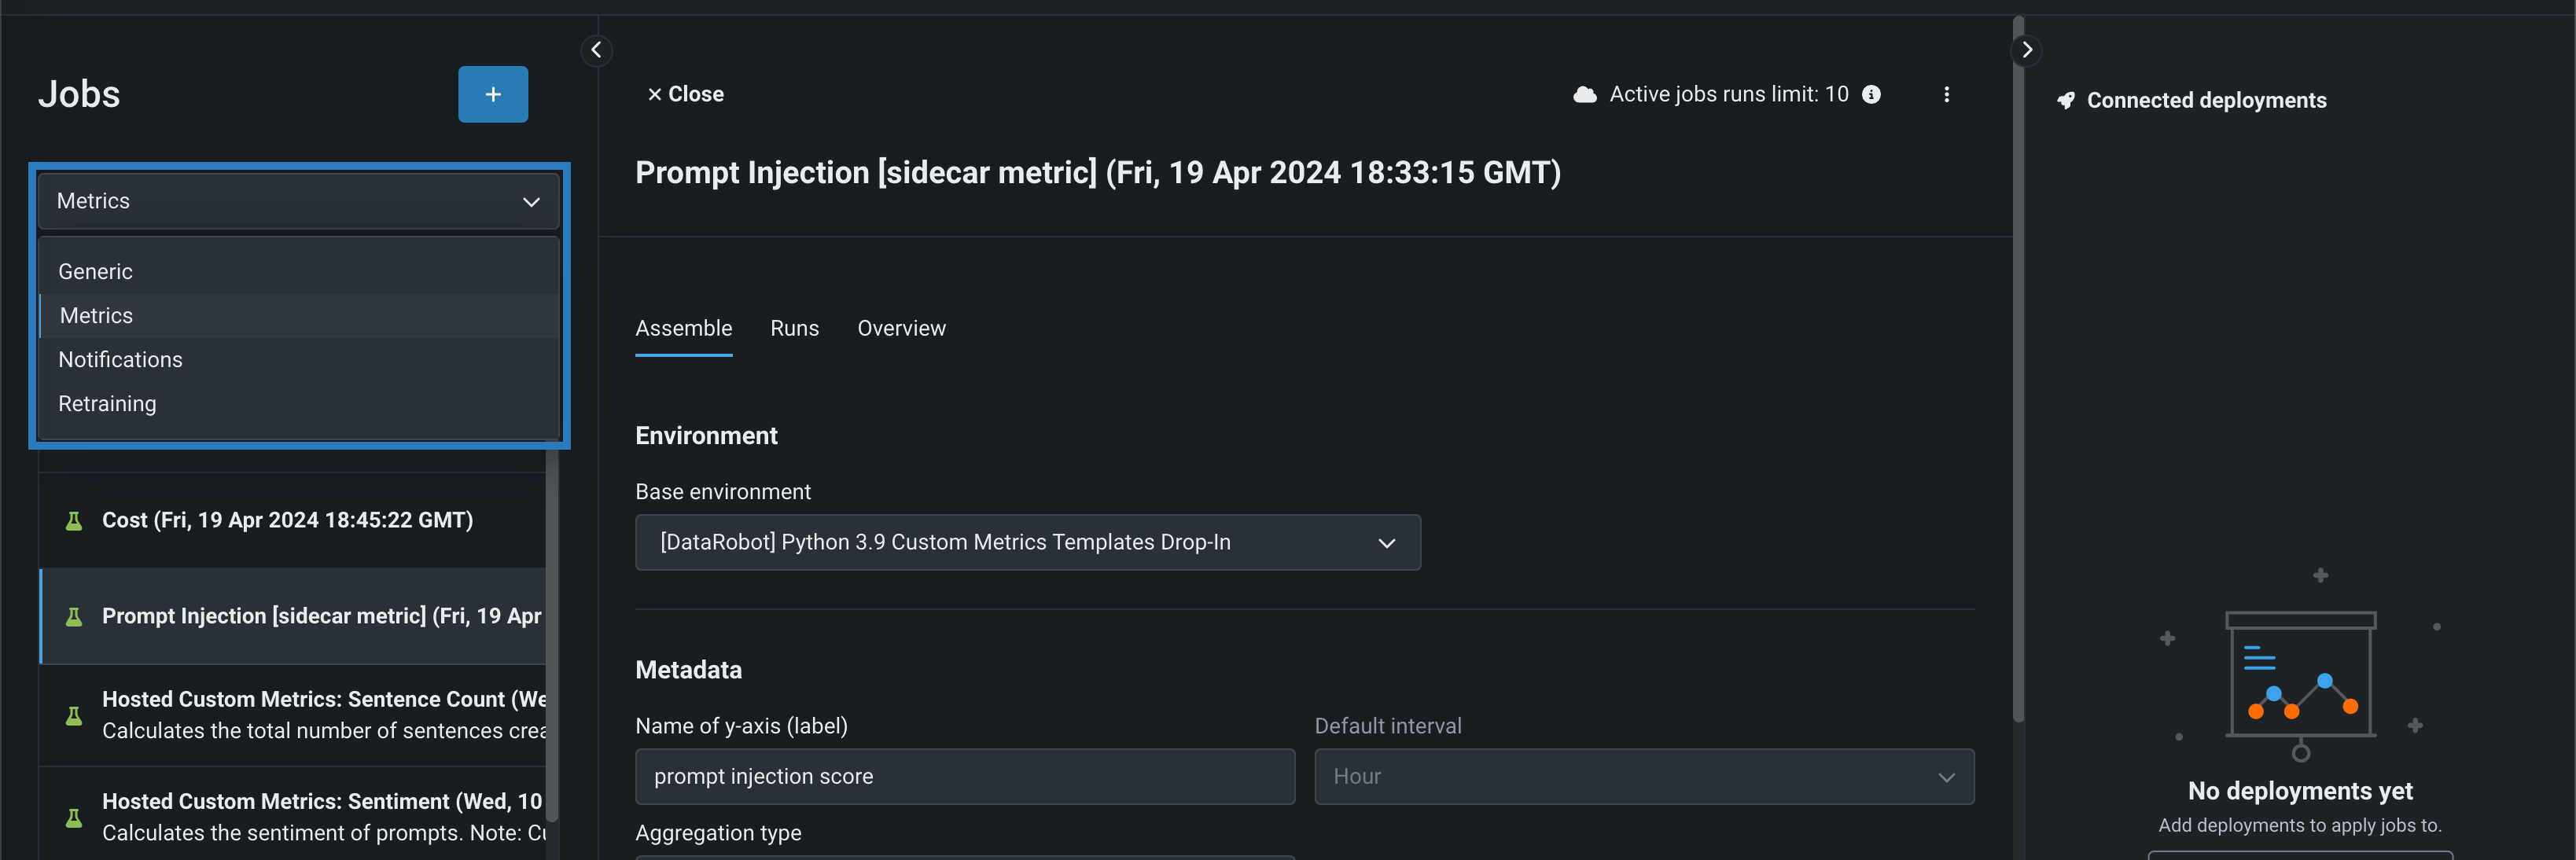
After you assemble one or more jobs, you can view basic custom jobs information. If you've run one or more of those jobs, you can also view detailed run information as well as perform management actions such as job and run log deletion. In the Registry, on the Jobs tab, view the Job name, Created, and Updated information, as well as the Last run date for all custom jobs. Click Search and enter the custom job name to locate a specific job in the list. The Jobs tab is organized into four tabs by job type: Generic, Metrics, Notifications, and Retraining. While reviewing your jobs, you can switch tabs below the Jobs header:
When you locate the custom job to review, click that custom job's row in the table to open it. When open, you can access the following tabs from the custom job panel:
| Tab | Description |
|---|---|
| Assemble | Assemble the required execution environment and files for a job, define an entry point file, and configure runtime parameters. |
| Runs | Run or schedule the custom jobs you assemble. |
| Overview | View information about the custom job. |
Tip
You can click Close in the upper-left corner of the custom panel at any time to return to the expanded Workshop table.
View custom job info
The Overview tab displays the job's Job ID and the Created and Updated dates. You can also click the edit icon to update the name and description of the custom job:
Manage a custom job
If the custom job panel is closed, click the Actions menu located in the last column for each custom job. If the custom job panel is open, click the Actions menu located in the upper-right corner of the page:
| Option | Action |
|---|---|
| Delete | To delete a custom job and all of its contents, click this option, then, in the Delete Custom Job dialog box, click Delete again. |
| Share | To share a custom job and all of its contents, click this option, then, in the Share dialog box, enter a user into the Share with field, select a role, and click Share. |


