Add notebooks
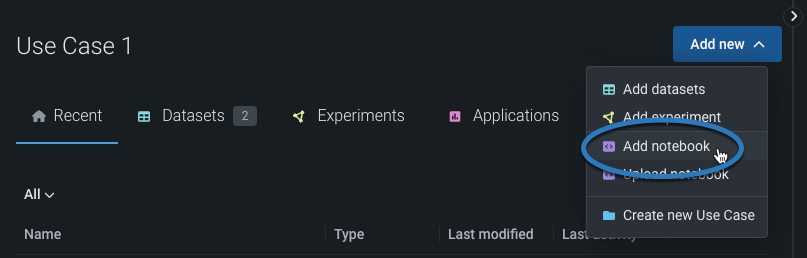
To add notebooks to a Use Case via Workbench, first select and navigate to the Use Case.
Create notebooks
You can create and manage notebooks across DataRobot. To get started, create a notebook.
-
Click Add new > Add notebook.
-
When you create a notebook, you are brought to the notebook editing interface.
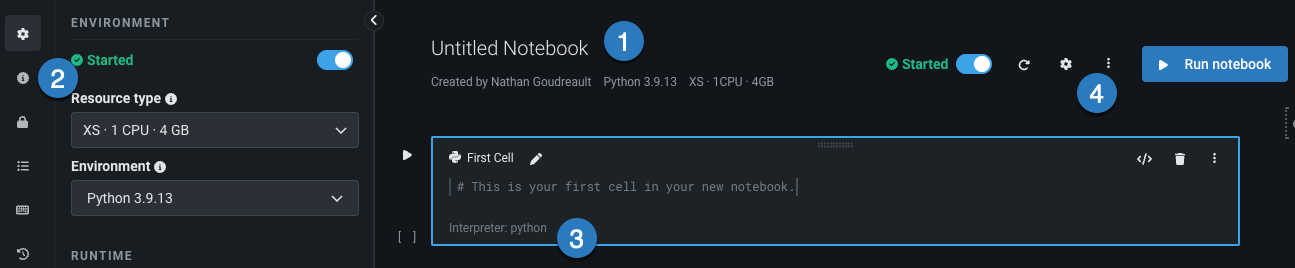
Element Description 1 Notebook name The name of the notebook displayed at the top of the page and in the dashboard. Click on the pencil icon to rename it. 2 Sidebar Hosts options for configuring notebook settings as well as additional notebook capabilities. 3 Cell The body of the notebook, where you write and edit code with full syntax highlighting (code cells) or include explanatory and procedural text (Markdown cells). 4 Menu bar Provides the notebook environment status, display options, notebook management options, and a button to run the notebook. Reference the DataRobot documentation for more information about notebook settings and cell actions.
Import notebooks
To import existing Jupyter notebooks (in .ipynb format) into DataRobot, click Add new > Upload notebook.

Upload the notebook by providing a URL or selecting a local file. If using a URL, note that it must be a public URL that is not blocked by authentication. Once uploaded, the notebook will appear in the dashboard alongside those you have already created.
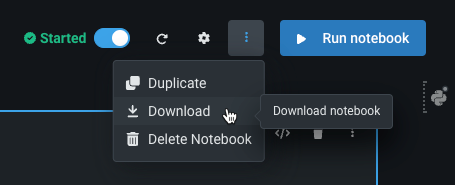
Export notebooks
If you have a notebook that you would like to export, you can do so by downloading it as an .ipynb file. Click the Actions menu inside the notebook and then click Download.