Prepare data in AI Catalog with Spark SQL
Using Prepare data with Spark SQL from the Add menu in the AI Catalog allows you to enrich, transform, shape, and blend datasets together using Spark SQL queries.
The following sections describe the process of data preparation with Spark SQL:
- Creating blended datasets.
- Creating a query.
- Previewing results.
- Saving results to the AI Catalog.
- Editing queries.
Support information
Supported version:
- Spark SQL 3.4.1
Supported dataset types:
- Static datasets created from local files.
- Unmaterialized (dynamic) datasets created from JDBC data connections.
- Snapshotted datasets created from JDBC data connections.
Create blended datasets
Using Spark SQL queries, you can pull in data from multiple sources to create a new dataset that can then be used for analysis and in visualizations. Blending datasets helps create more comprehensive datasets to compare relationships in data or address specific business problems, for example, combining highly related datasets to better predict customer behavior.
-
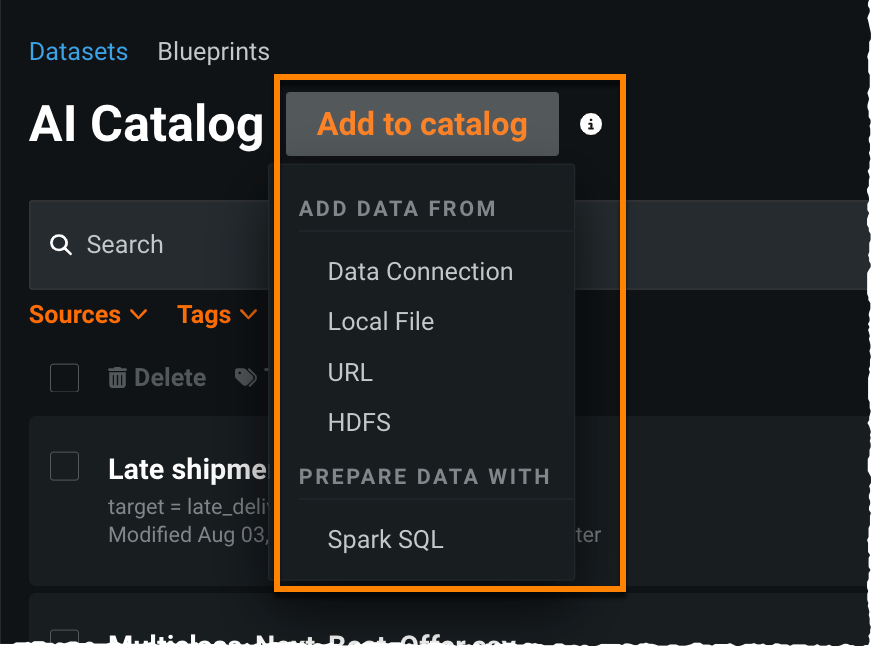
To create a new blended dataset, select Spark SQL from the Add menu:
-
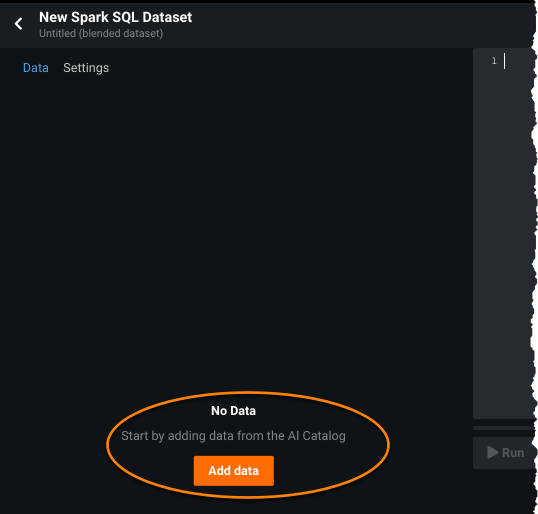
In the resulting dialog box, click Add data to open the “Select tables from the catalog for blending” modal.
-
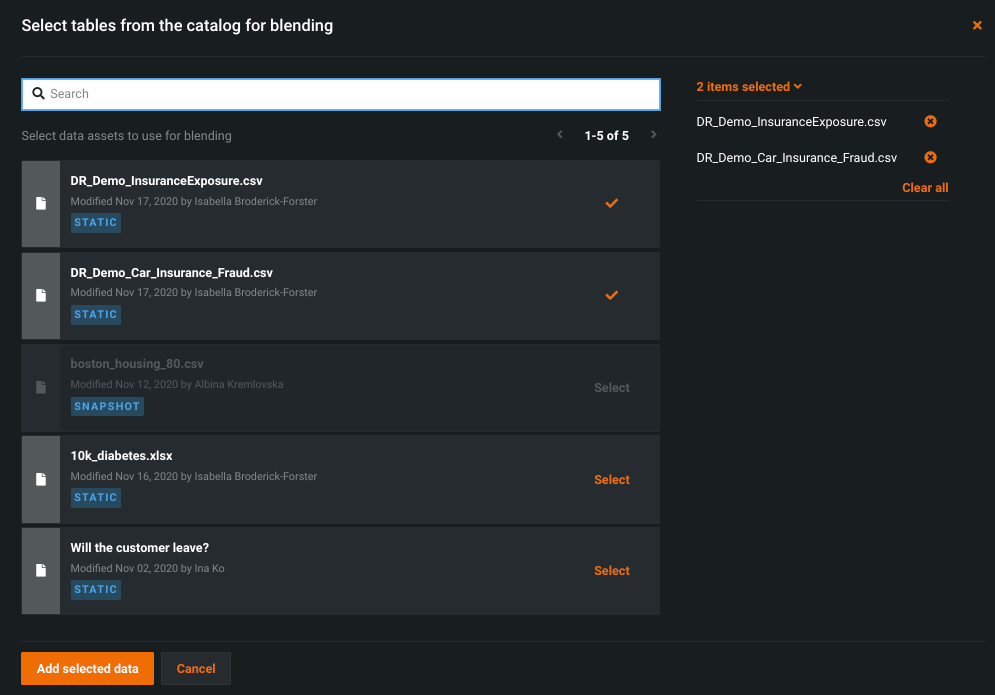
DataRobot opens available datasets in a new modal. Click Select next to one or more datasets from the list of assets. The right panel lists the selected datasets.
-
When you have finished adding datasets, click Add selected data.
-
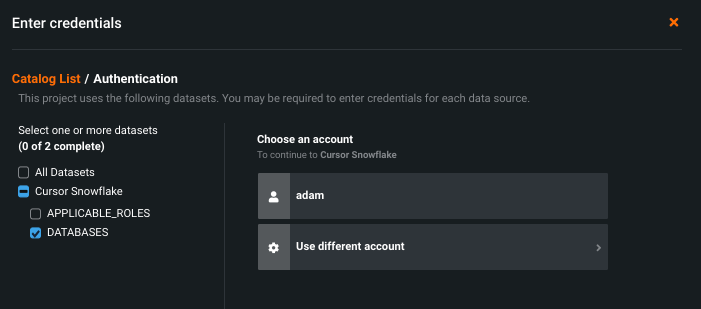
Enter credentials for any datasets that require authentication and, when authenticated, click Complete registration to open the SQL editor.
Add and edit datasets
After initially adding datasets, you can add more or modify the dataset alias:
-
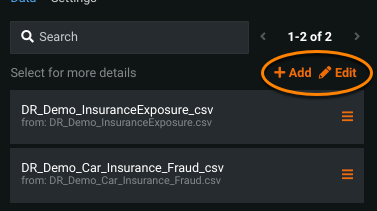
Click Add to re-open the “Select tables from the catalog for blending” modal. Check marks indicate the datasets that are already included; click Select to add new datasets. You do not need to use all added datasets as part of the query.
-
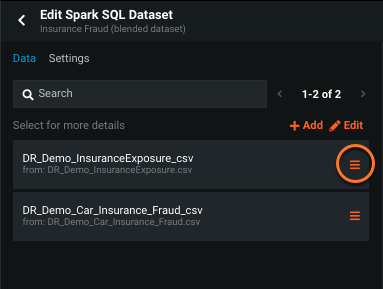
Click Edit to rename the dataset alias or delete the dataset from the query. You can also do either of these tasks from the dataset's menu.
Note
To conform to Spark SQL naming conventions (no special characters or spaces), DataRobot generates an alias by which to refer to each dataset in the SQL code. You’re welcome to choose your own alias or use the generated one.
Create a query
Once you have datasets loaded, the next step is to enter a valid Spark SQL query in the SQL input section. To access the Spark SQL documentation in DataRobot, click Spark Docs.
To enter a query you can either manually enter the SQL query syntax into the editor or add some or all features using the menu next to the dataset name.
Note
You must surround alias or feature names that contain non-ascii characters with backticks ( ` ). For example, a correctly escaped sequence might be `alias%name`.`feature@name`.
Add features via the menu
Click the menu next to the dataset name.
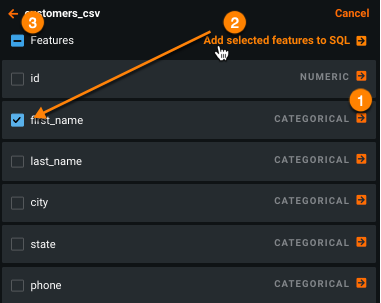
DataRobot opens a pane that allows you to:
- add features individually by clicking the arrow to the right of the feature name (1).
- add a group of features by first selecting them in the checkbox to the left of the feature name and then choosing Add selected features to SQL (2).
-
select or deselect all features.
When using the menu to add features, DataRobot moves the added feature(s) into the SQL editor at the point of your cursor.
Preview results
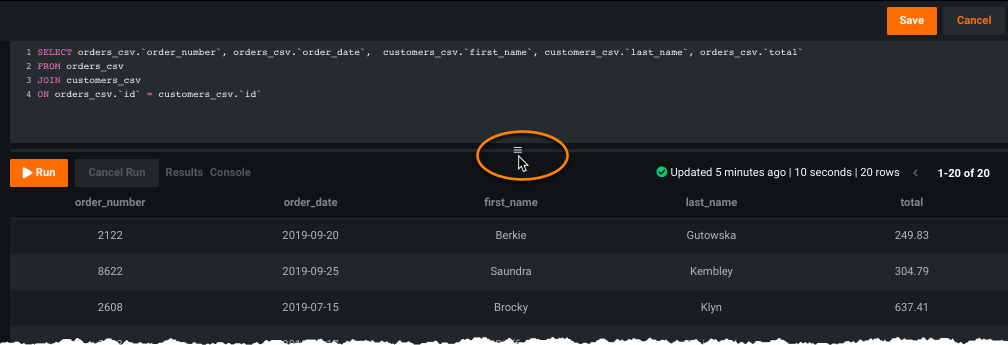
When the query is complete, click Run or if there are several queries in the editor, highlight a specific section and then click Run . After computing completes, if successful, DataRobot opens the Results tab. Use the window-shade scroll to display more rows in the preview; if necessary, use the horizontal scroll bar to scroll through all columns of a row:
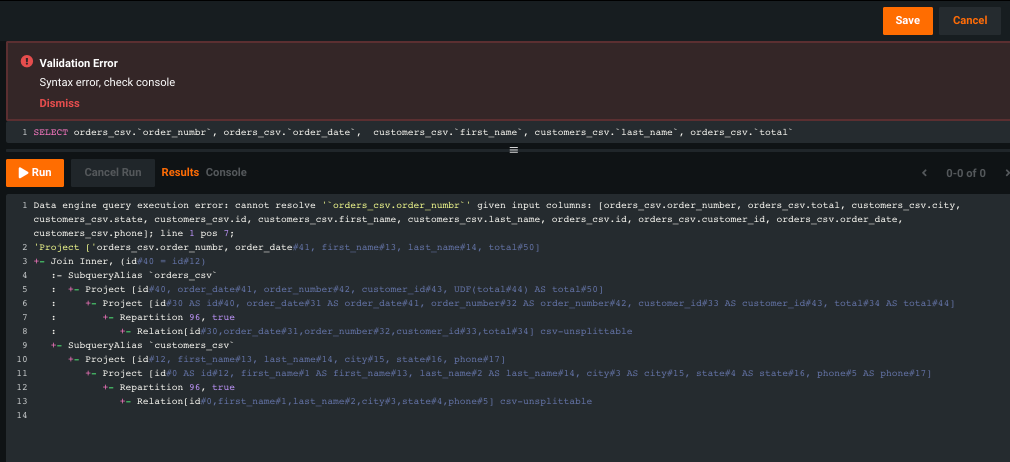
If the query was not successful, DataRobot returns a notification banner and returns details of the error in the Console:
Preview considerations
When running a query, preview results from the Run action are limited to 10,000 rows and/or 16MB.
-
If the preview exceeds 16MB, DataRobot returns: command document too large
-
If the preview exceeds 10,000 rows, DataRobot returns the message: Data engine query execution error: Output table is too large (more than 10000 rows). Please, use LIMIT or come up with another query
Saving to the AI Catalog does not incur these limits.
Save results to the AI Catalog
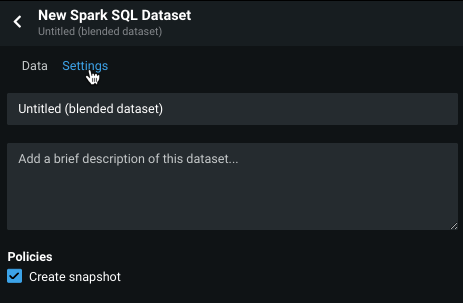
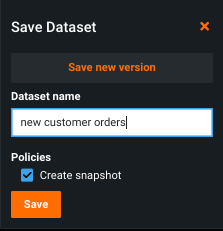
Before saving your query and resulting dataset, you can optionally provide a name and/or description for the new dataset from the Settings tab, overwriting the default name "Untitled (blended dataset)".
By default, DataRobot creates a snapshot of the new dataset. Uncheck "Create snapshot" (in Settings) to prevent this behavior.
When you are satisfied with the naming and results, click Save to write the new blended dataset to the AI Catalog and start the registration process.
Edit queries
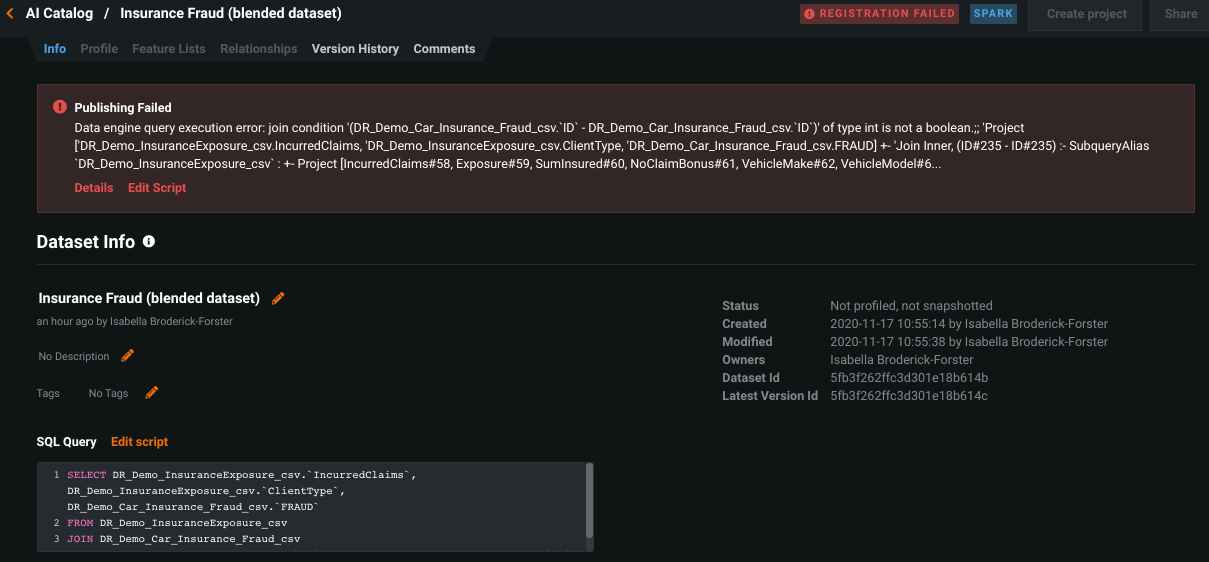
Once you have saved your data asset, you can both view and edit the query from the asset's Info tab. Any errors from your previous run are displayed at the top of the page.
To correct errors:
-
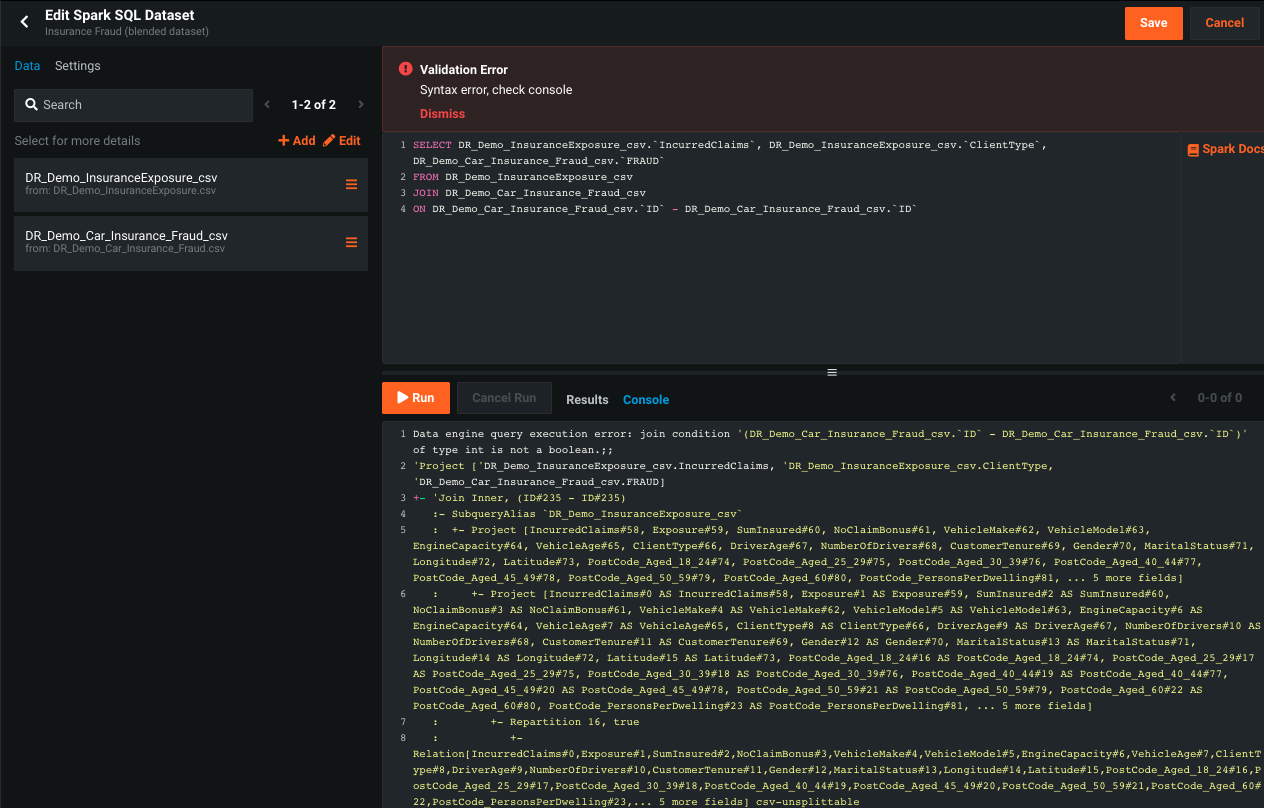
Click Edit script to return to the query editor. All results and errors from the previous run are preloaded below the editor.
-
Make changes to the query and Run to validate results.
-
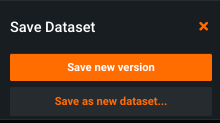
Click Save and choose to either edit your script ("Save new version") or save as a new dataset.
-
"Save new version" edits the script and reregisters a new version of the dataset. Visit the Version History tab to see all versions. Click a version to expand and see both the SQL query and the related data sources.
Note
When using "Save new version," the new version must conform to the original dataset schema. If you must change output schema as part of the edit, use the "Save new dataset" option instead.
-
If registration fails using the new query, use the Edit script link to return to the SQL editor, correct any problems, and save as a new version.
Create a new version
Additionally, you can use the "Create a new dataset from script" link in the Version History tab. Click the link and return to the query editor. When you Save, the entry is saved as a new data asset.
