Template Builder
In some regulated industries, models have to go through a rigorous validation process which can be tedious, time-consuming, and can potentially block the deployment of models to production. DataRobot's Automated Compliance Documentation accelerates this process by automating the necessary documentation requirements that accompany such use cases. The Template Builder allows you to create, edit, and share custom documentation templates to fit your needs and speed up the validation process. Generate automated documentation using the provided compliance documentation template or create and share custom, user-defined templates that are more closely aligned with your documentation requirements.
Create and edit templates
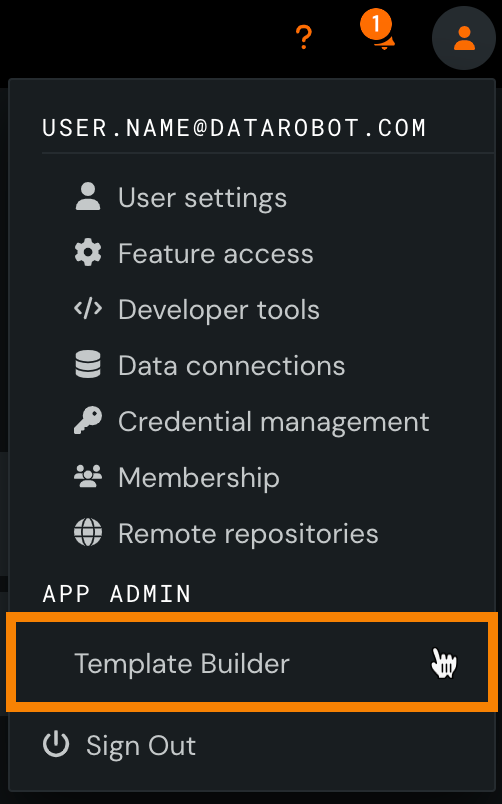
For a user with template administrator permissions, the Template Builder can be found by going to the user dropdown menu found in the upper-right corner of the application.
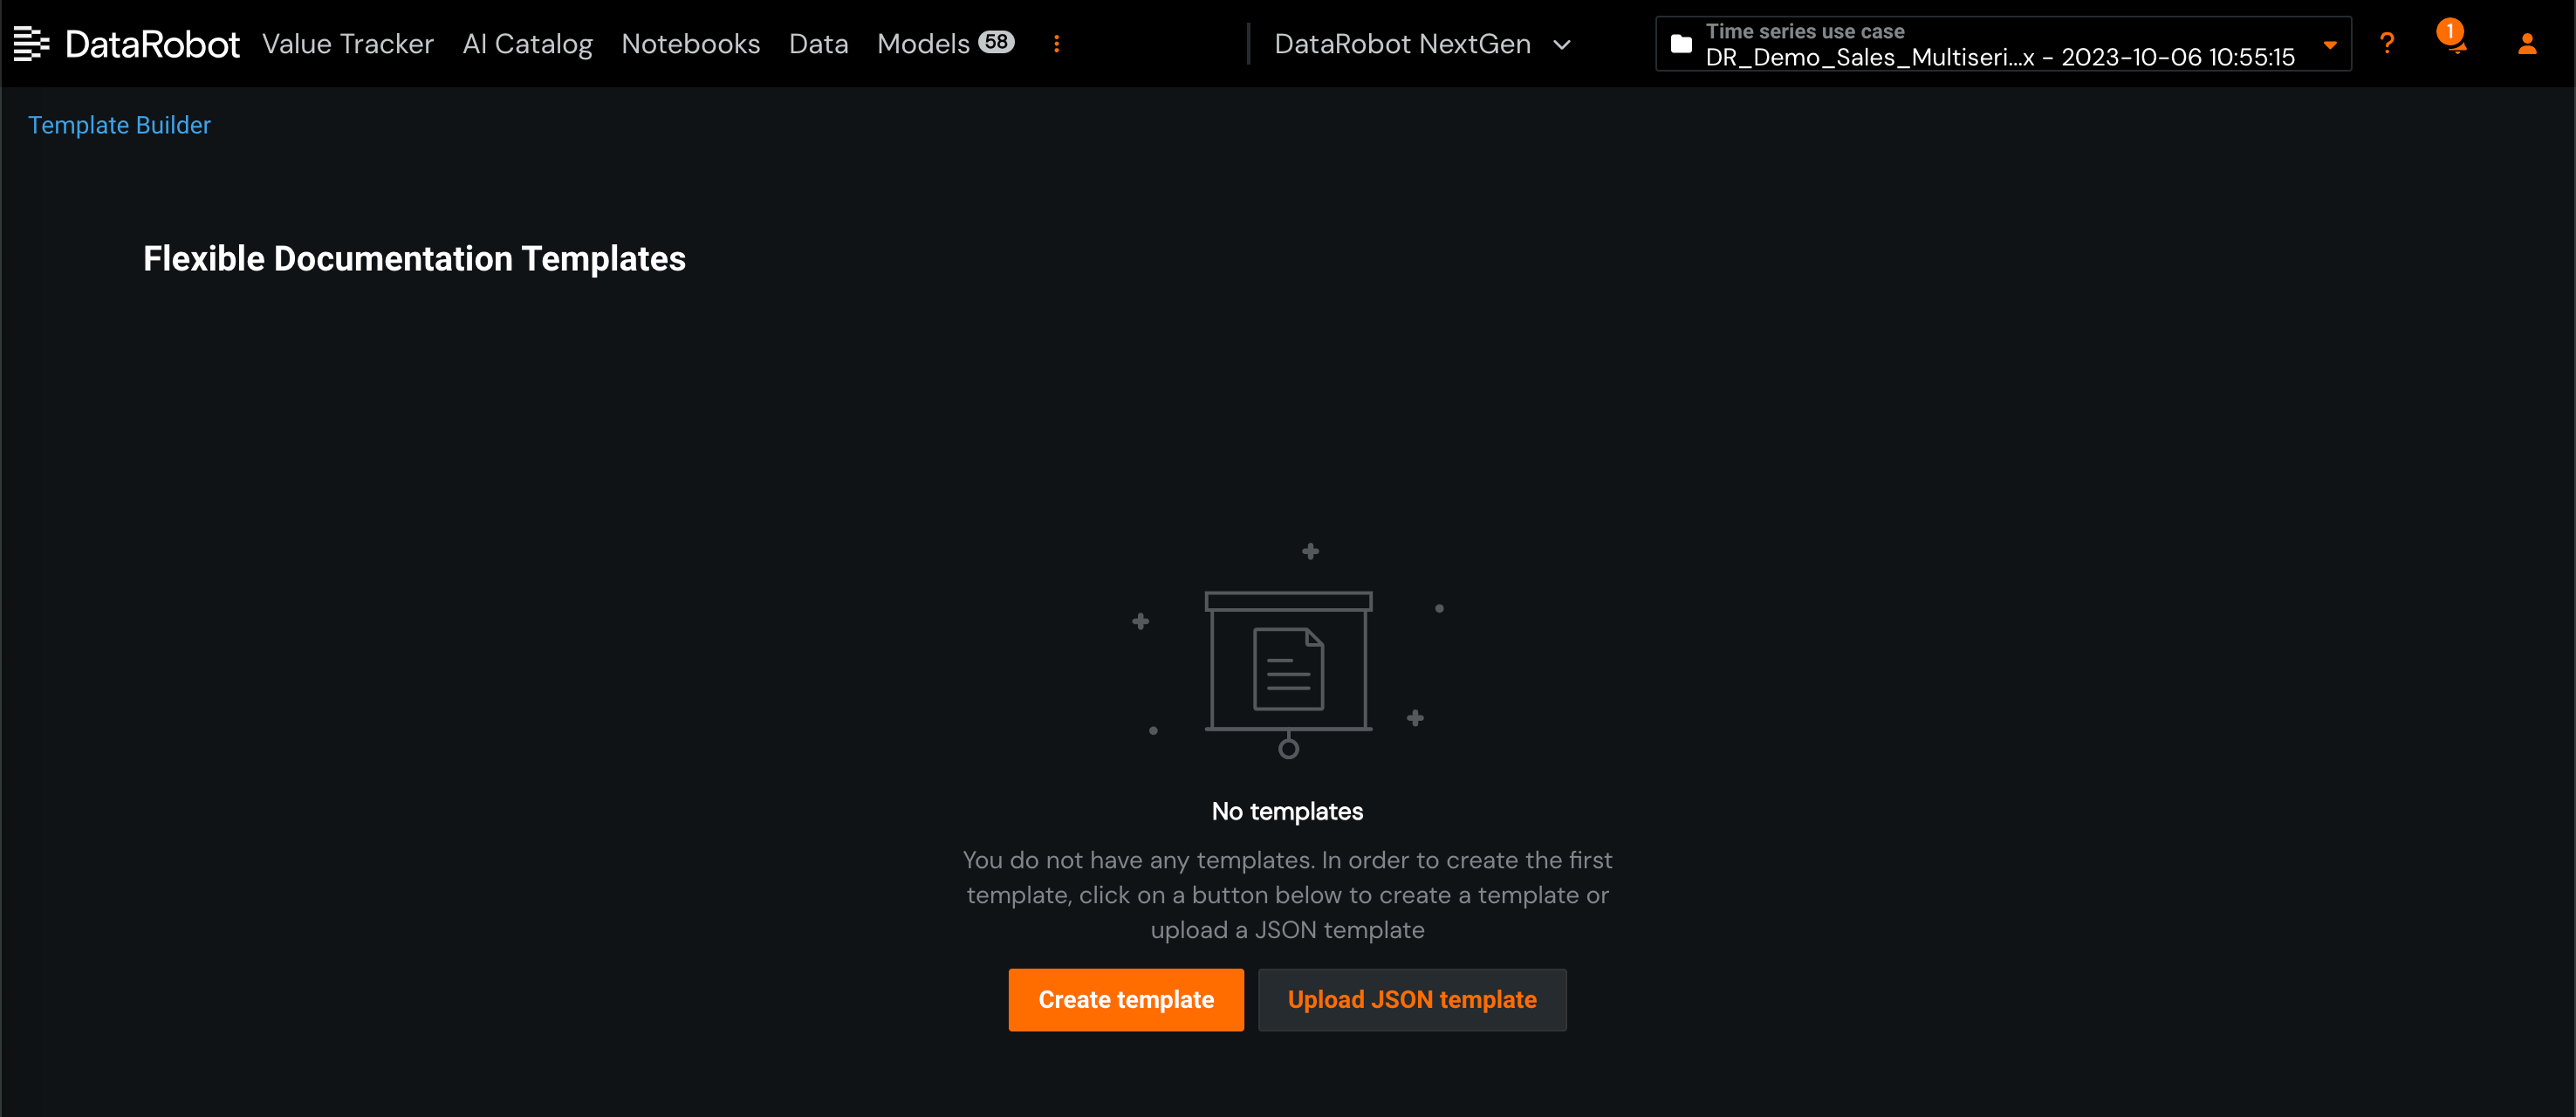
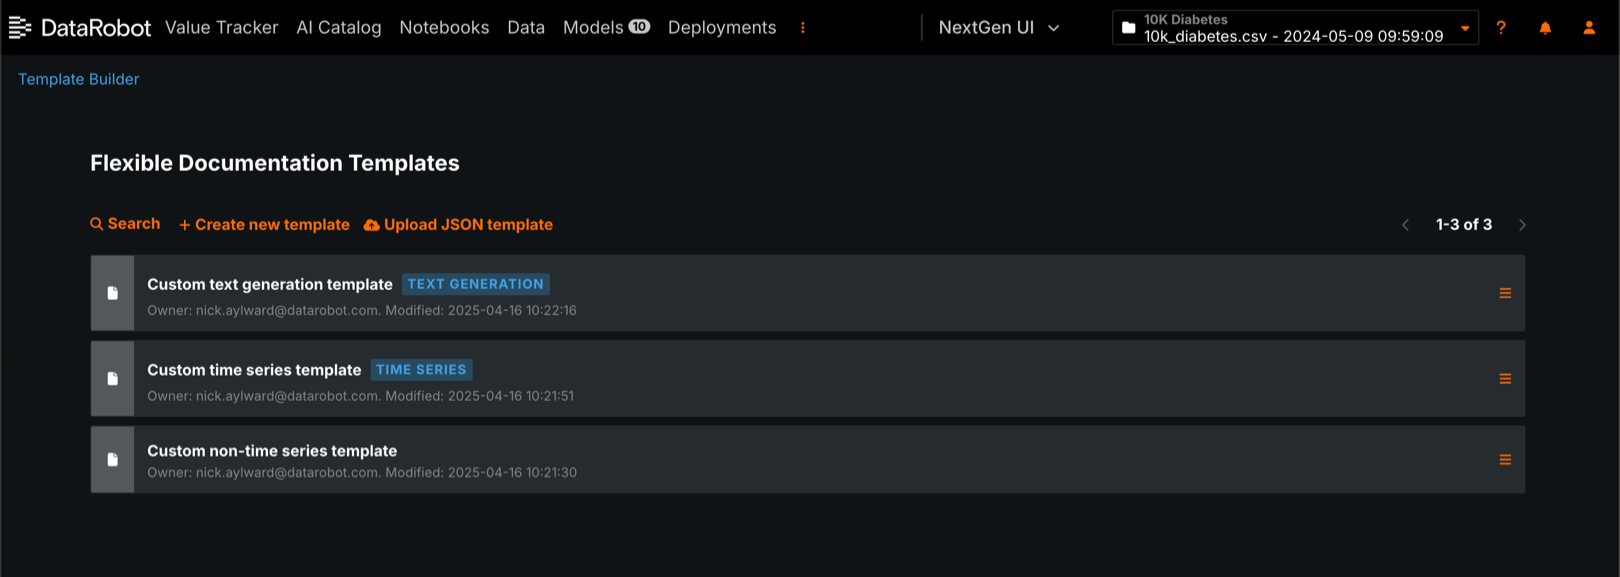
From the Template Builder page, if this is the first template, click Create template in the center of the page. If one or more templates exist, click + Create new template in the upper-left corner of the page:
Upload JSON template
Click Upload JSON template to build a custom template from an existing JSON file. For example, if a custom model doesn't support null imputation, you can use a specialized template to generate compliance documentation by excluding the Sensitivity Analysis report. This template is available by default for custom models; however, you can download the custom template for regression models or the custom template for binary classification models as examples of how to structure template JSON files.
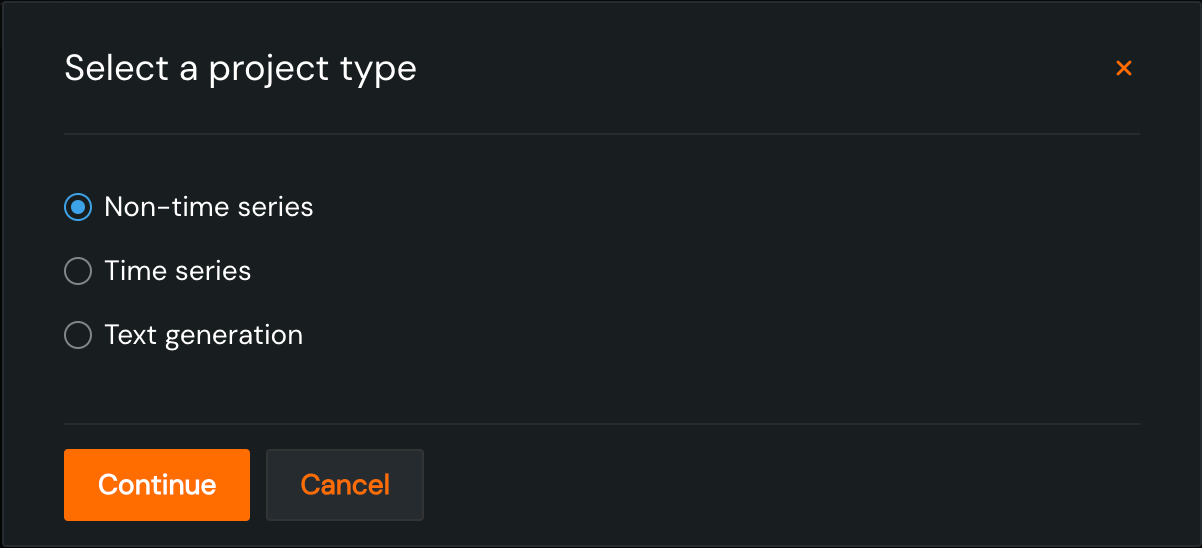
In the Select a project type dialog box, click Time series, Non-time series, or Text generation to determine which sections and components are available for the template.
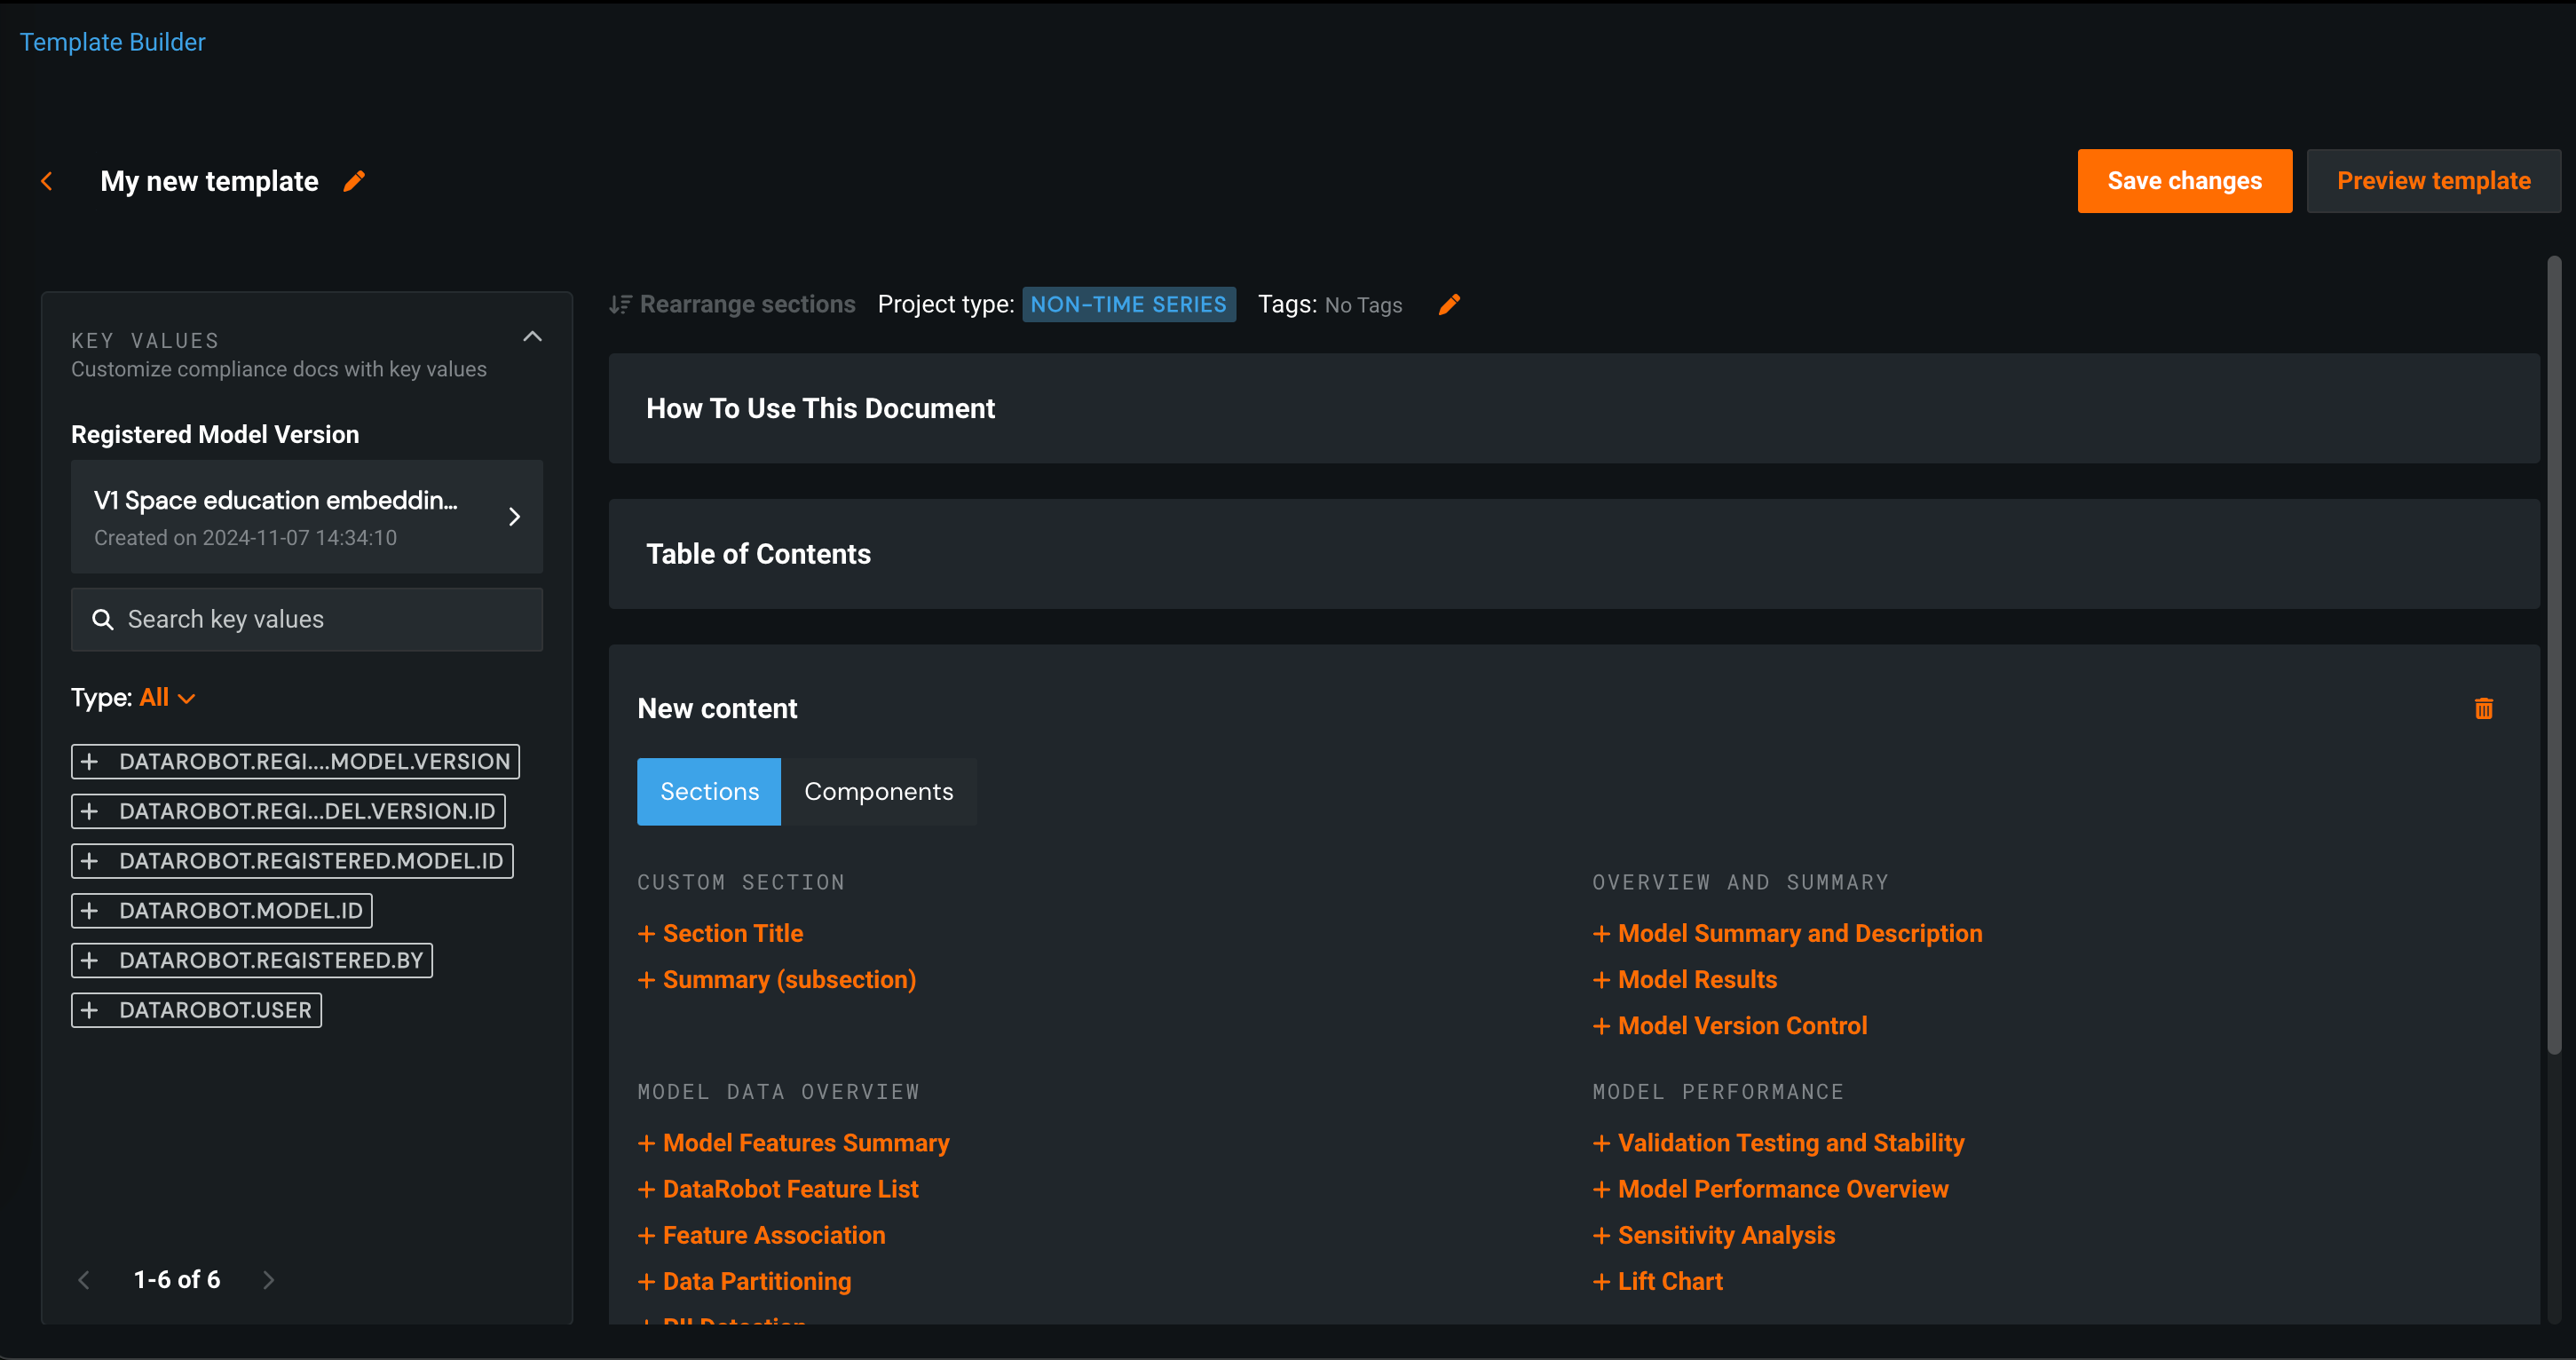
To view the available sections and components, click + Add new section and select a new section to add to the template.
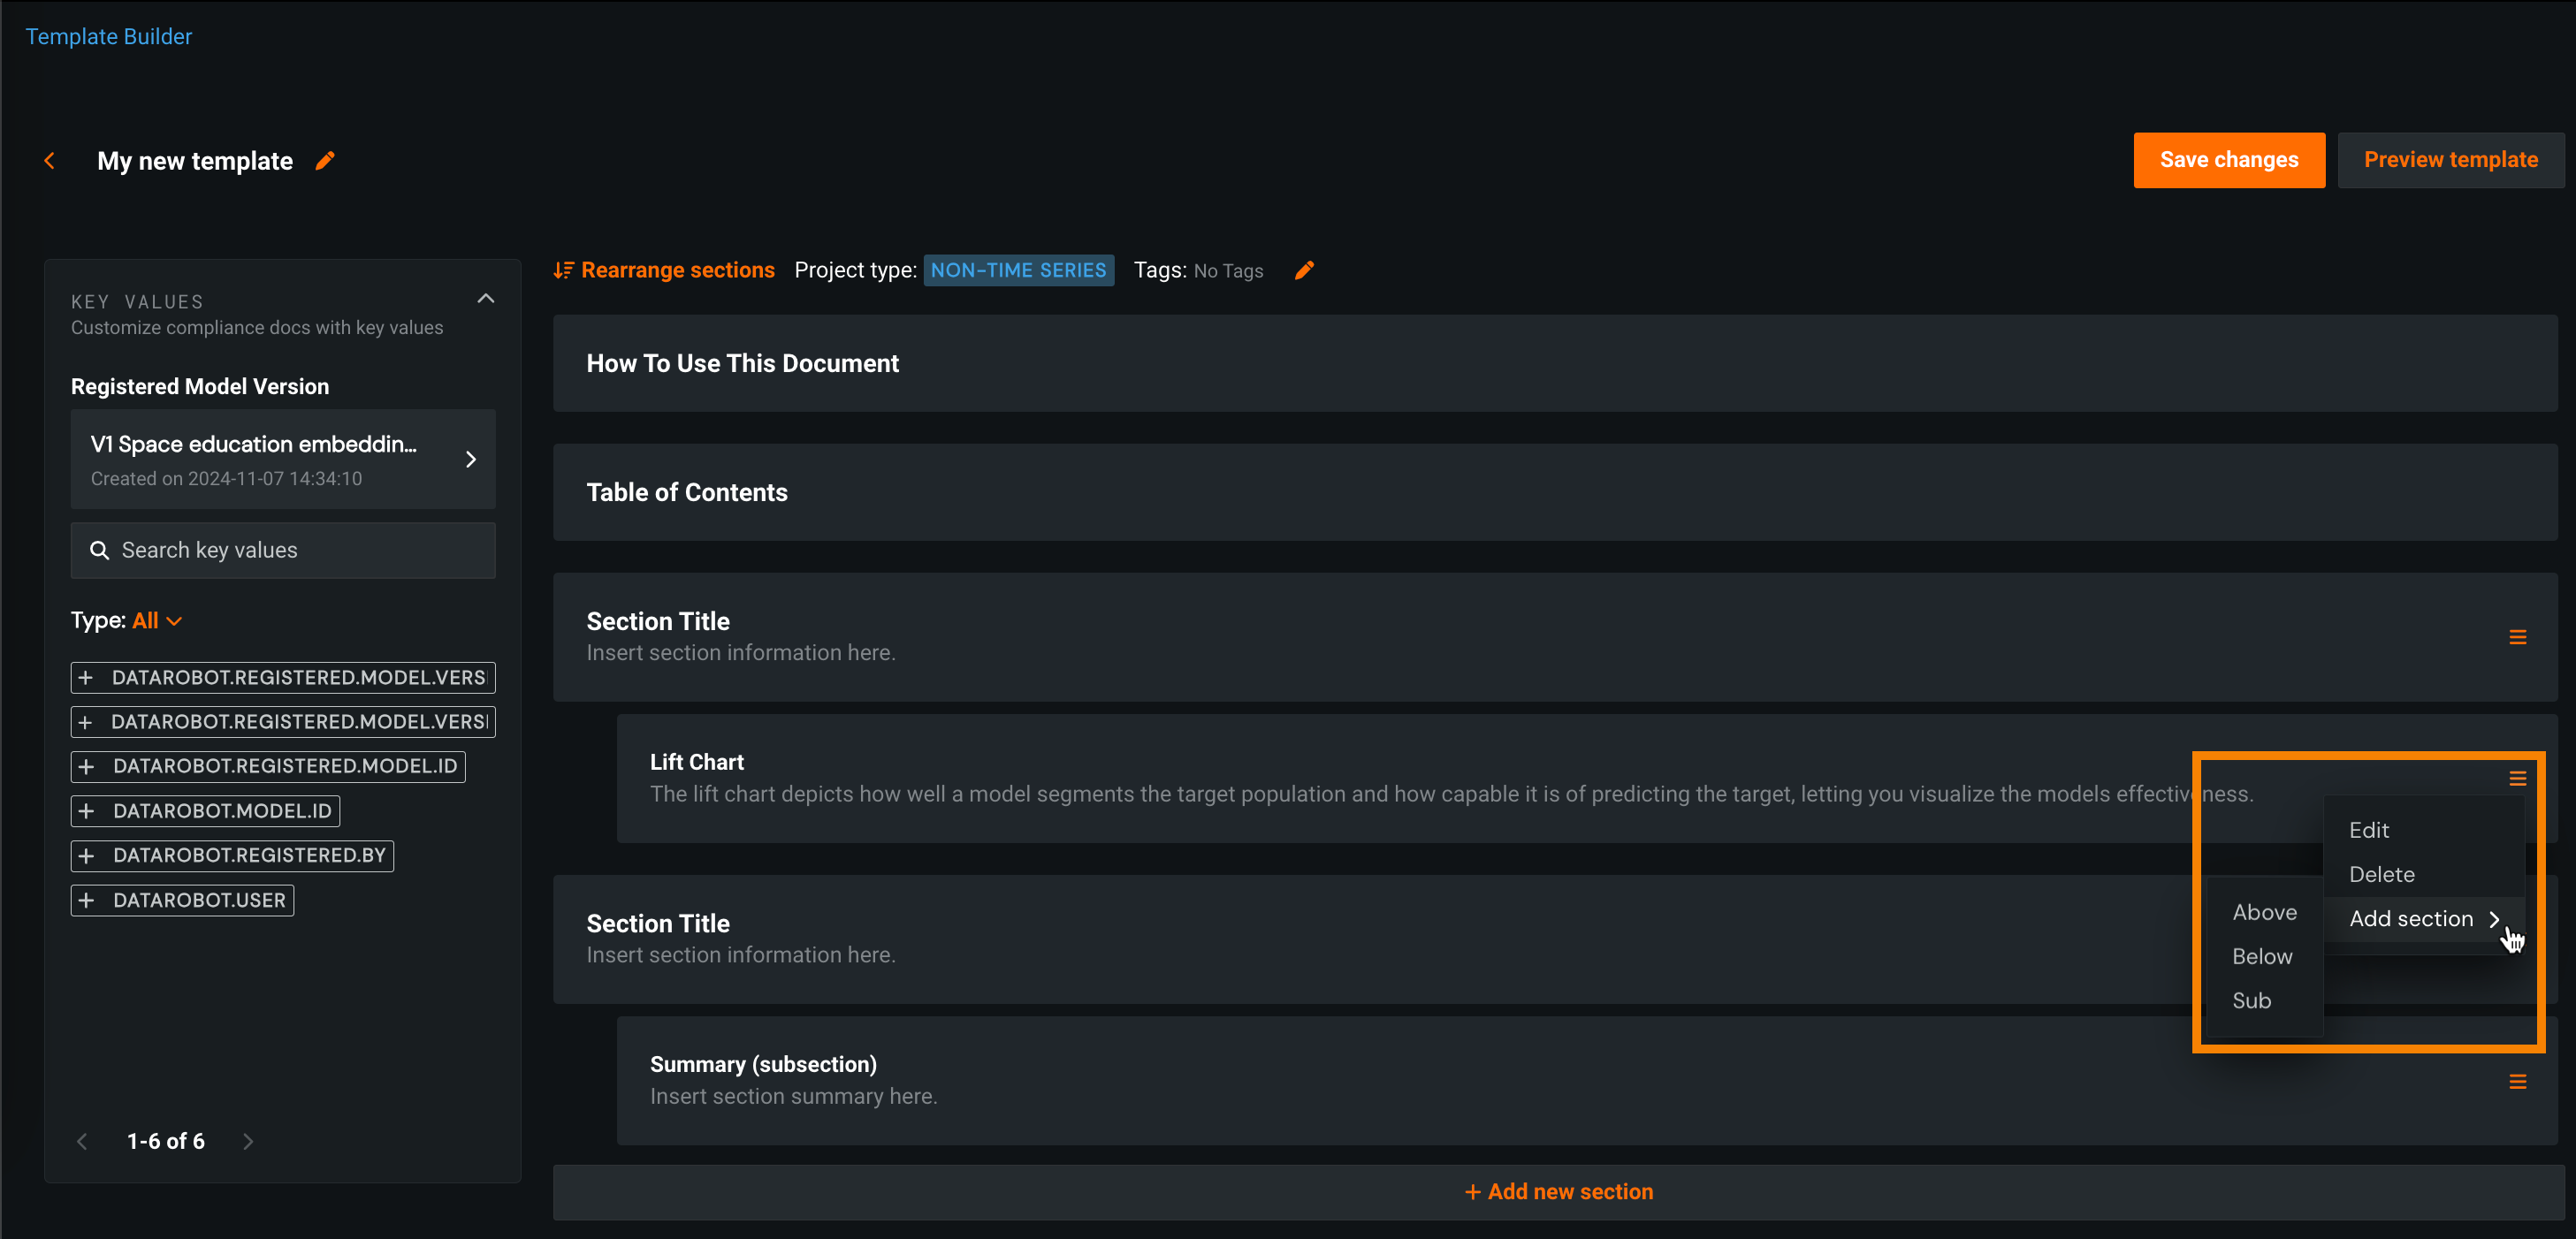
If the template includes one or more sections, to add sections and components to a specific location, click the section menu , then, hover over Add section > and select Above, Below, or Sub:
Edit or delete existing sections
From the section menu , you can also Edit or Delete the existing sections.
In the New content panel, switch between Sections and Components to view and select the new content you want to add to the custom template.
-
Sections are predefined portions of content describing different aspects of the specified model. They usually include a visualization such as a chart or a table with associated explanation text. You can edit sections added from the Custom Section list to display custom text and organization of the document.
-
Components are more granular than sections. They only contain certain visualizations describing results of the model without the surrounding explanation text.
Cancel new section addition
Cancel the addition of a new section or component by clicking the delete icon in the upper-right corner of the New content panel.
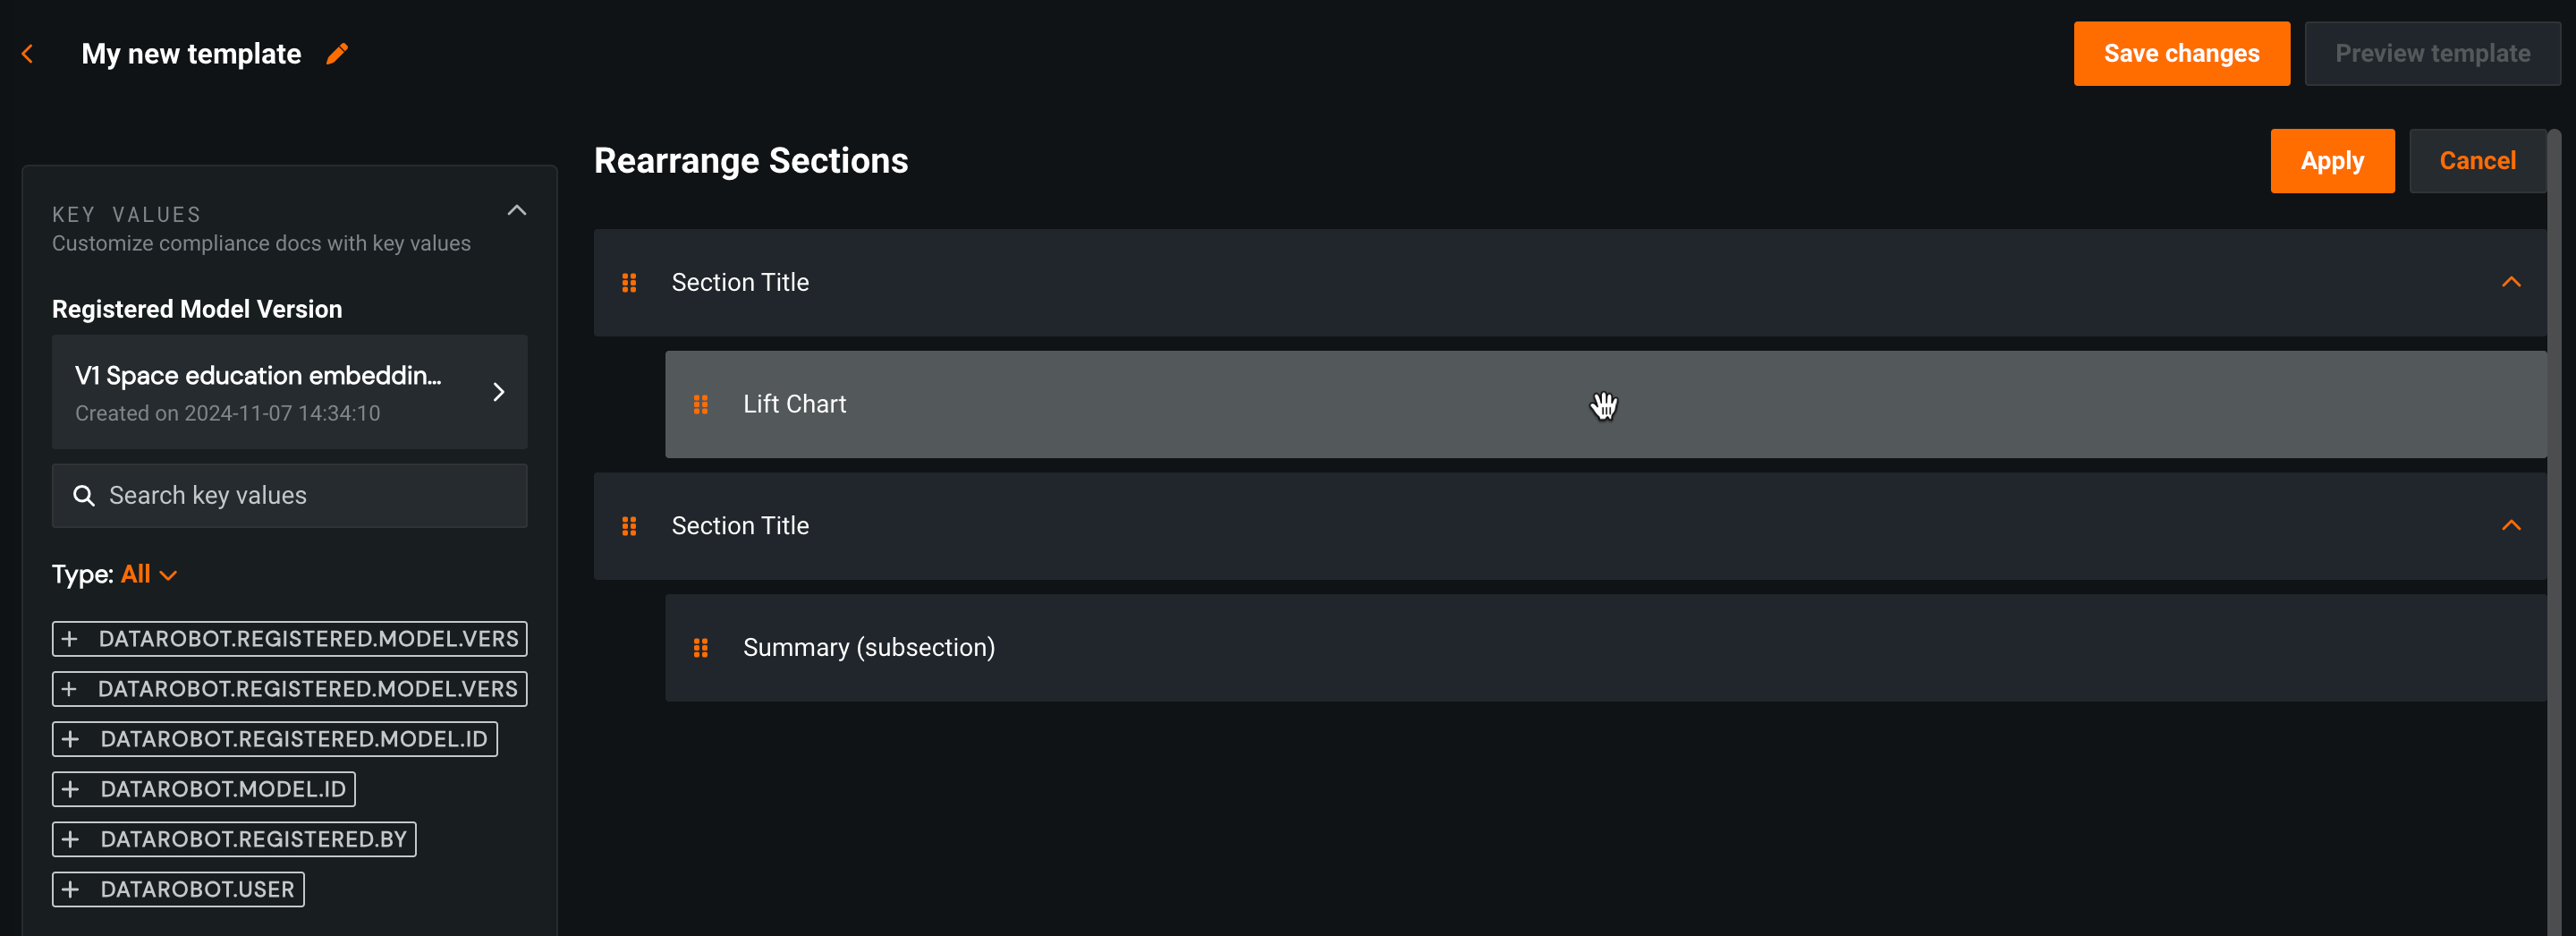
To rearrange the sections and subsections added to the custom template, click Rearrange sections.
On the Rearrange Sections page, click a section and drag it to the desired position. Drag a section up or down to reorder the template, or, drag a section left or right to determine if that section is a subsection of the section immediately above it. Click Apply to accept the new section arrangement for the template.
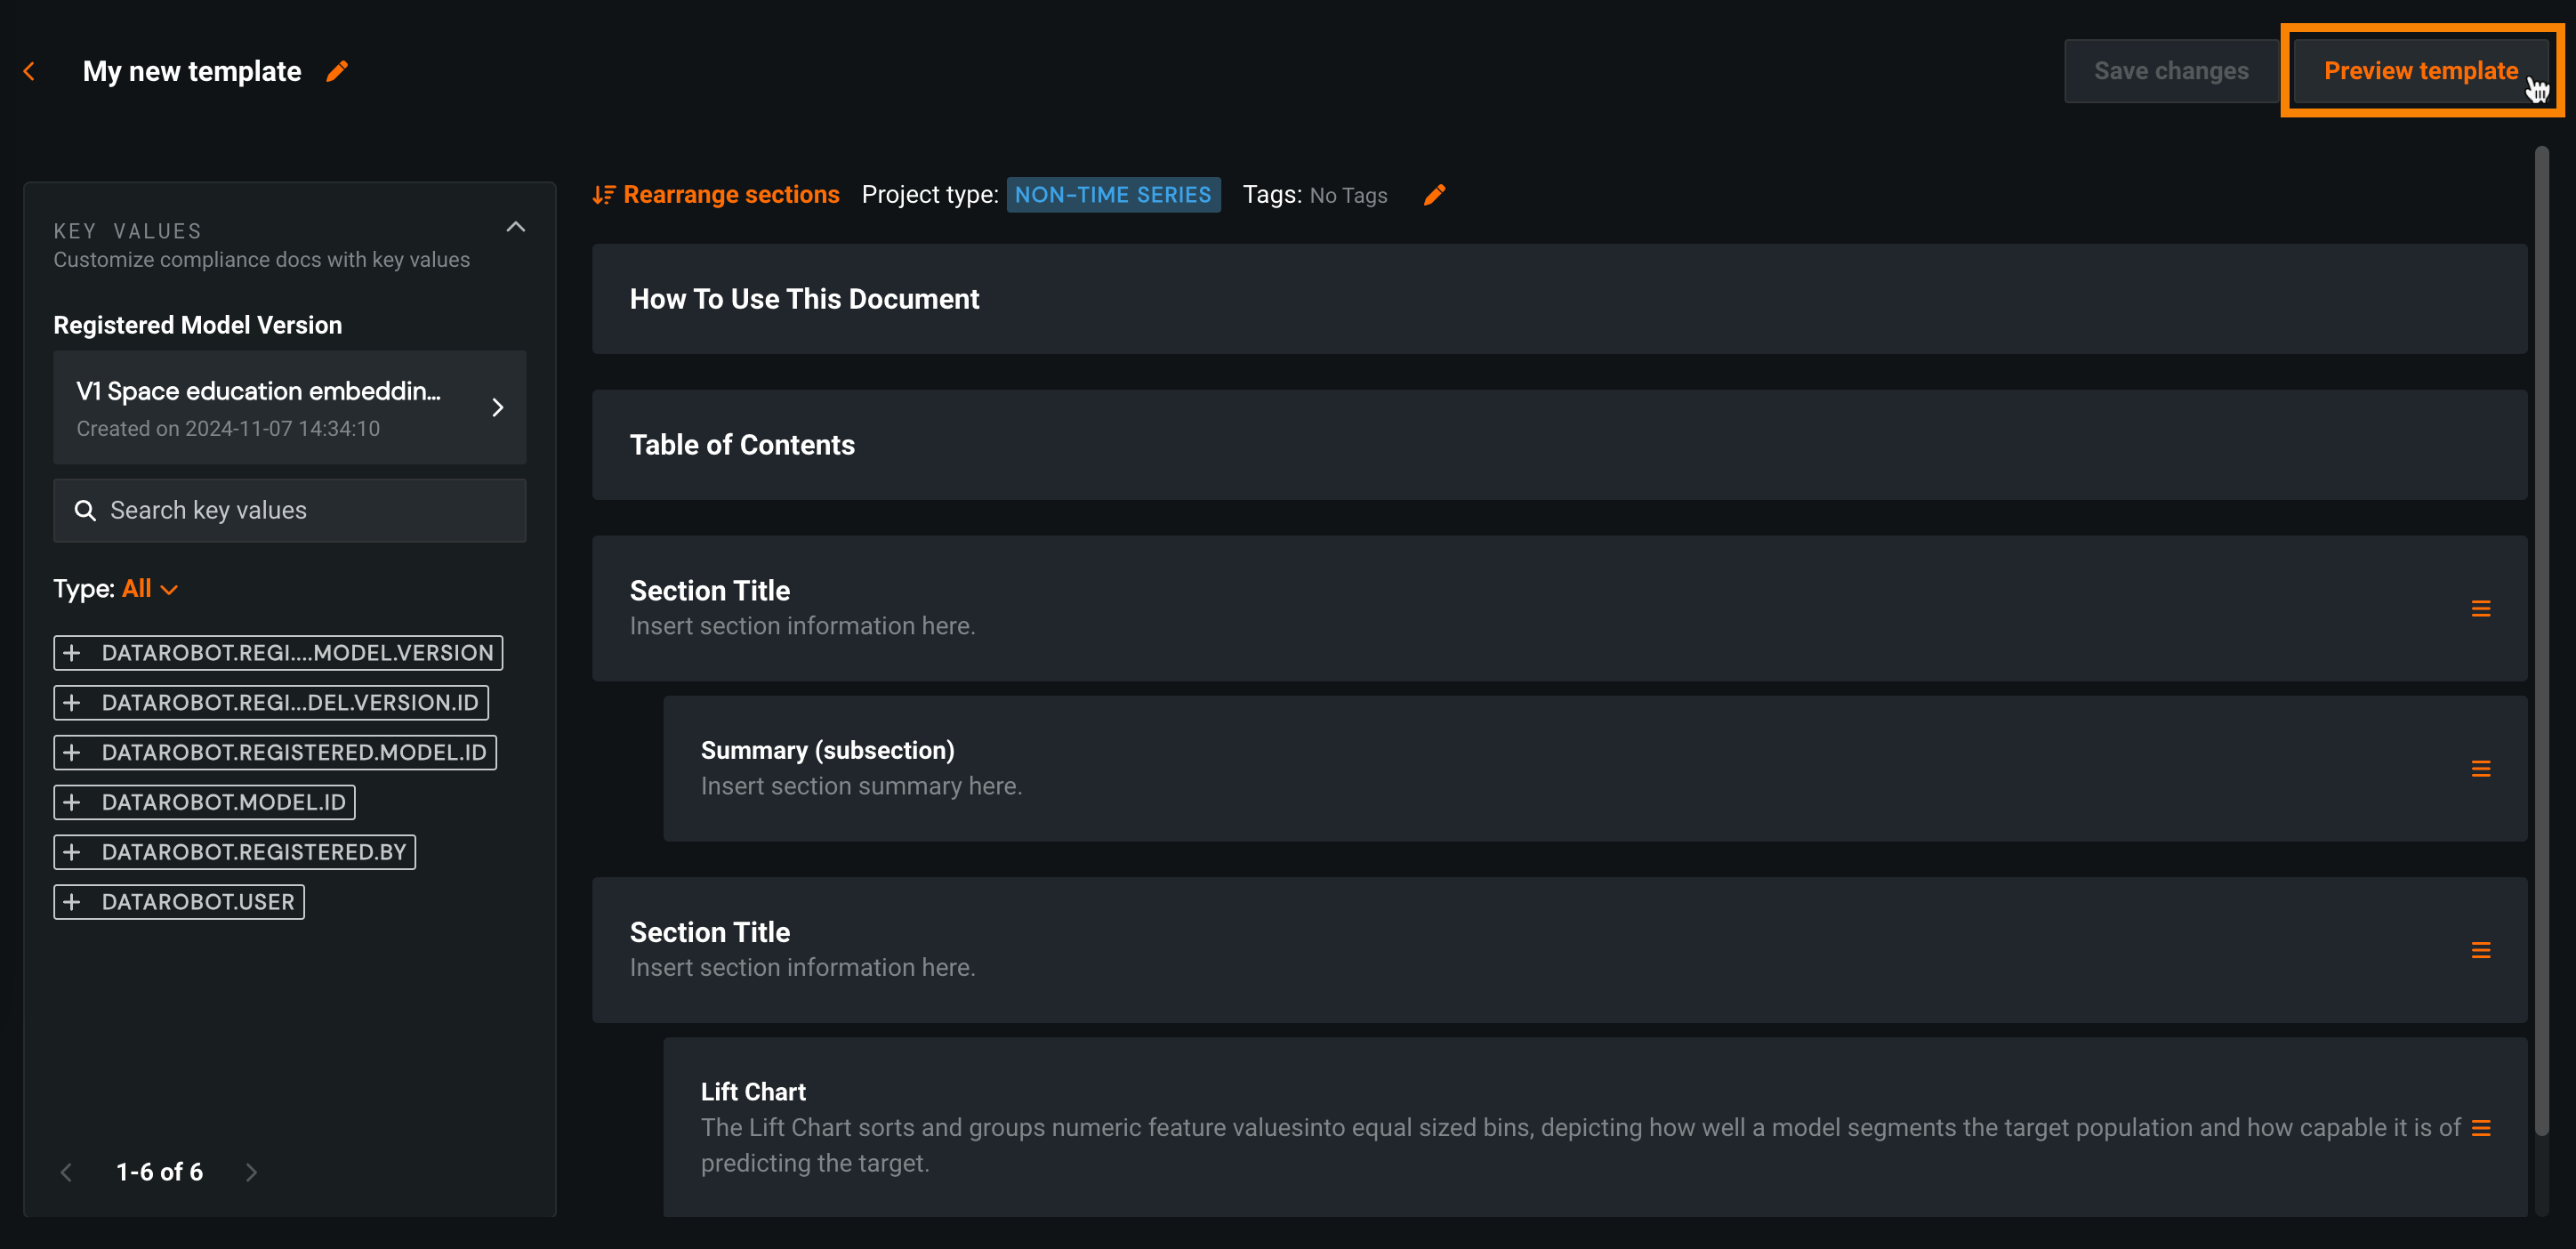
After the template is finalized, click Save changes. Then, use the preview option to see what a document rendered from the template would look like before assigning it to users in your organization to generate model documentation. This step inserts dummy data for the preview. It is not a finished document because it is not associated with a model yet.
Customize templates with key values
If you've added key values to a registered model, you can build custom compliance documentation template with references to those key values. Referencing key values in a compliance documentation template adds the associated data to the generated compliance documentation, limiting the amount of manual editing needed to complete the compliance documentation.
To reference key values in a compliance documentation template:
-
In the template, on the Key Values panel, select a model package with key values from the Registered Model Version list.
-
To add a key value reference to the template, edit a section, click to place the cursor where you want to insert the reference, then click the key value in the Key Values panel.
Note
You can include string, numeric, boolean, image, and dataset key values in custom compliance documentation templates. After you add a value, you can remove it by deleting the reference from the section.
-
To preview the document, click Save changes and then click Preview template.
As the template is not applied to any specific model package until you generate the compliance documentation, the preview displays placeholders for the key value.
Share a template
Once you have created a template you can share it with other users, groups, or organizations within the DataRobot platform. Navigate to the Template Builder homepage where all templates are listed and click on the action menu for the template you would like to share.
Once on the menu, you can view and edit the permissions for the template. To add permissions, search the name of the user, group, or organization you want to share with in the Share with others field. Choose the permission level (User or Owner) and then save the modifications.
