Make predictions before deploying a model
This section describes the Leaderboard's Make Predictions tab used to test predictions for models that are not yet deployed. Once you verify that a model can successfully generate predictions, DataRobot recommends deploying the model to make predictions in a production environment. To make predictions before deploying a model, you can follow one of the workflows for testing predictions.
Note
Review the Predictions Overview to learn about the best prediction for your needs. Additionally, the Predictions Reference outlines important considerations for all prediction methods. When working with time series predictions, the Make Predictions tab works slightly differently than with traditional modeling. Continue on this page for a general description of using Make Predictions; see the time series documentation for details unique to time series modeling.
Workflows for testing predictions
Before deploying a model, you can use the following workflows to test predictions:
Note
A particular upload method may be disabled on your cluster. If a method is not available, the corresponding ingest option will be grayed out (contact your system administrator for more information, if needed). There are slight differences in the Make Predictions tab depending on your project type. For example, binary classification projects include a prediction threshold setting that is not applicable to regression projects.
Make predictions on a new model
-
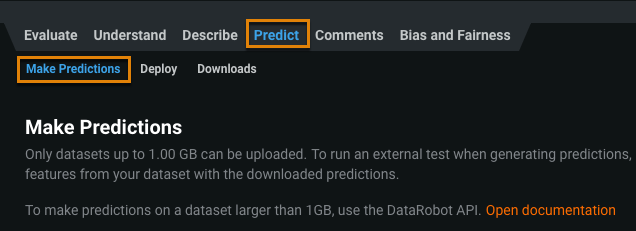
On the Leaderboard, select the model you want to make predictions on and click Predict > Make Predictions.
-
Upload your test data to run against the model. Drag-and-drop a file onto the screen or click Choose file to upload a local file (browse), specify a URL, choose a configured data source (or create a new one), or select a dataset from the AI Catalog. If you choose the Data source option, you will be prompted for database login credentials.
Tip
The example above shows importing data for a binary classification project. In a regression project, there is no need to set a prediction threshold (the value that determines a cutoff for assignment to the positive class), so the field does not display.
-
Once the file is uploaded, click Compute predictions for the selected dataset. The Compute predictions button disappears and job status appears in the Worker Queue on the right sidebar.
-
When the prediction is complete, you can append up to five columns to the prediction dataset by clicking in the field below Optional Features (0 of 5). Type the first few characters of the column name; the name autocompletes and you can select it. To add more columns, click in the field, type the first few characters, and select.
Notes
- You can append a column only if it was present in the original dataset. The column does not have to have been included in the feature list used to build the model.
- The Optional Features (0 of 5) feature is not available via the API.
-
Click Download predictions to save prediction results to a CSV file. To upload and run predictions on additional datasets, use the Choose file dropdown menu again. To delete a prediction dataset, click the trash icon.


