Snowflake prediction job examples
There are two ways to set up a batch prediction job definition for Snowflake:
- Using a JDBC connector with Snowflake as an external data source.
- Using the Snowflake adapter with an external stage.
Which connection method should I use for Snowflake?
Using JDBC to transfer data can be costly in terms of IOPS (input/output operations per second) and expense for data warehouses. The Snowflake adapter reduces the load on database engines during prediction scoring by using cloud storage and bulk insert to create a hybrid JDBC-cloud storage solution.
JDBC with Snowflake
To complete these examples, follow the steps in Create a prediction job definition, using the following procedures to configure JDBC with Snowflake as your prediction source and destination.
Configure JDBC with Snowflake as source
Tip
See Prediction intake options for field descriptions.
-
For Prediction source, select JDBC as the Source type and click + Select connection.
-
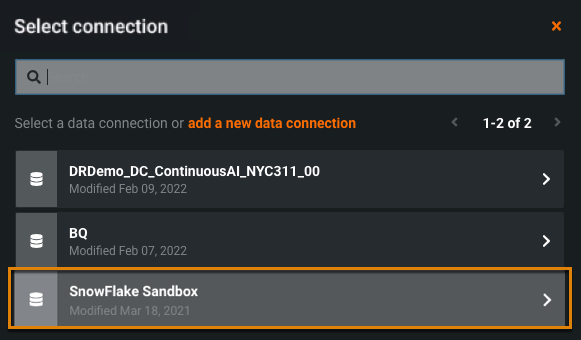
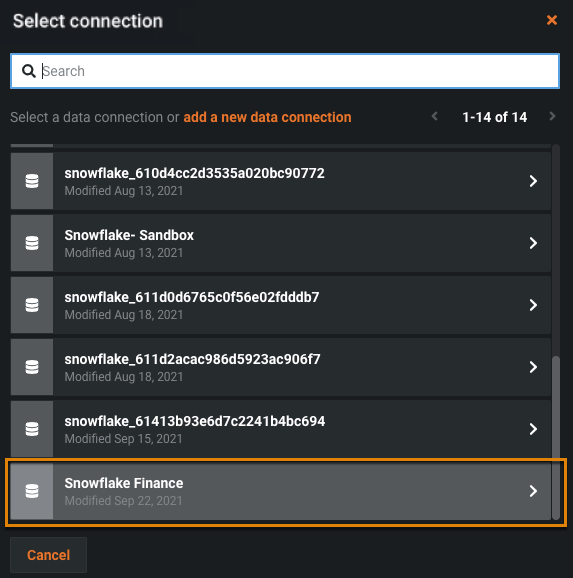
Select a previously added JDBC Snowflake connection.
-
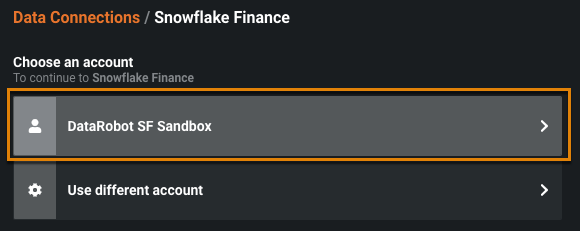
Select your Snowflake account.
-
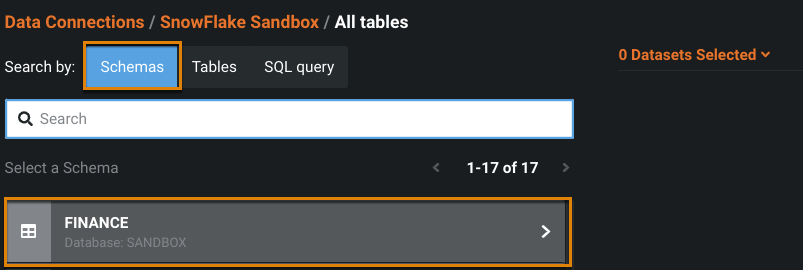
Select your Snowflake schema.
-
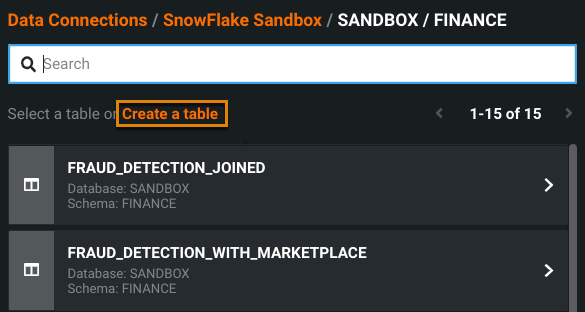
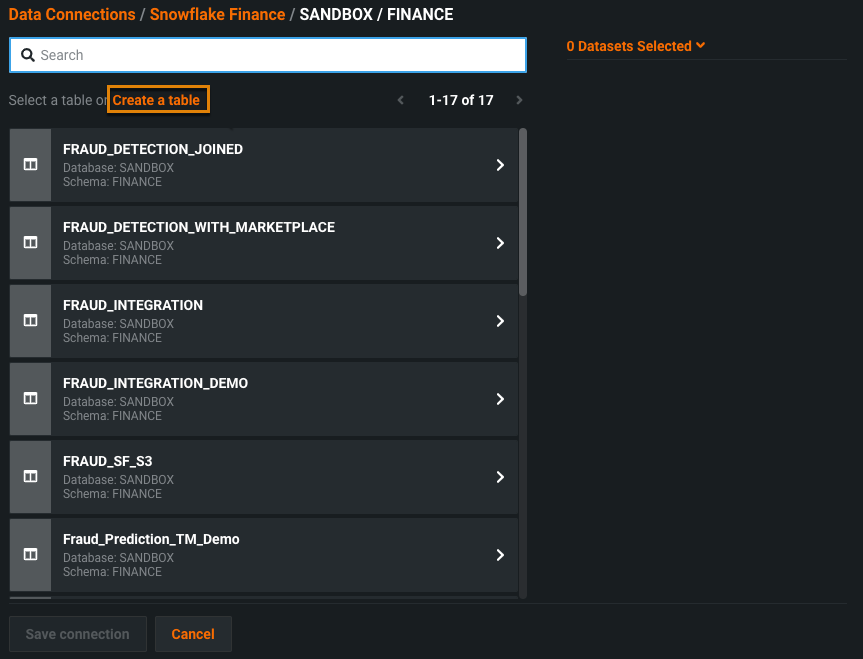
Select the table you want scored and click Save connection.
-
Continue setting up the rest of the job definition. Schedule and save the definition. You can also run it immediately for testing. Manage your jobs on the Prediction Jobs tab.
Configure JDBC with Snowflake as destination
Tip
See Prediction output options for field descriptions.
-
For Prediction source, select JDBC as the Destination type and click + Select connection.
-
Select a previously added JDBC Snowflake connection.
-
Select your Snowflake account.
-
Select the schema you want to write the predictions to.
-
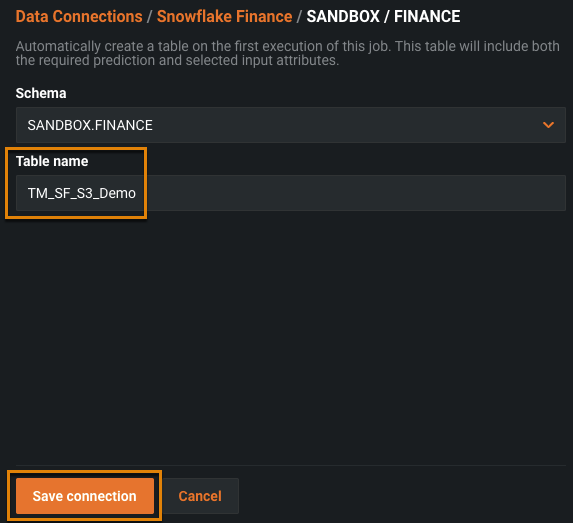
Select a table or create a new table. If you create a new table, DataRobot creates the table with the proper features, and assigns the correct data type to each feature.
-
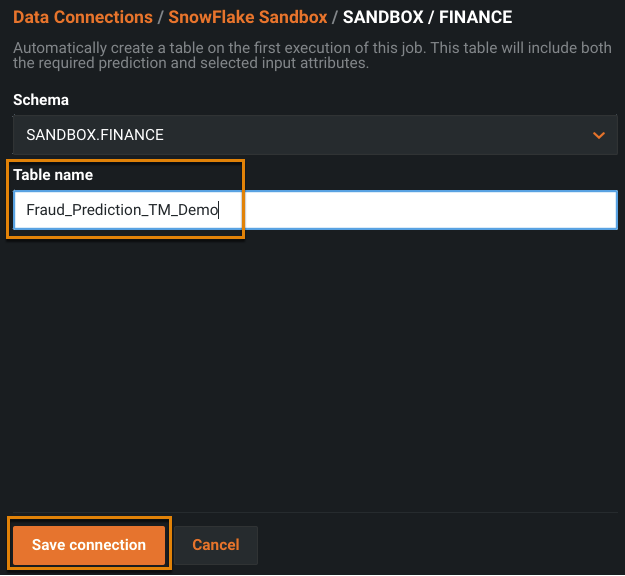
Enter the table name and click Save connection.
-
Select the Write strategy. In this case, Insert is selected because the table is new.
-
Continue setting up the rest of the job definition. Schedule and save the definition. You can also run it immediately for testing. Manage your jobs on the Prediction Jobs tab.
Snowflake with an external stage
Before using the Snowflake adapter for job definitions, you need to:
-
Set up the Snowflake connection.
-
Create an external stage for Snowflake, a cloud storage location used for loading and unloading data. You can create an Amazon S3 stage or a Microsoft Azure stage. You will need your account and authentication keys.
To complete these examples, follow the steps in Create a prediction job definition, using the following procedures to configure Snowflake as your prediction source and destination.
Configure Snowflake with an external stage as source
Tip
See Prediction intake options for field descriptions.
-
For Prediction source, select Snowflake as the Source type and click + Select connection.
-
Select a previously added Snowflake connection.
-
Select your Snowflake account.
-
Select your Snowflake schema.
-
Select the table you want scored and click Save connection.
-
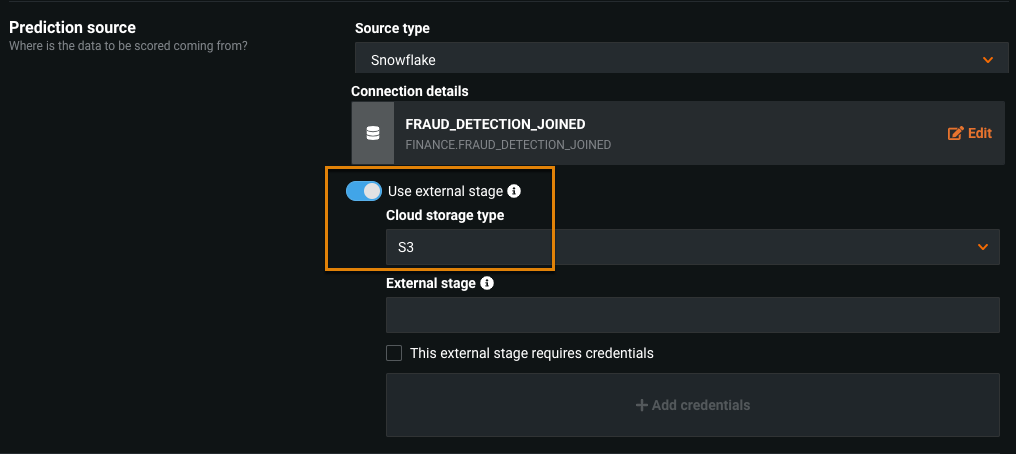
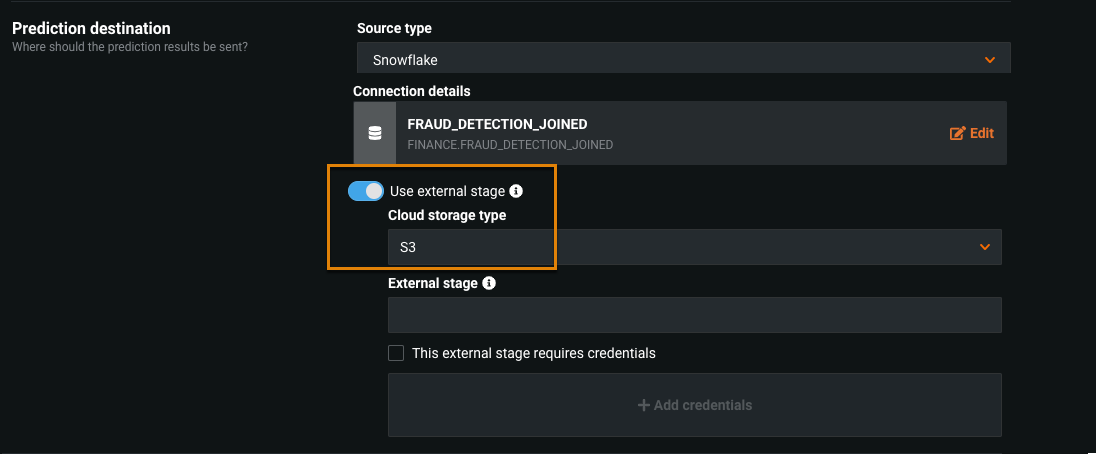
Toggle on Use external stage and select your Cloud storage type (Azure or S3).
-
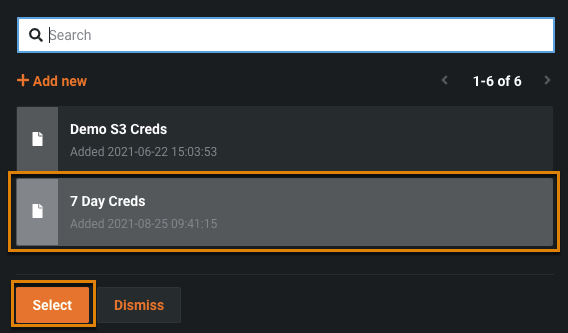
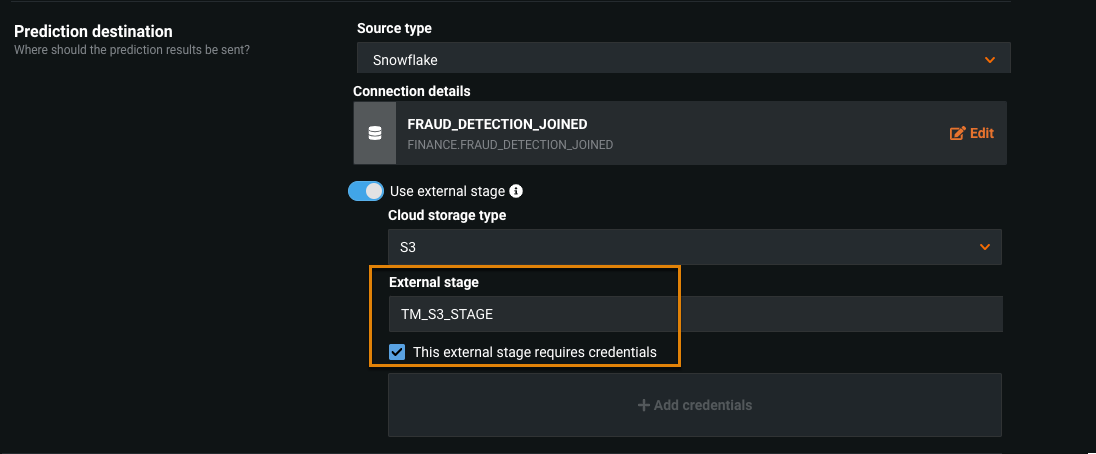
Enter the External stage you created for your Snowflake account. Enable This external stage requires credentials and click + Add credentials.
-
Select your credentials.
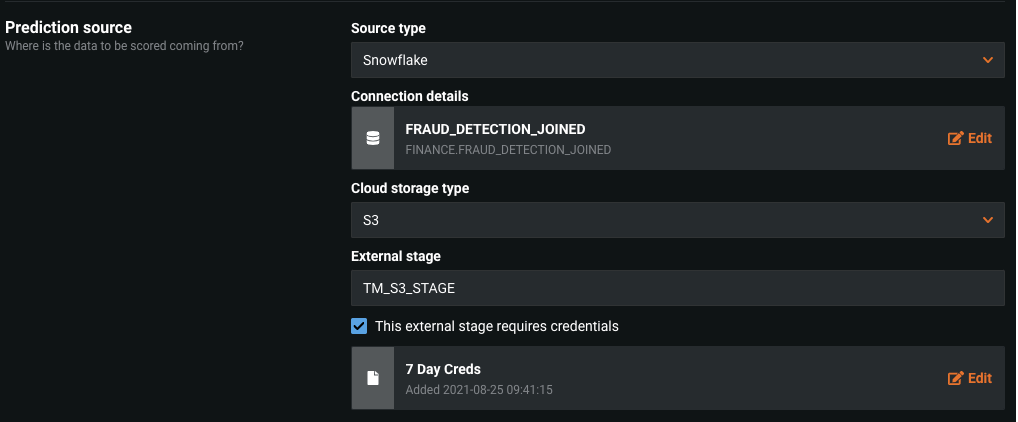
The completed Prediction source section looks like the following:
-
Continue setting up the rest of the job definition. Schedule and save the definition. You can also run it immediately for testing. Manage your jobs on the Prediction Jobs tab.
Configure Snowflake with an external stage as destination
Tip
See Prediction output options for field descriptions.
-
For Prediction destination, select Snowflake as the Destination type and click + Select connection.
-
Select a previously added Snowflake connection.
-
Select your Snowflake account.
-
Select your Snowflake schema.
-
Select a table or create a new table. If you create a new table, DataRobot creates the table with the proper features, and assigns the correct data type to each feature.
-
Enter the table name and click Save connection.
-
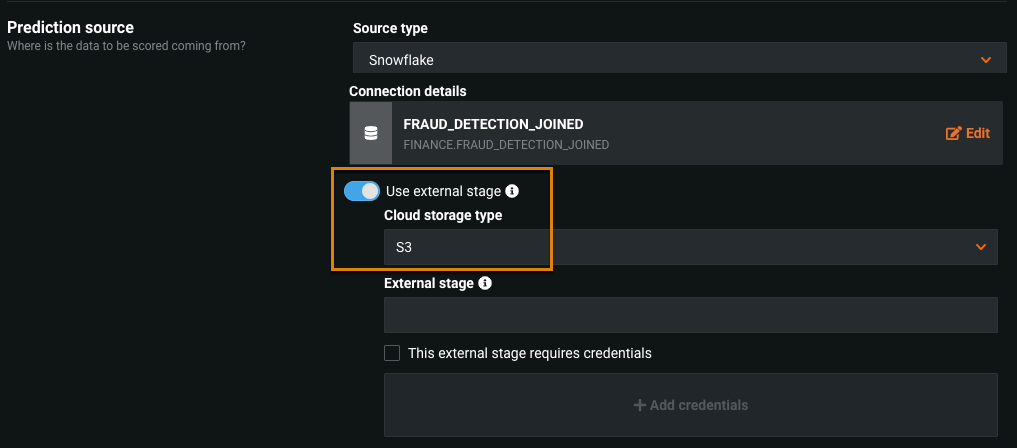
Toggle on Use external stage and select your Cloud storage type (Azure or S3).
-
Enter the External stage you created for your Snowflake account. Enable This external stage requires credentials and click + Add credentials.
-
Select your credentials.
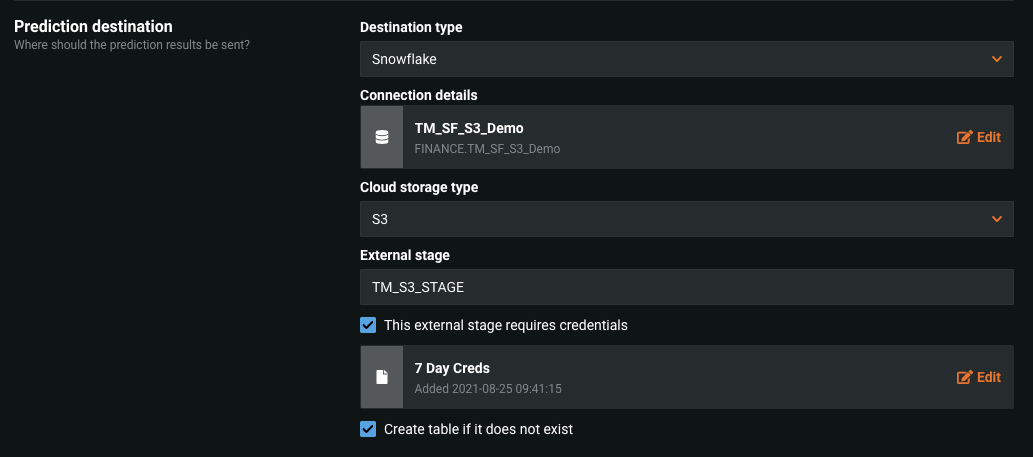
The completed Prediction destination section looks like the following:
-
Continue setting up the rest of the job definition. Schedule and save the definition. You can also run it immediately for testing. Manage your jobs on the Prediction Jobs tab.

