Upload custom applications
Availability information
Custom application upload is a premium feature. Contact your DataRobot representative or administrator for information on enabling the feature.
Create custom applications in DataRobot to share machine learning projects using web applications, including Streamlit and Dash, from an image created in Docker. Once you create a custom machine learning app in Docker, you can upload it as an app in DataRobot and deploy it with secure data access and controls. Alternatively, you can use the DRApps command line tool to create your app code and push it to DataRobot, building the image automatically.
Paused custom applications
Custom applications are paused after a period of inactivity. The first time you access a paused custom application, a loading screen appears while it restarts.
To upload a custom application to DataRobot, first, you must create an app image in Docker:
-
Install Docker.
-
Create an app (see examples for Streamlit, Flask, and Aiohttp).
-
Exposeport8080in your Dockerfile for HTTP requests. -
Build your image with
docker build [PATH] | [URL] --tag [IMAGE NAME]. -
Test your app image locally with
docker run --publish 8080:8080 [IMAGE NAME].
When you are ready to upload your app image to DataRobot, create a new build and then export it with docker save [IMAGE NAME] --output [PATH]. Once you have your app (exported as a tar, gz, or tgz archive) upload the image to the Applications tab.
Create a custom application
Once you have a custom application tar, gz, or tgz archive, you can upload the image to the Applications tab in DataRobot:
-
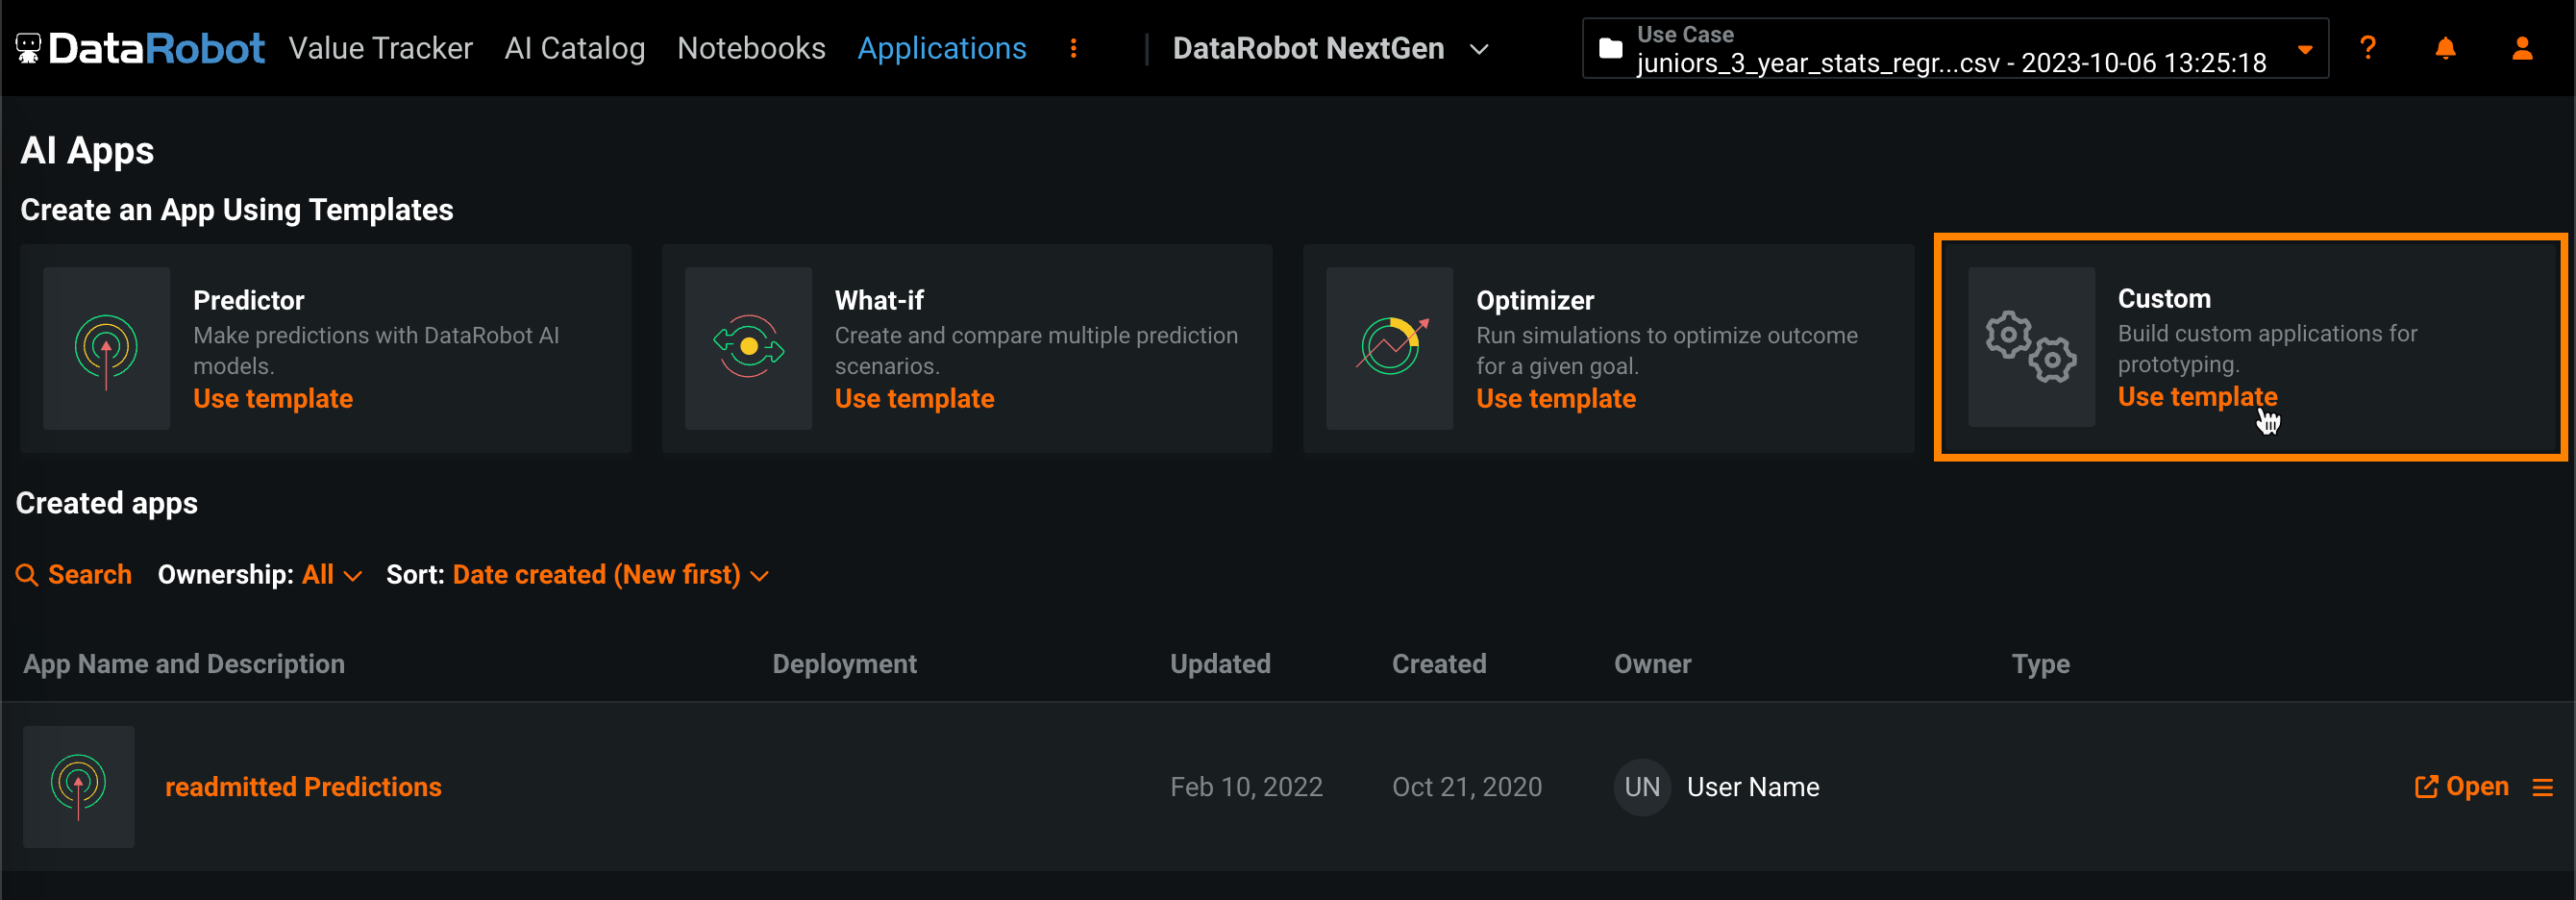
Navigate to the Applications tab.
-
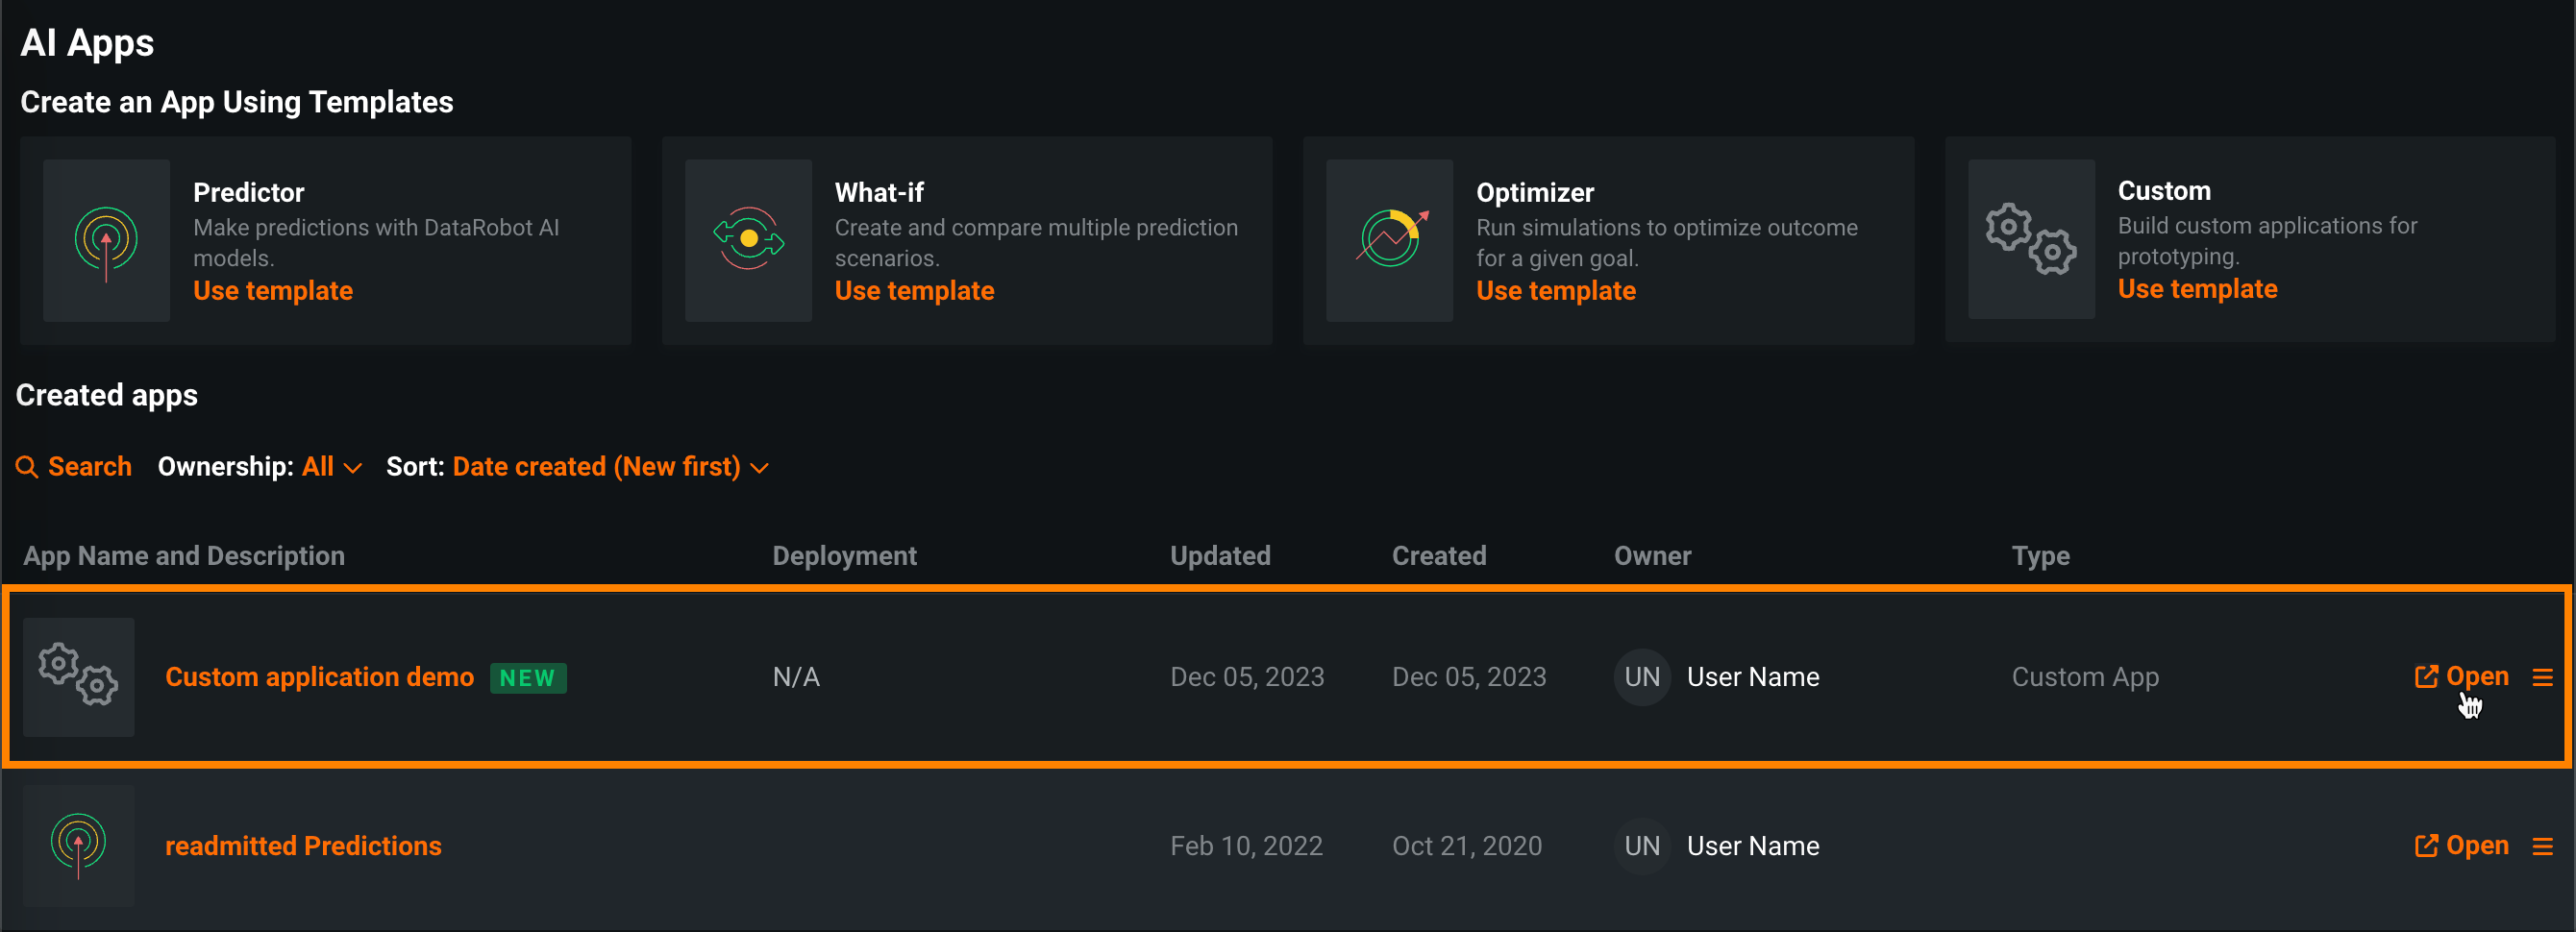
The available application templates are listed at the top of the page. Click Use template for the Custom template.
-
In the Create Custom App dialog box, review the custom application options, and then click Start.
Tip
If you don't want to see these options again, you can scroll down and select Don't show again.
-
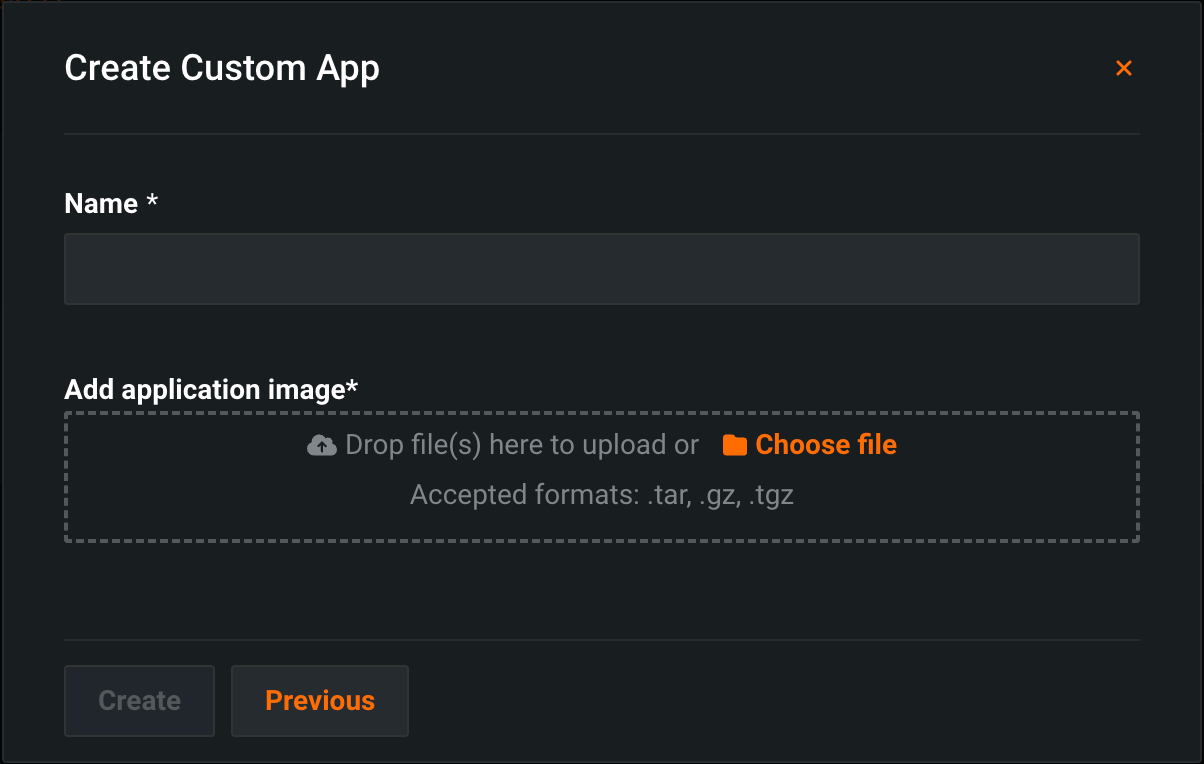
On the next page of the Create Custom App dialog box, configure the following:
-
In the Name field, enter a descriptive name for your custom app.
-
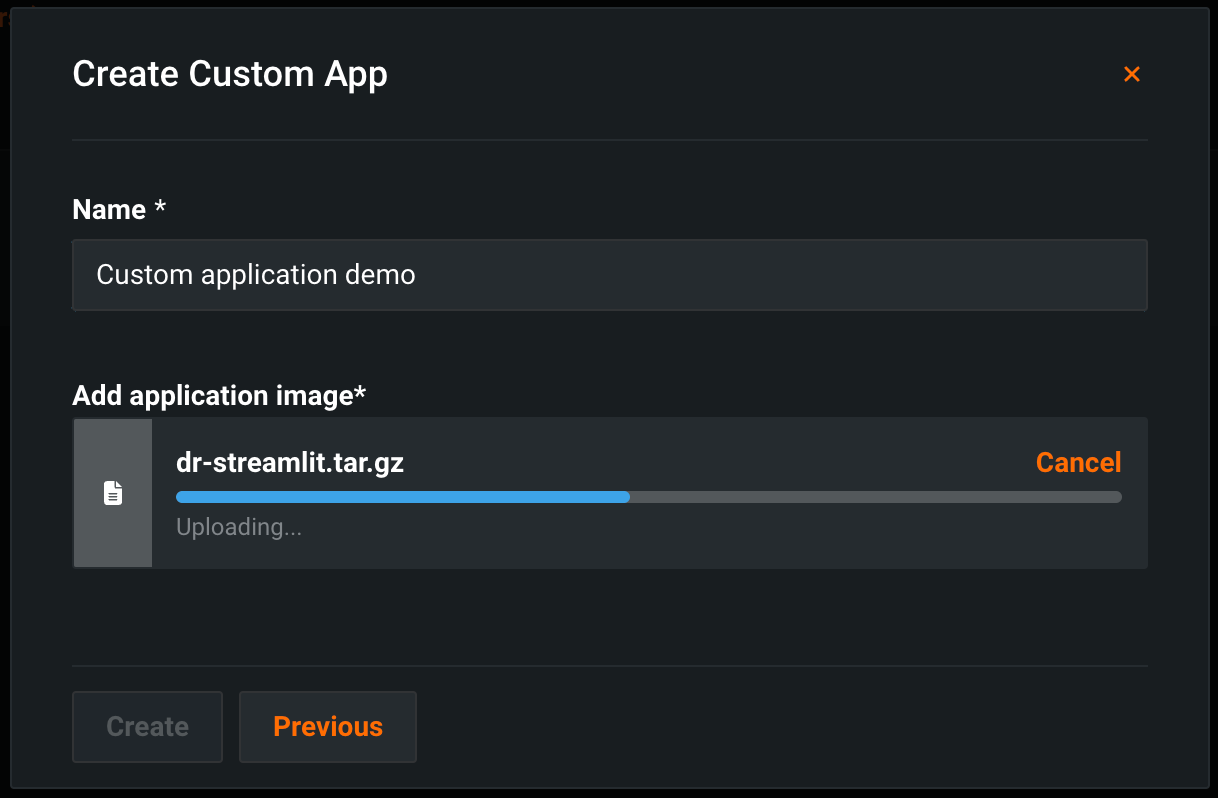
In the Add application image group box, click Choose file, select the
tar,gz, ortgzarchive containing the image, and then click Open.
The custom application image begins to upload.
-
-
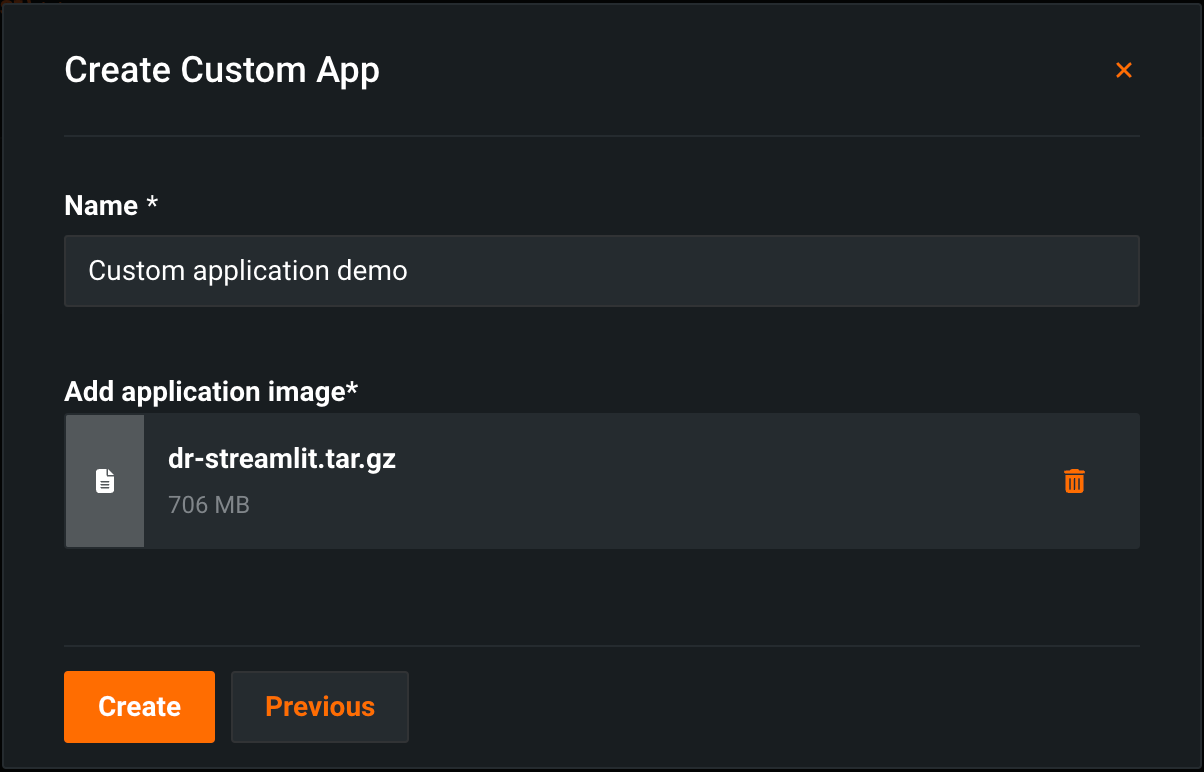
Once the application is uploaded, click Create.
The custom application is added to the Applications tab. After it builds, click Open to view the application.
Note
You can click the action menu () next to a custom application in the Applications tab to Share or Delete the application.
