End-to-end Feature Discovery
This page describes how Feature Discovery helps you combine datasets of different granularities and perform automated feature engineering.
More often than not, features are split across multiple data assets. Bringing these data assets together can take a lot of work—joining them and then running machine learning models on top. It's even more difficult when the datasets are of different granularities. In this case, you have to aggregate to join the data successfully.
Feature Discovery solves this problem by automating the procedure of joining and aggregating your datasets. After defining how the datasets need to be joined, you leave feature generation and modeling to DataRobot.
The examples below use data taken from Instacart, an online aggregator for grocery shopping. The business problem is to predict whether a customer is likely to purchase a banana.
Takeaways
This page shows how to:
- Add datasets to a project
- Define relationships
- Set join conditions
- Configure time-aware settings
- Review features that are generated during Feature Discovery
- Score models built using Feature Discovery
Load the datasets to AI Catalog
The examples on this page use these datasets:
| Table | Description |
|---|---|
| Users | Information on users and whether or not they bought bananas on particular order dates. |
| Orders | Historical orders made by a user. A User record is joined with multiple Order records. |
| Transactions | Specific products bought by the user in an order. An Order record is joined with multiple Transaction records. |
Each of these tables has a different unit of analysis, which defines the who or what you're predicting, as well as the level of granularity of the prediction. This shows how to join the tables together so that you have a suitable unit of analysis that produces good results.
Start by loading the primary dataset—the dataset containing the target feature you want to predict.
-
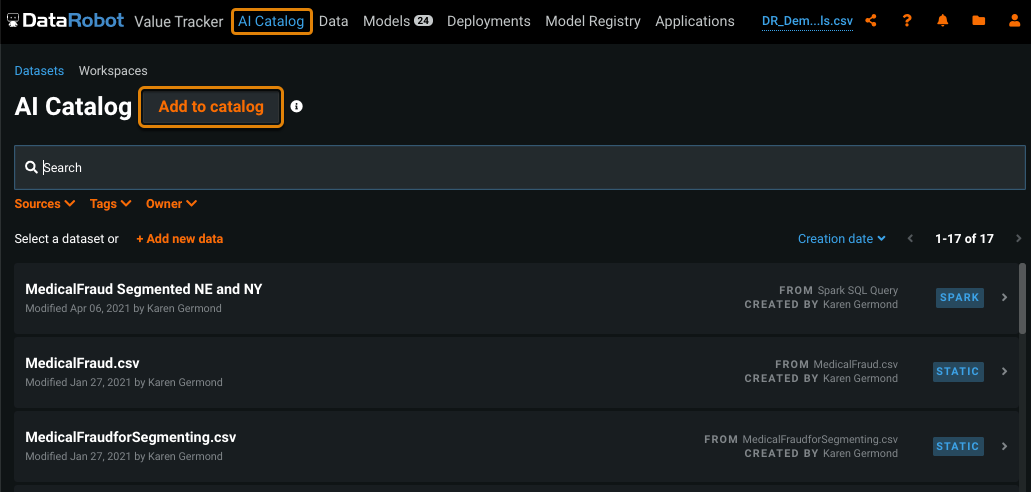
Go to the AI Catalog and for each dataset you want to upload, click Add to catalog.
You can add the data in various ways, for example, by connecting to a data source or uploading a local file.
-
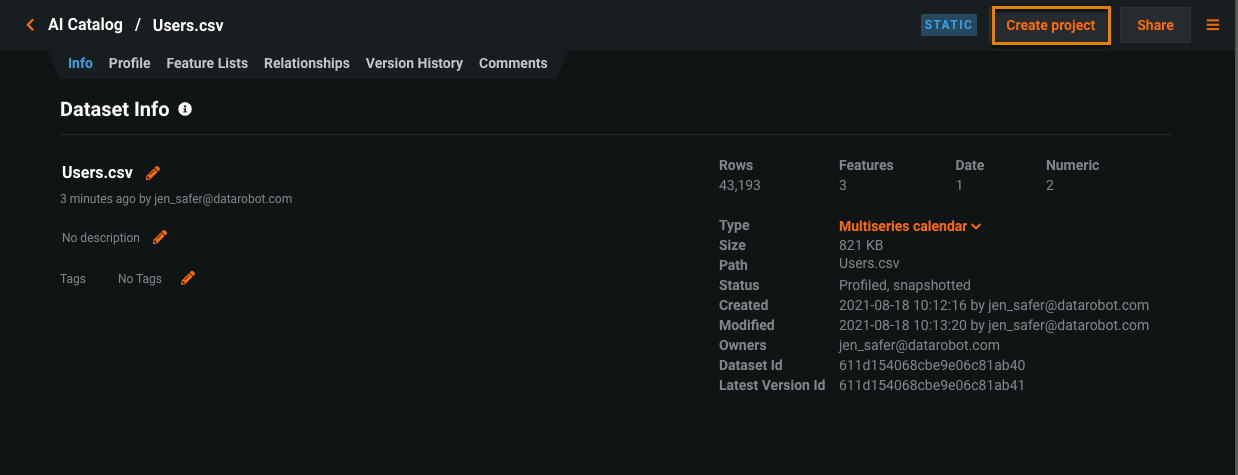
Once all of your datasets are uploaded, select the dataset you want to be your primary dataset and click Create project in the upper right.
Add secondary datasets
Once you upload your datasets to the AI Catalog, you can add the secondary datasets to the primary dataset in the project you created.
-
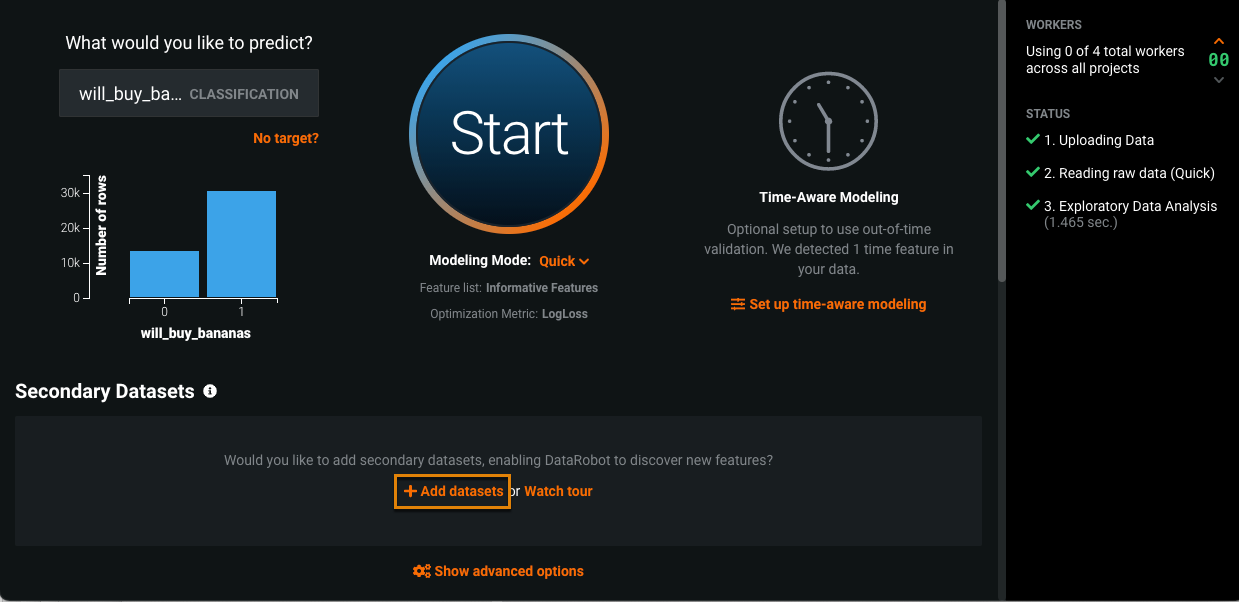
In the project you created, specify your target, then under Secondary Datasets, click Add datasets.
-
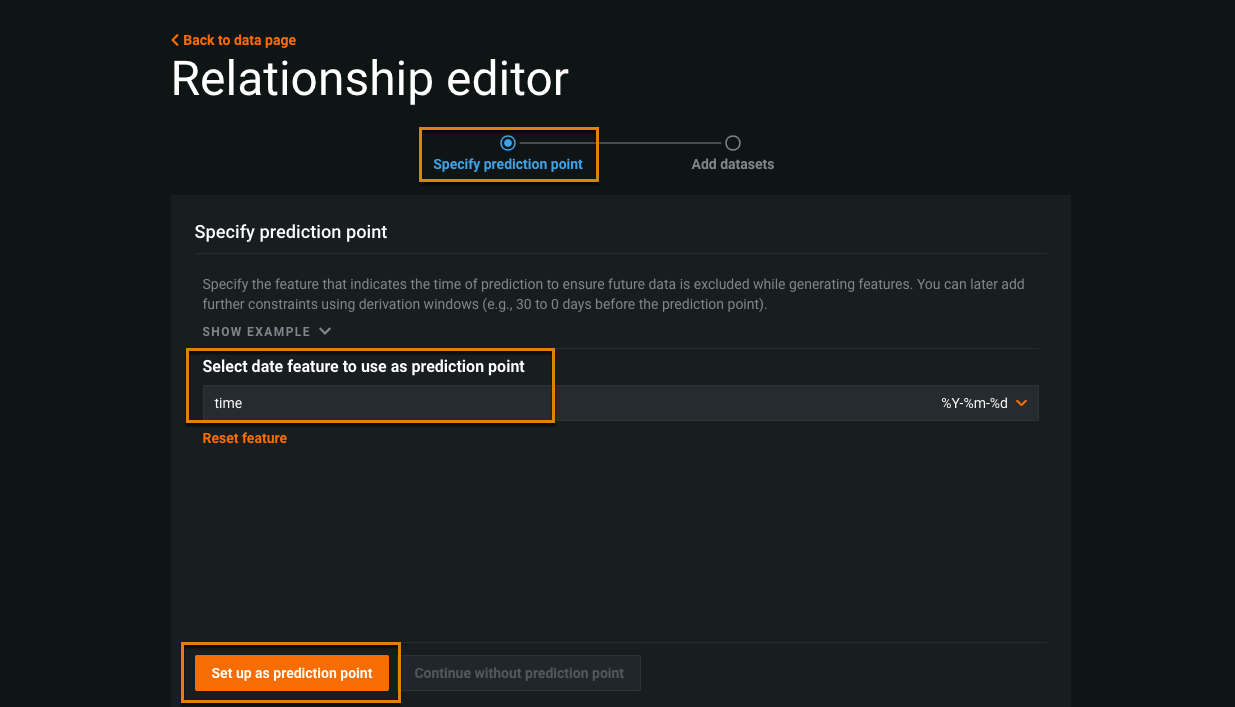
On the Specify prediction point page of the Relationship editor, select the feature that indexes your primary dataset by time under Select date feature to use as prediction point. Then click Set up as prediction point.
In this dataset, the date feature is
time. -
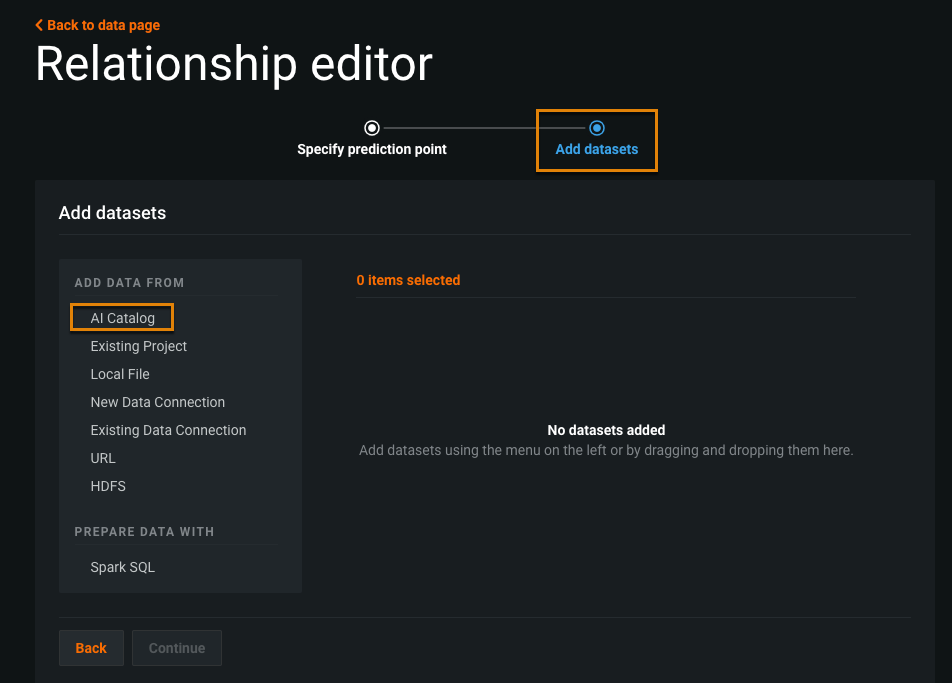
In the Add datasets page of the Relationship editor, select AI Catalog.
-
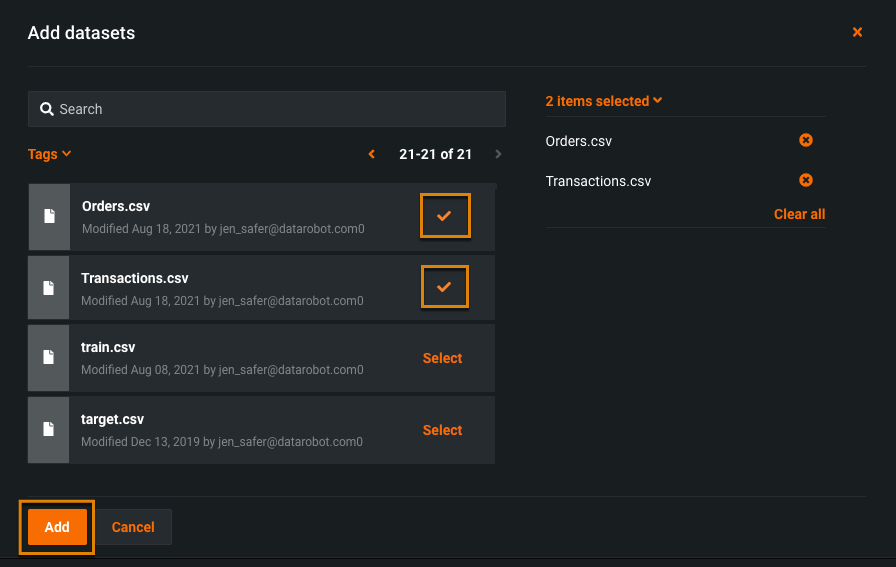
In the Add datasets window, click Select next to each dataset you want to add, then click Add.
-
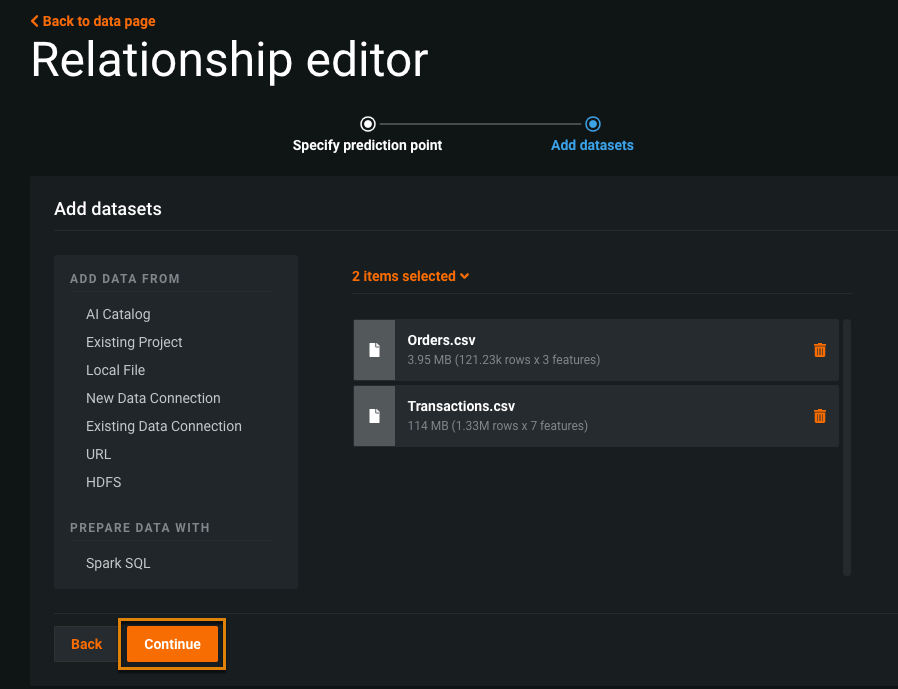
Click Continue to finalize your selection.
Define relationships
Next, create relationships between your datasets by specifying the conditions for joining the datasets, for example, the columns on which they are joined. You can also configure time-aware settings if needed for your data.
-
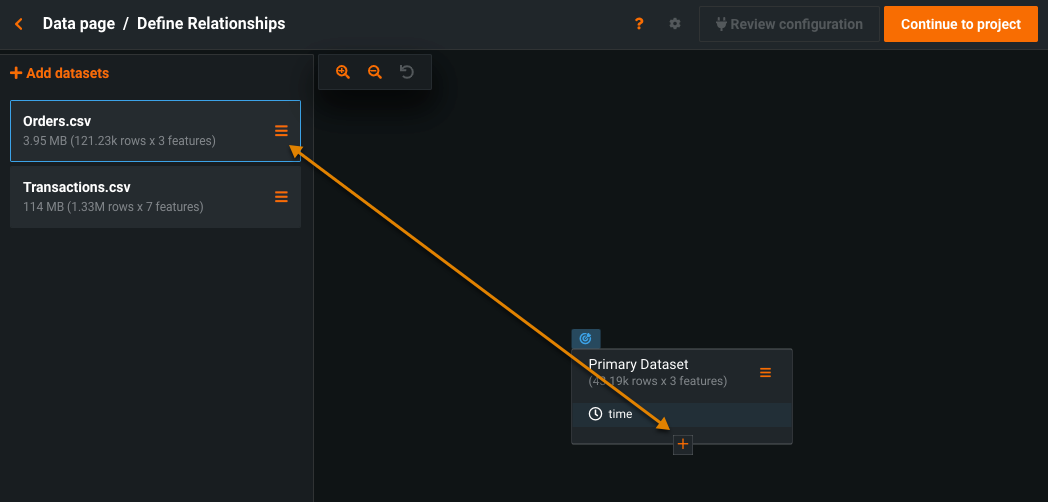
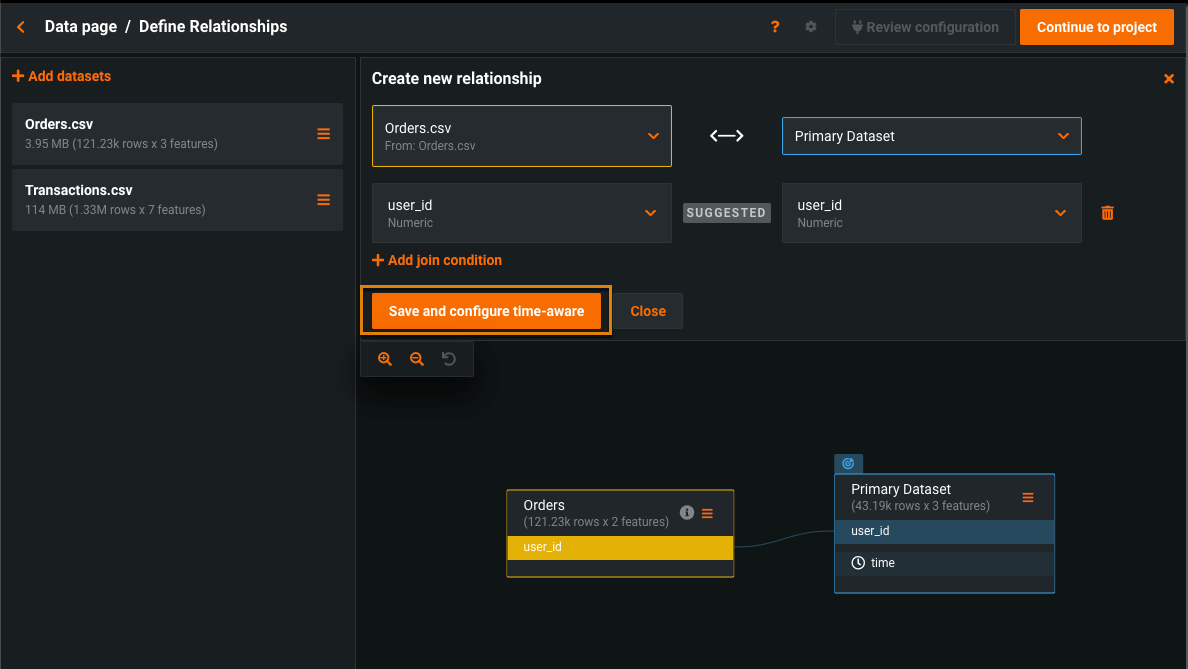
On the Define Relationships page, click a secondary dataset to highlight it, then click the plus sign that appears at the bottom of the primary dataset tile.
-
Set join conditions—in this case, specify the columns for joining. DataRobot recommends the
user_idcolumn for the join. Click Save and configure time-aware.Build complex relationships with multiple join conditions
Instead of a single column, you can add a list of features for more complex joining operations. Click + join condition and select features to build complex relationships.
-
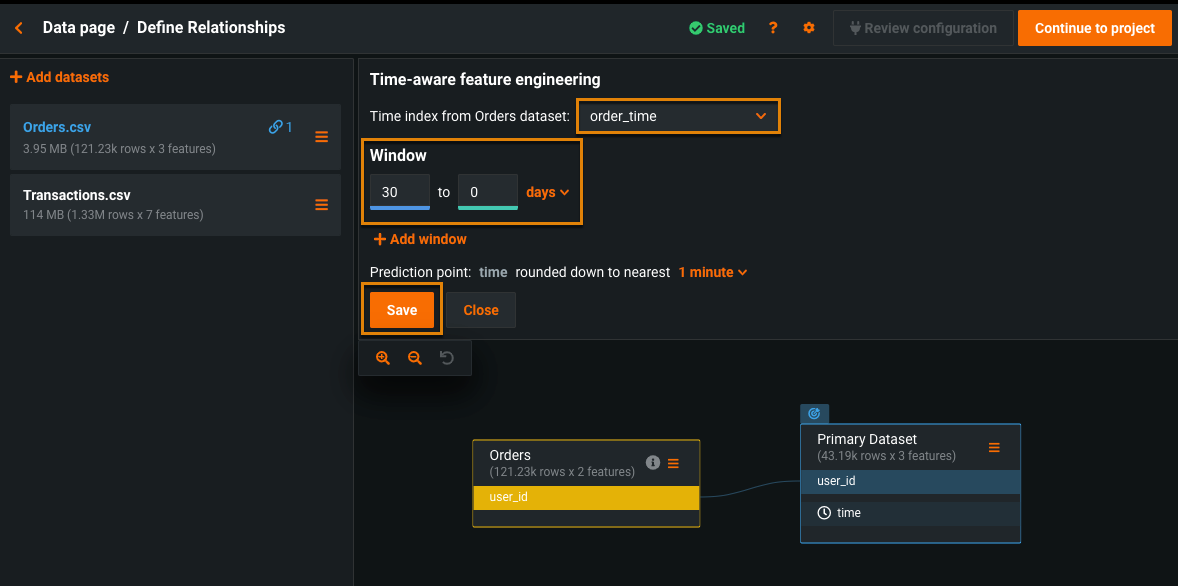
Select the time feature from the secondary dataset and the feature derivation window, and click Save.
See Time series modeling for details on setting time-aware options.
-
Repeat these steps to add any other secondary datasets.
In this example, the three datasets are joined with these relationships:
Build your models
Now that the secondary datasets are in place and DataRobot knows how to join them, you can go back to the project and begin modeling.
-
Click Continue to project in the top right.
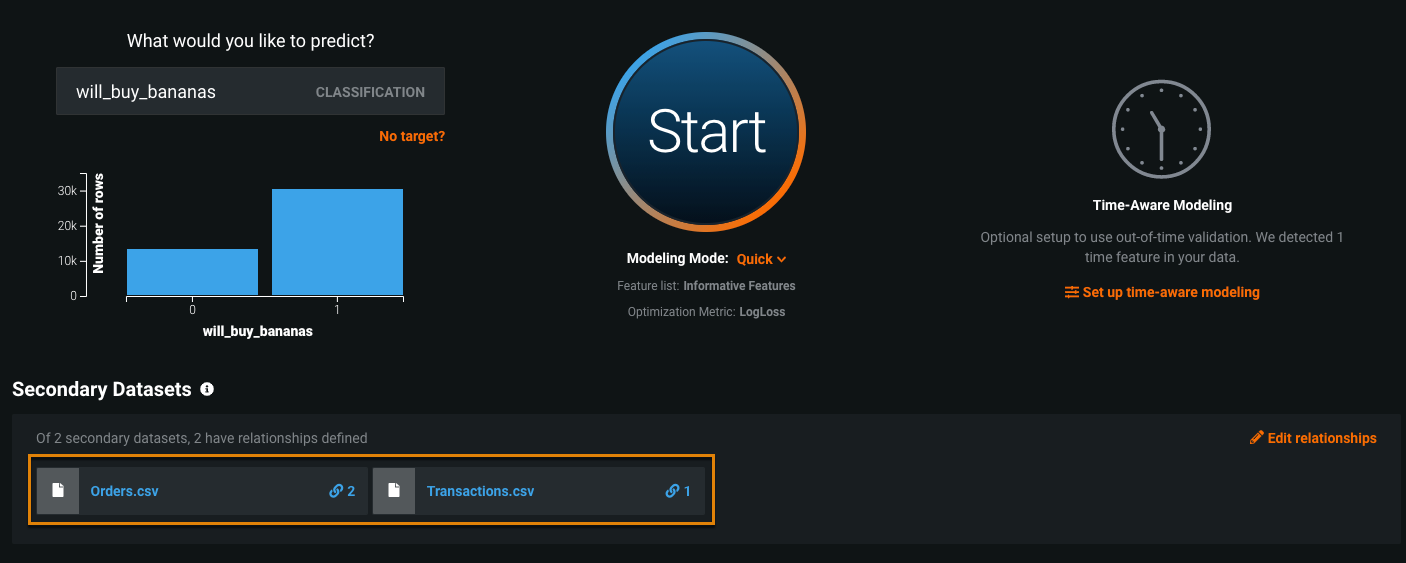
Back on the main Data page, you can see under Secondary Datasets that two relationships have been defined for the Orders secondary dataset and one relationship has been defined for the Transactions secondary dataset.
-
Click Start to begin modeling.
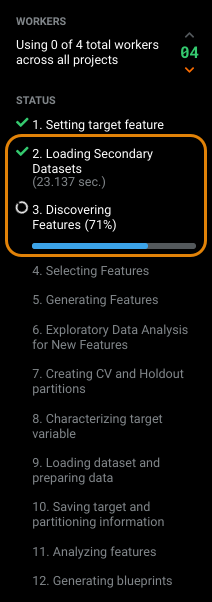
DataRobot loads the secondary datasets and discovers features:
In the next section, you'll learn how to analyze them.
Review derived features
DataRobot automatically generates hundreds of features and removes features that might be redundant or have a low impact on model accuracy.
Note
To prevent DataRobot from removing less informative features, turn off supervised feature reduction on the Feature Reduction tab of the Feature Discovery Settings page.
You can begin reviewing the derived features once EDA2 completes.
-
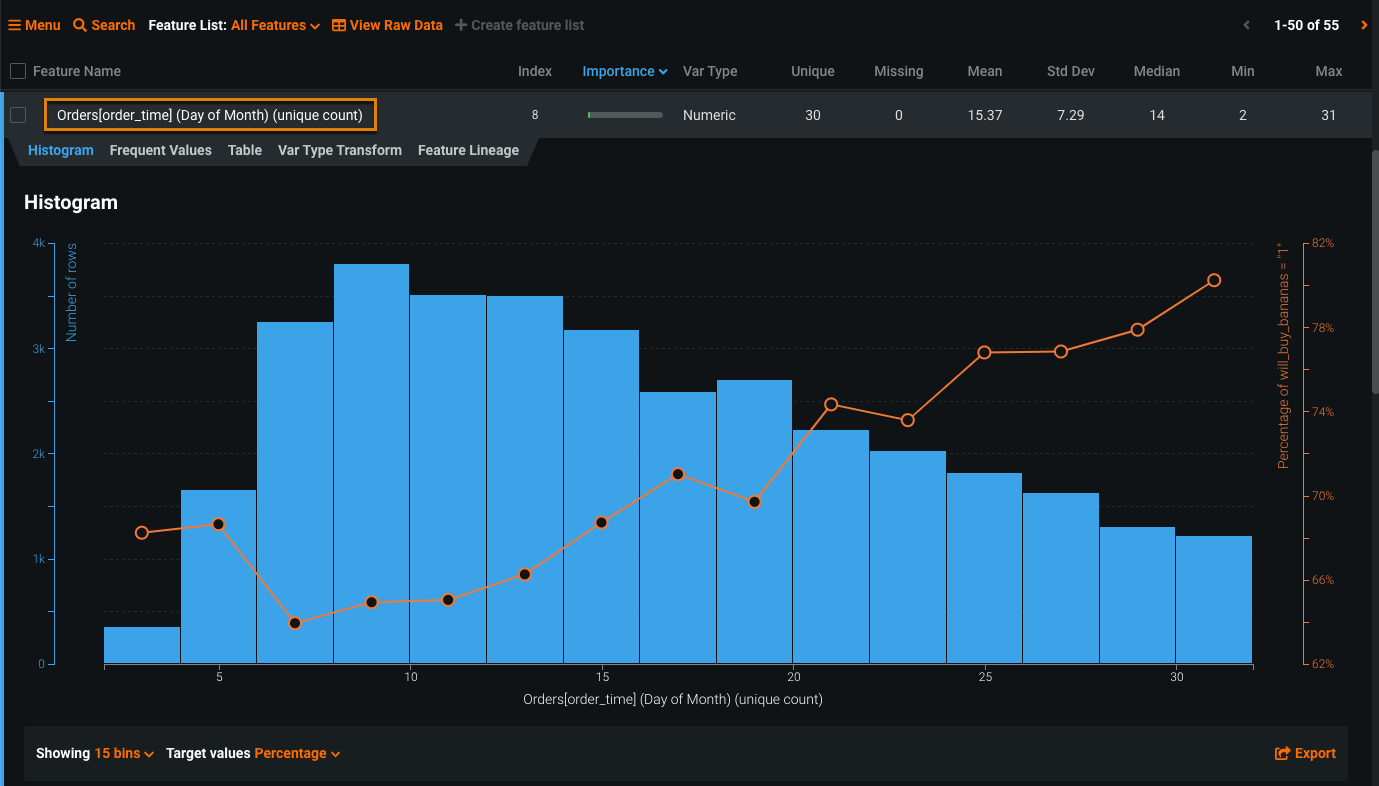
On the Data tab, click a derived feature and view the Histogram tab.
Derived feature names include the dataset alias and the type of transformation. In this example, the transformation is the unique count of orders by the day of the month.
-
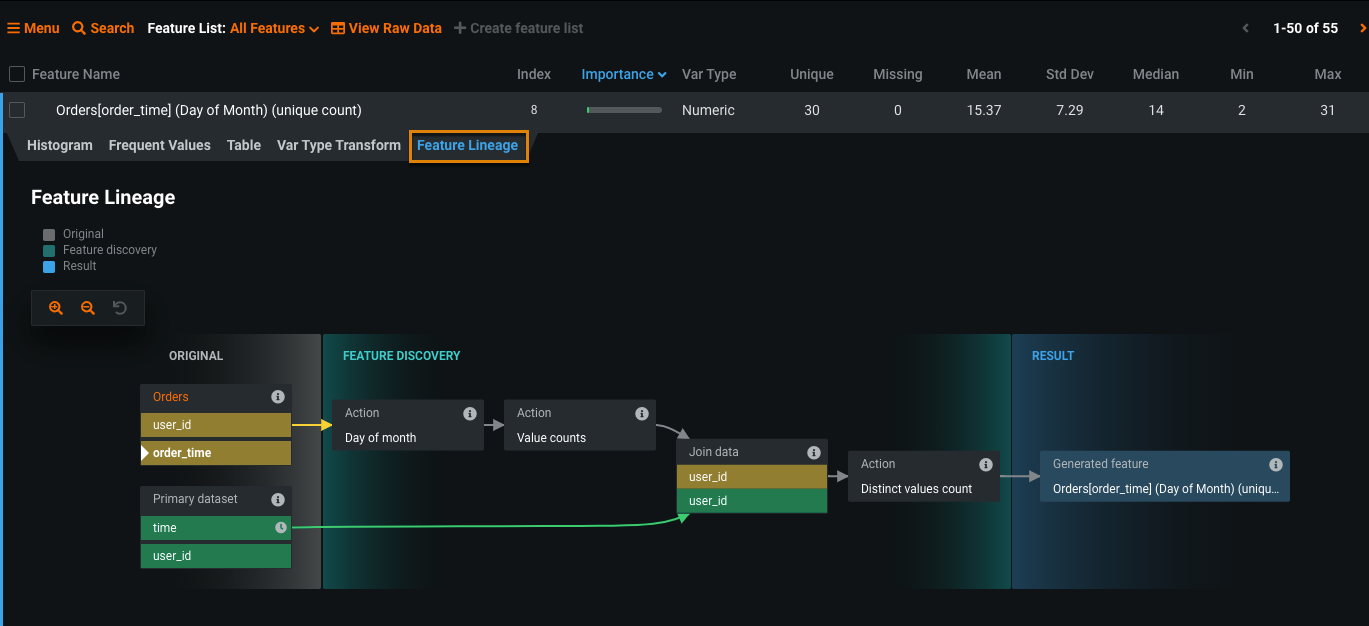
Click the Feature Lineage tab to see how this feature was created.
-
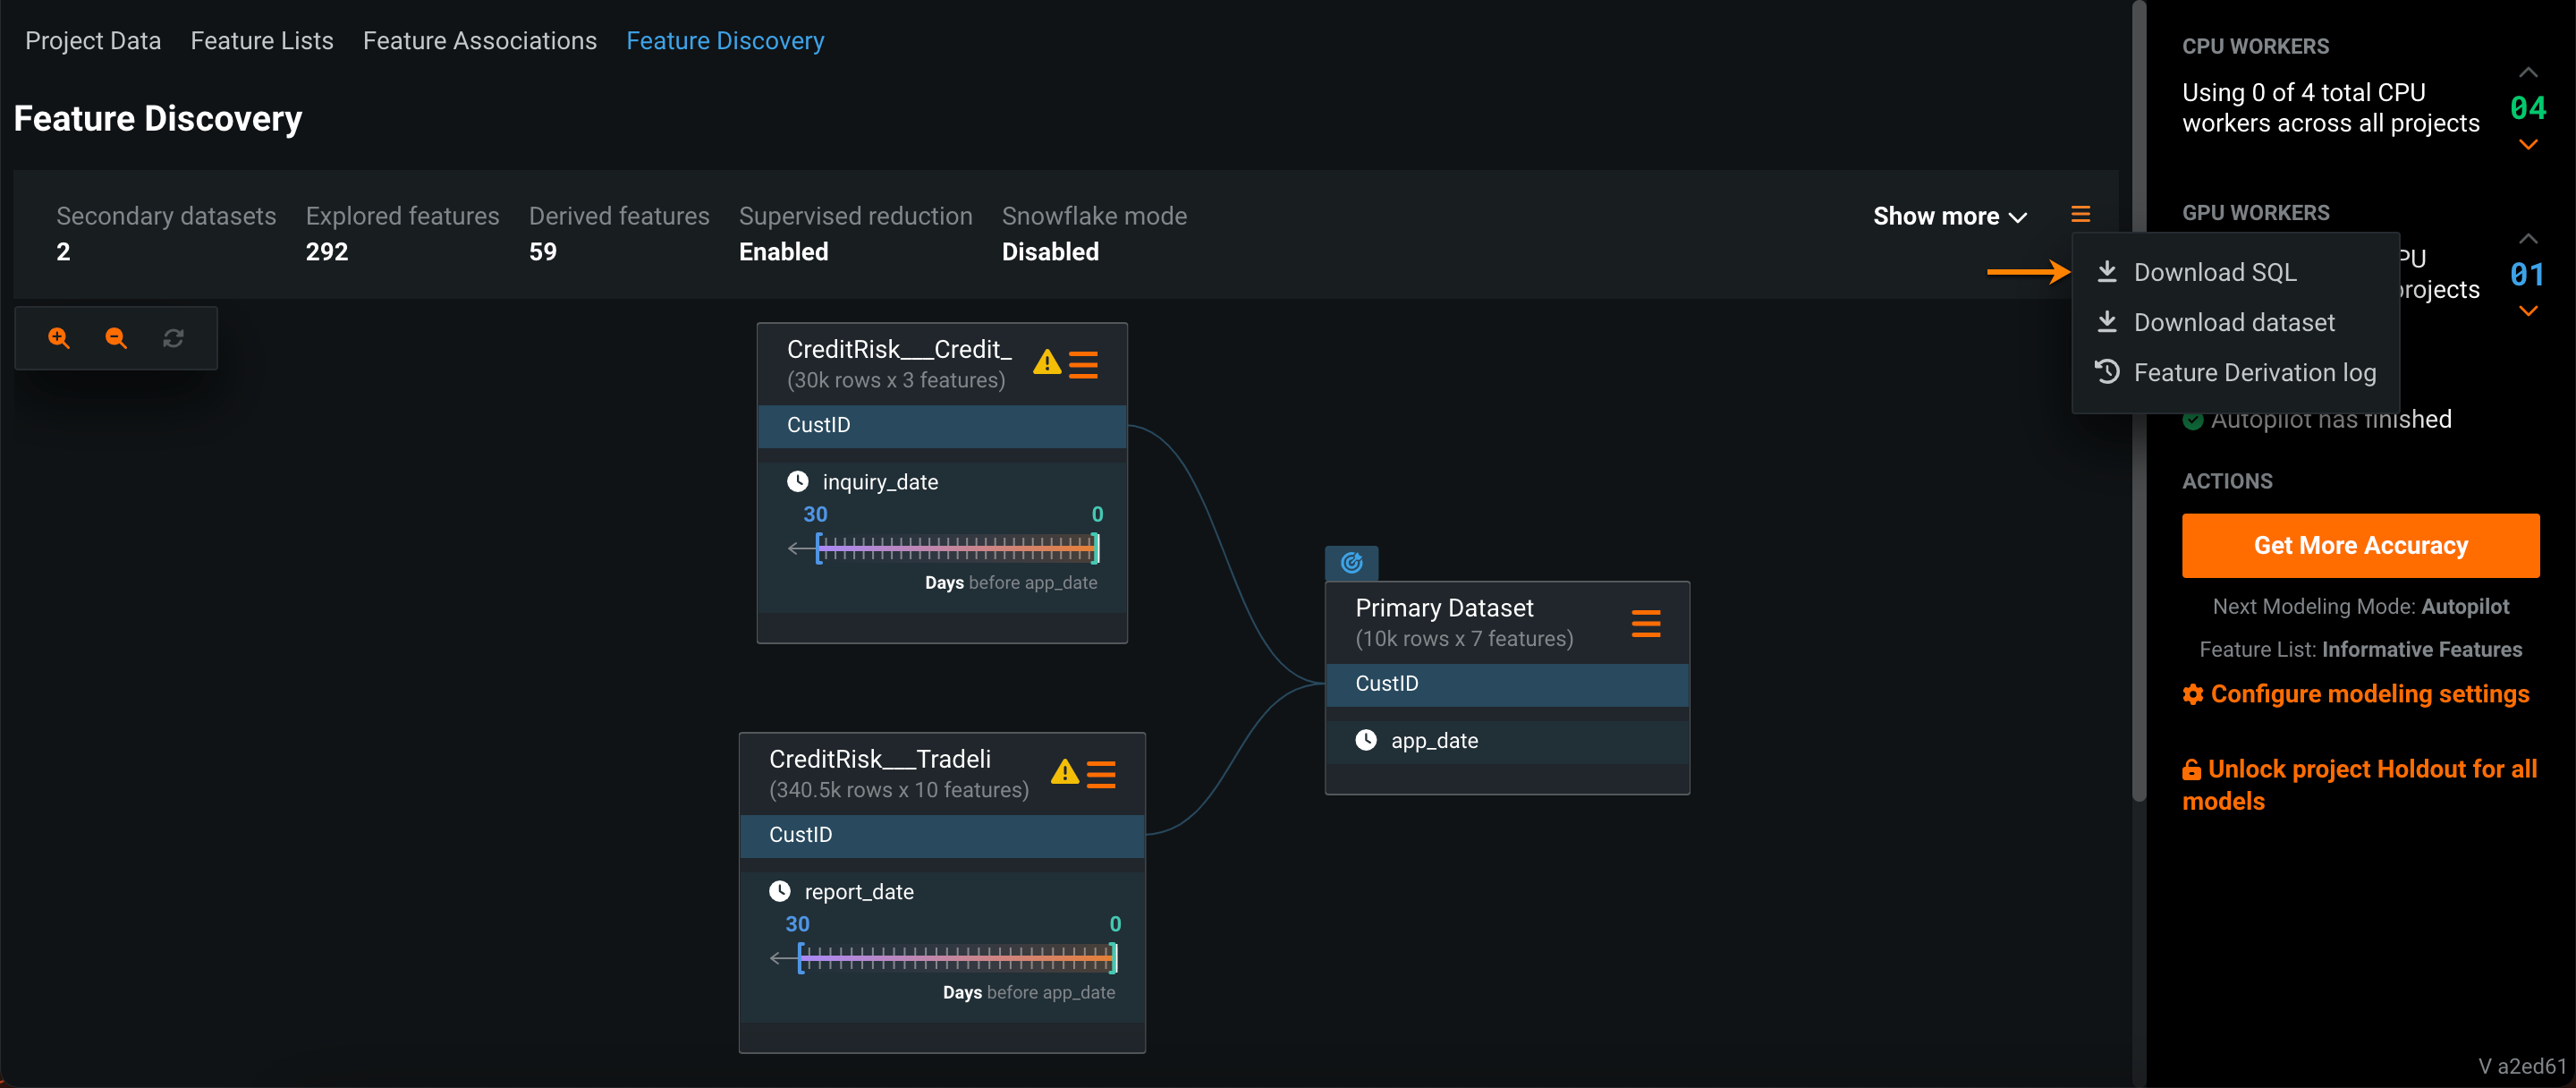
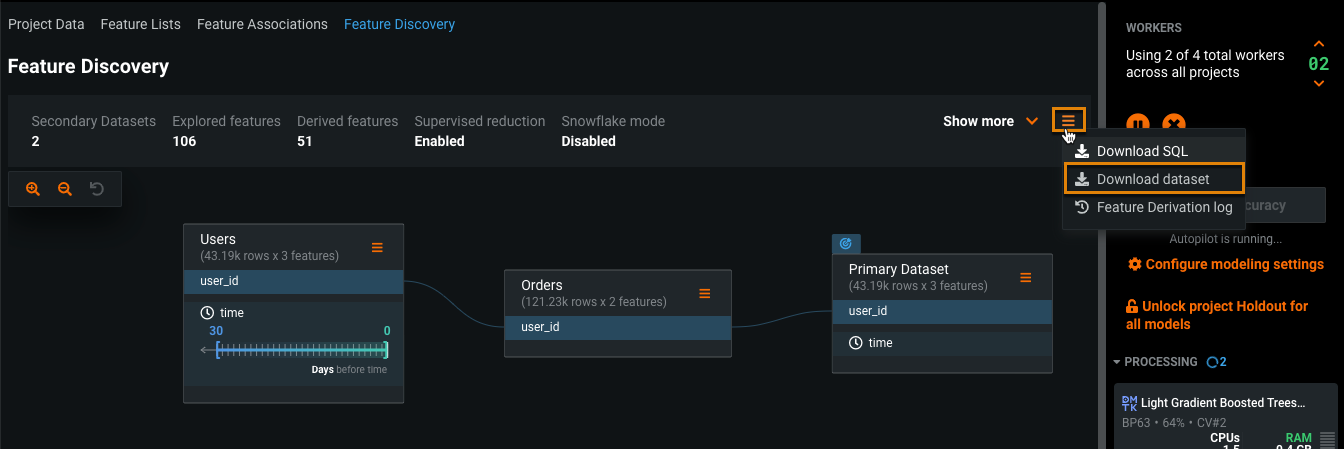
Scroll to the top of the Data page and open the Feature Discovery tab. Click the menu icon and use the actions described below to learn more about how DataRobot processed Feature Discovery:
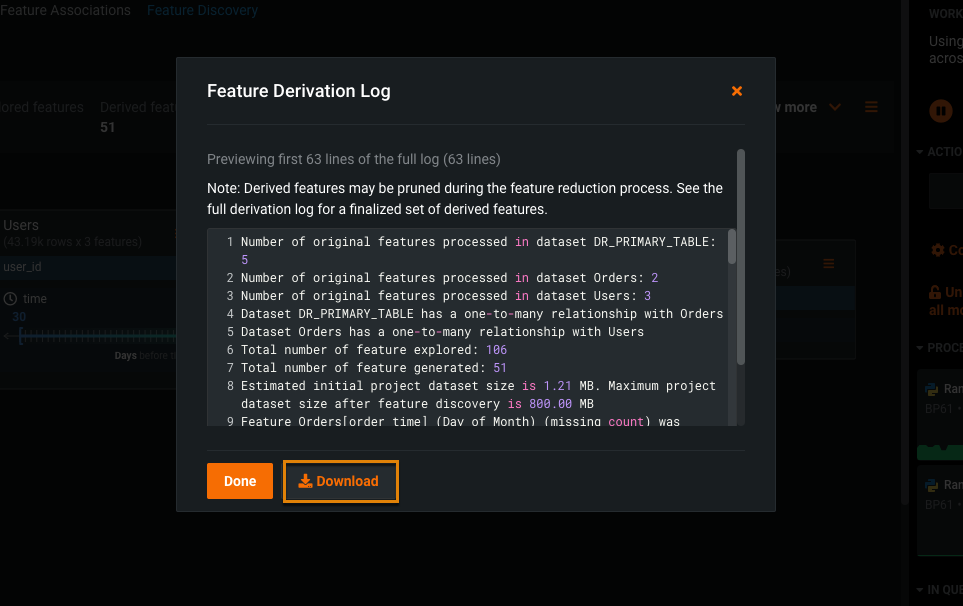
To understand the process DataRobot used to derive and prune the features, click Feature Derivation log.
The Feature Derivation Log shows information about the features processed, generated, and removed, along with the reasons why features were removed. You can optionally save the log by clicking Download:
Score models built with Feature Discovery
When scoring models built with Feature Discovery, you need to ensure the secondary datasets are up-to-date and that feature derivation will complete without problems.
To make predictions on models built with Feature Discovery:
-
In the Models page, click the Leaderboard tab and click the model you selected for deployment.
-
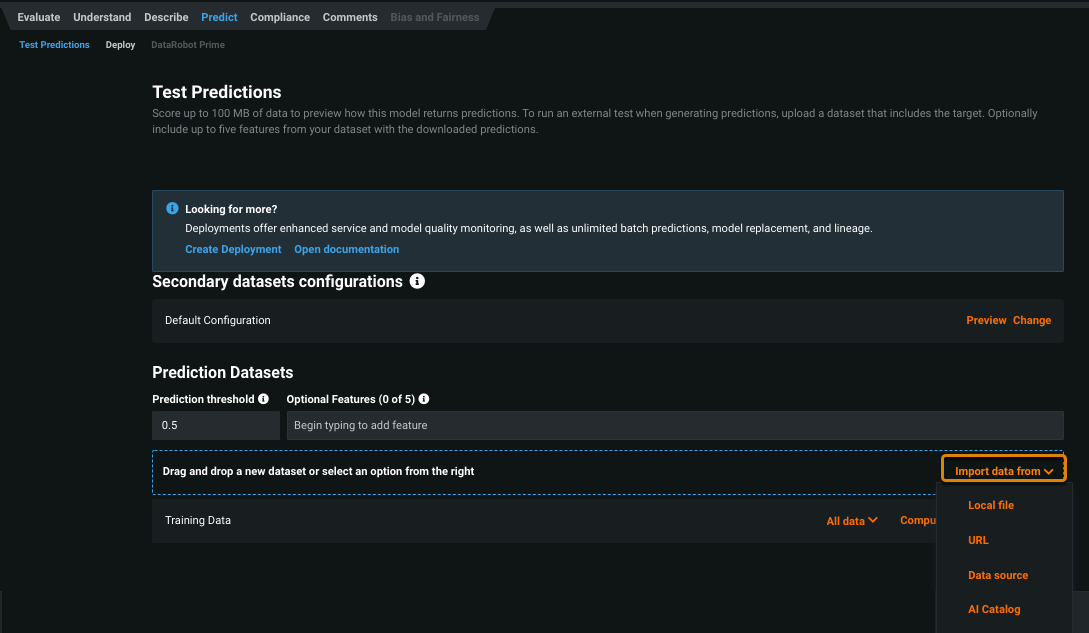
Click Predict, then under Prediction Datasets, click Import data from and import the scoring dataset.
The dataset must have the same schema as the dataset used to create the project. The target column is optional and you don't need to upload secondary datasets at this point.
-
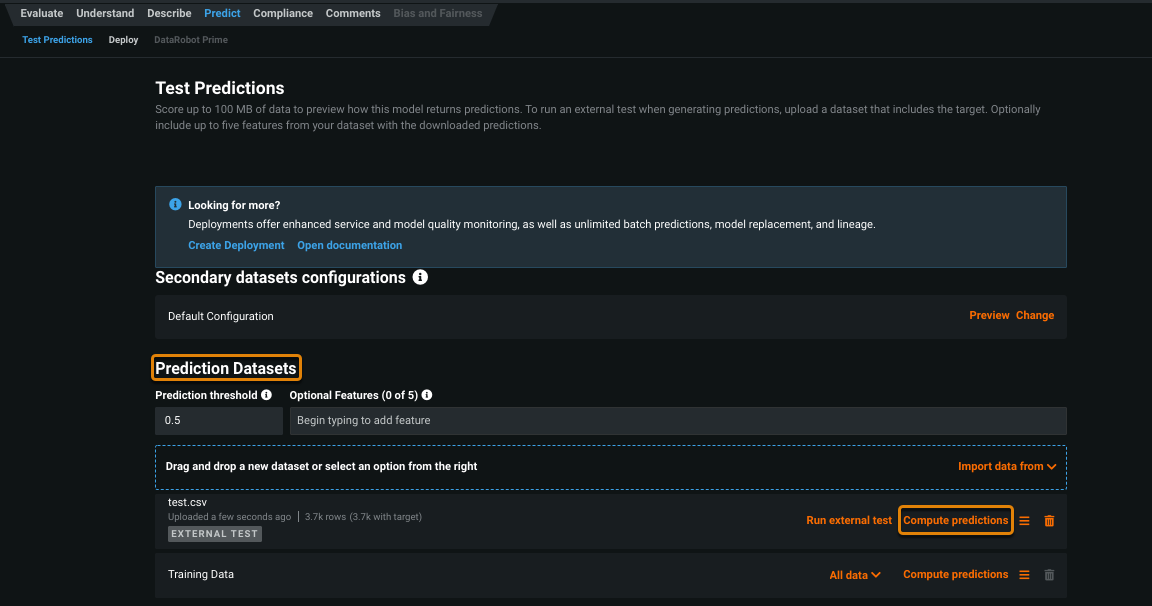
After the dataset is uploaded, click Compute Predictions.
-
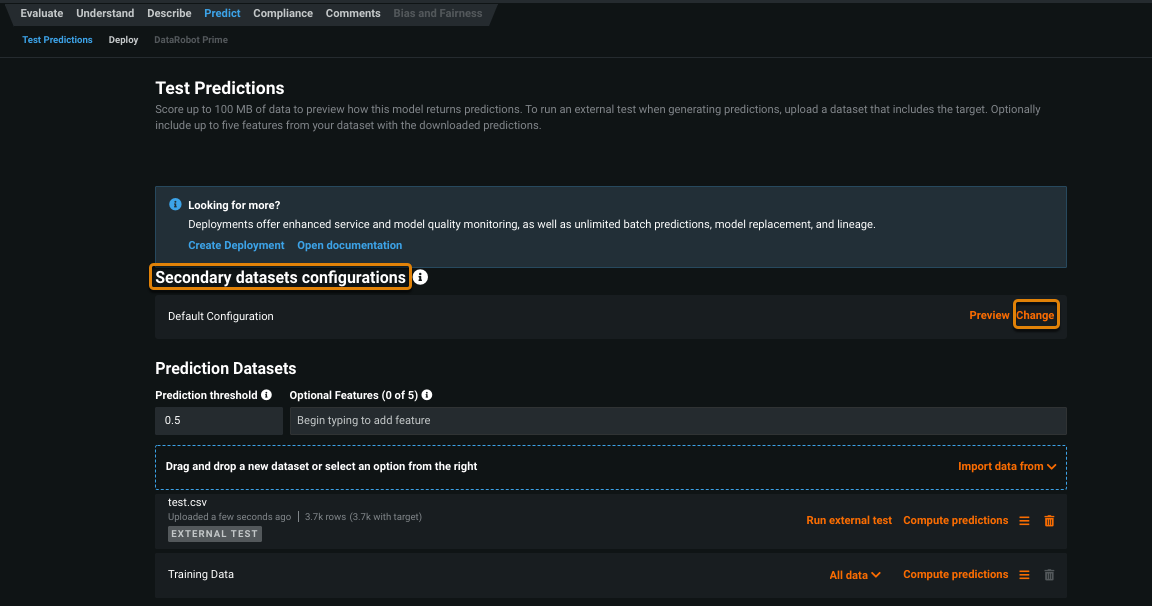
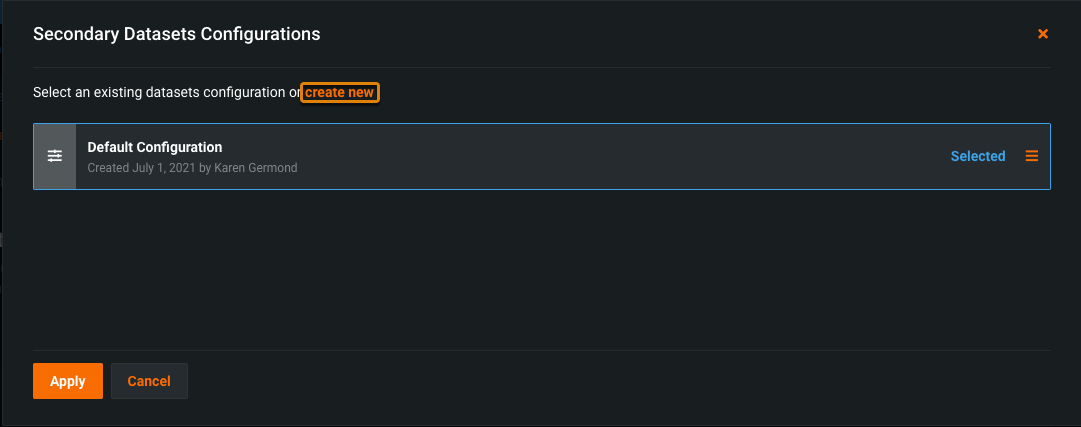
To change the default configuration for the secondary datasets, under Secondary datasets configuration, click Change.
Updating the secondary dataset configuration is necessary if the scoring data has a different time period and is not joinable with the secondary datasets used in the training phase.
-
To add a new configuration, click create new.
-
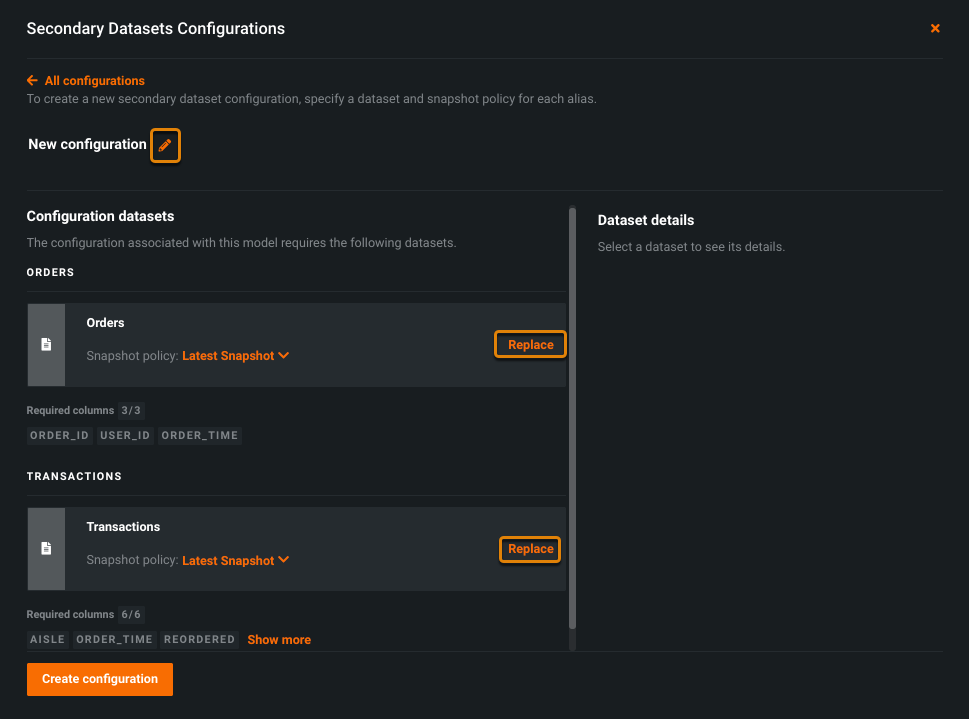
To replace secondary dataset, on the Secondary Datasets Configuration window, locate the secondary dataset and click Replace.
Note
If you need to replace a secondary dataset, do so before uploading your scoring dataset to DataRobot. If not, DataRobot will use the default settings to compute the joins and perform feature derivation.
